Karen’s Sourdough Bread Using Thermomix & Air Fryer

Karen’s Sourdough Bread Using Thermomix & Air Fryer

About this Recipe

By: Karen Mace

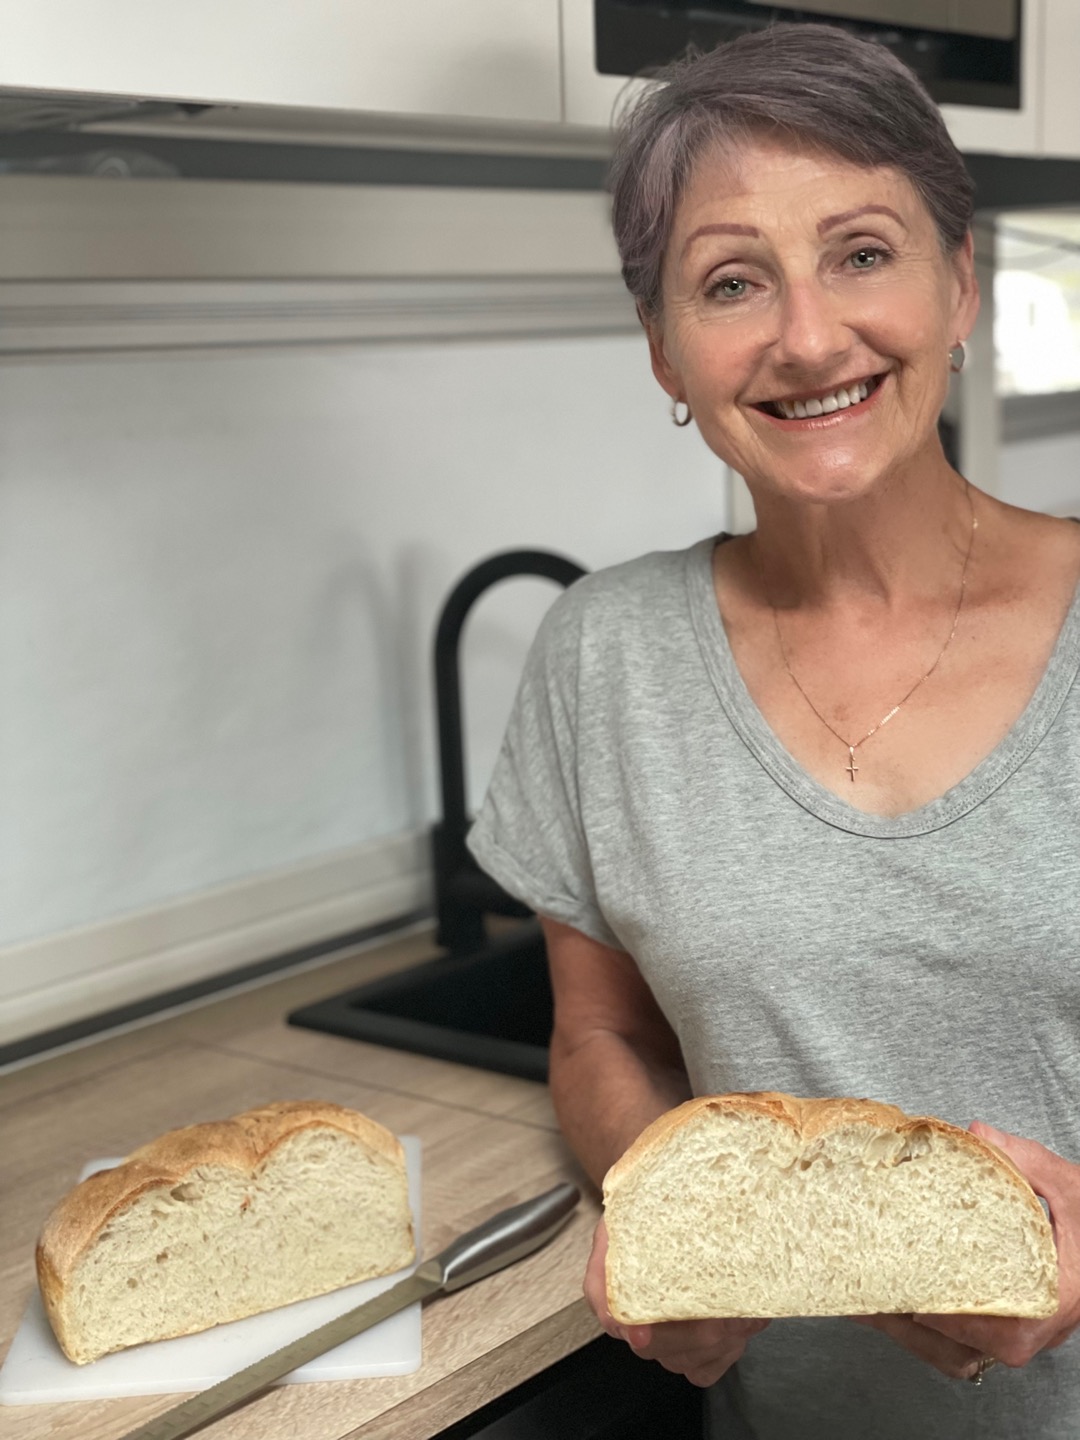
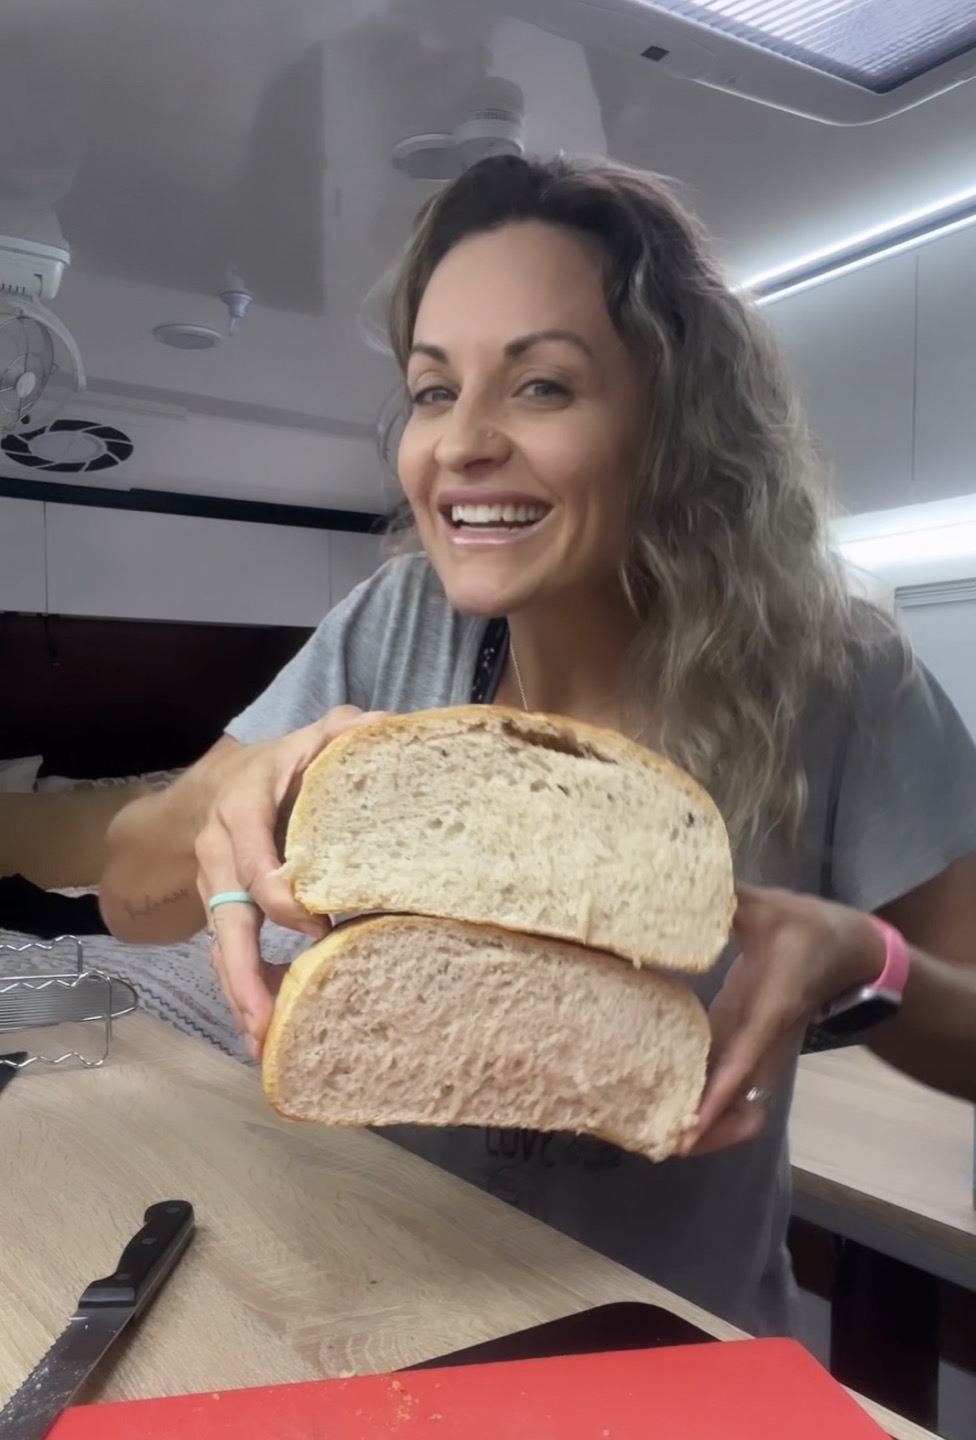
I never thought I could make sourdough. It all seemed too hard. Now, I am a fan. I love it and using this method makes it easy and fun. Once you get used to making the basic loaf, you can throw all sorts of things in to make it ‘special’. Just add things at the pressing into a square or rectangle stage.

Ingredients

  • 400g bakers flour (can use all white or a mix of white and wholegrain). I prefer Kialla Organic Stoneground White Flour
  • 1 tsp salt
  • 230mls water
  • 160-200g starter

Tip:
The starter is really important. When I started making sourdough bread I didn’t prepare the starter before using it. Since I have been doing that I’ve noticed a marked (positive) difference in rising and flavour. A friend gave Miriam some of his starter and Miriam gave some to me. The person our friend got it from had kept it going for 25 years, add another two years to that and we have a starter that has been going for 27 years! Before we throw everything into the Thermi, we ‘gee up’ as our friend says, the starter. What that means is you feed the starter and leave it for a couple of hours to bubble and brew until it’s doubled in size. To do this, add equal parts starter, water and flour. The top will be a mass of bubbles and the mix itself will be a stretchy, stingy consistency – perfect! When it’s like this, it’s ready to use. You can also test the starter by dropping a bit into water. If it floats, it’s ready!

Step by Step Instructions

Step 1

Throw all the above into your Thermomix. Set dough mode to 5 mins and let it go.

Step 2

Tip dough out into a very lightly oiled dish (I use a Pyrex one, but it can be any kind), place a piece of plastic wrap or a tea towel over the top and let it rise for three-four hours in a draft-free spot. The warmer it is, the quicker it will rise, but you don’t want it to rise too quickly otherwise it might collapse on itself.

Step 3

When it has doubled in size, tip onto a lightly floured board. I like to use rice flour for this part, but it’s a preference only. Pat out into a square or rectangle, then pull the corners into the middle of the piece of dough. You can place it in a Banneton or you can place it straight into the airfryer baking pan.


Step 4

Cover again and place in the refrigerator for 12 – 24 hours. I find that the longer it is in the ‘fridge, the more intense the flavour. 

Step 5

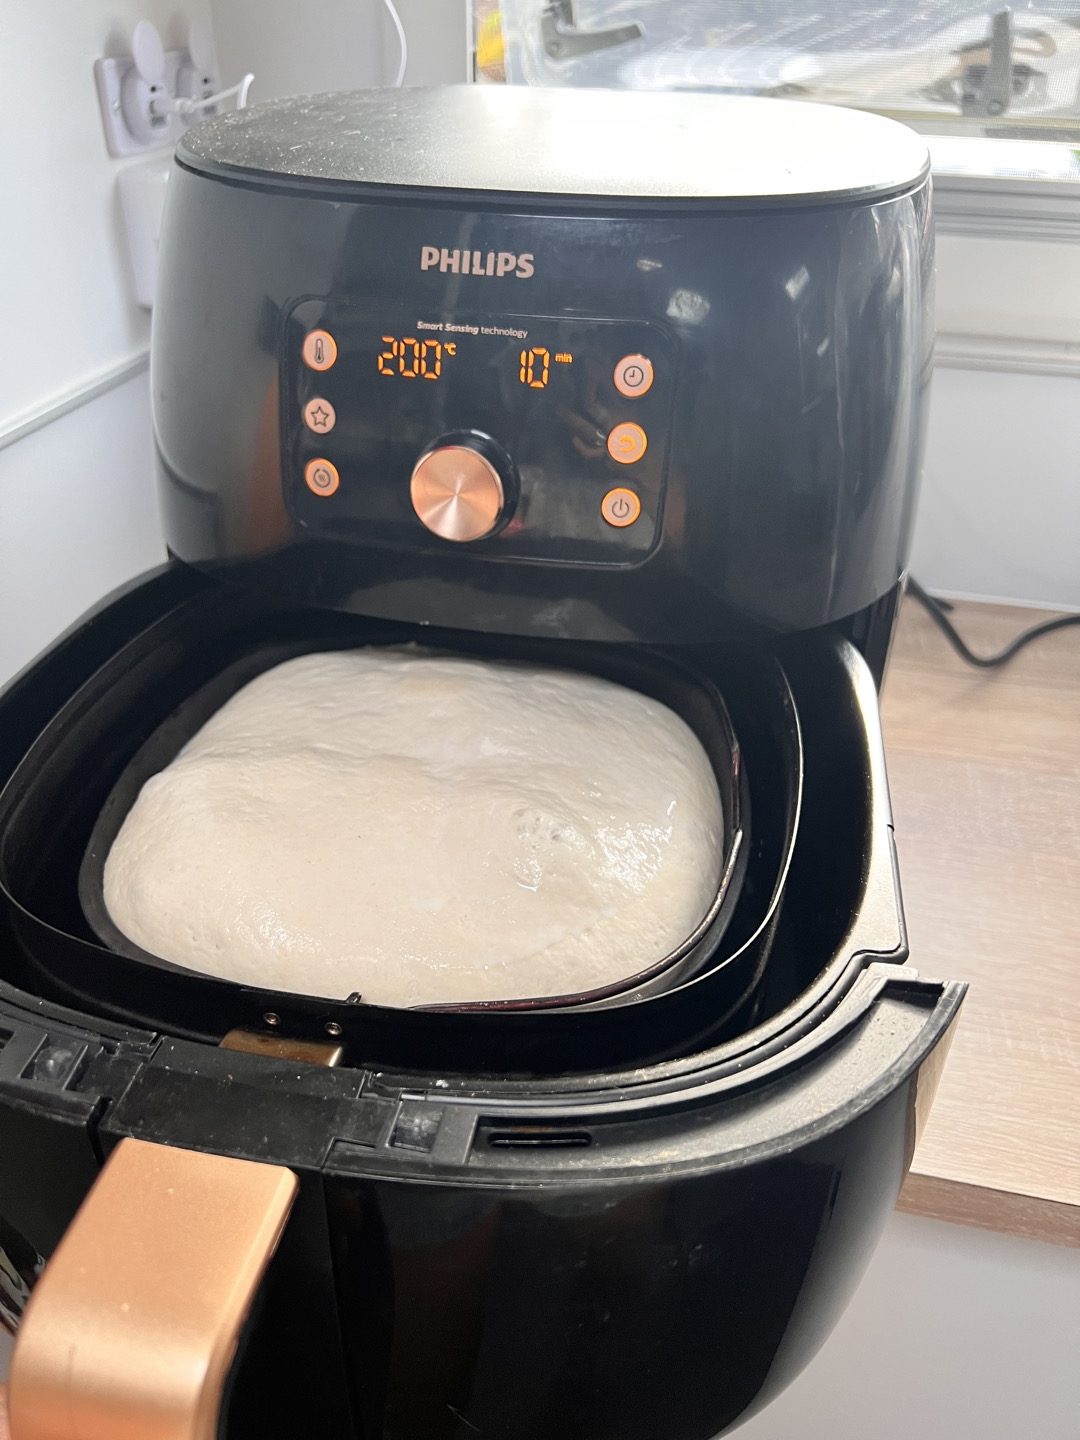
To bake the loaf, if it is already in your baking pan, pop it into preheated airfryer, set to pie mode, cook for 10 mins at 200 degrees, then reduce temp to 180 degrees for 20 mins.  You can bake straight from the ‘fridge, or leave it to come to room temperature before baking. It may need a little less time if you choose the second option. The loaf is ready when you hear a hollow sound when it’s tapped with a knuckle.


Happy baking. Please let us know how you go if you choose to try making your own sourdough bread!

More Recipes

Air Fryer Hard Boiled Eggs

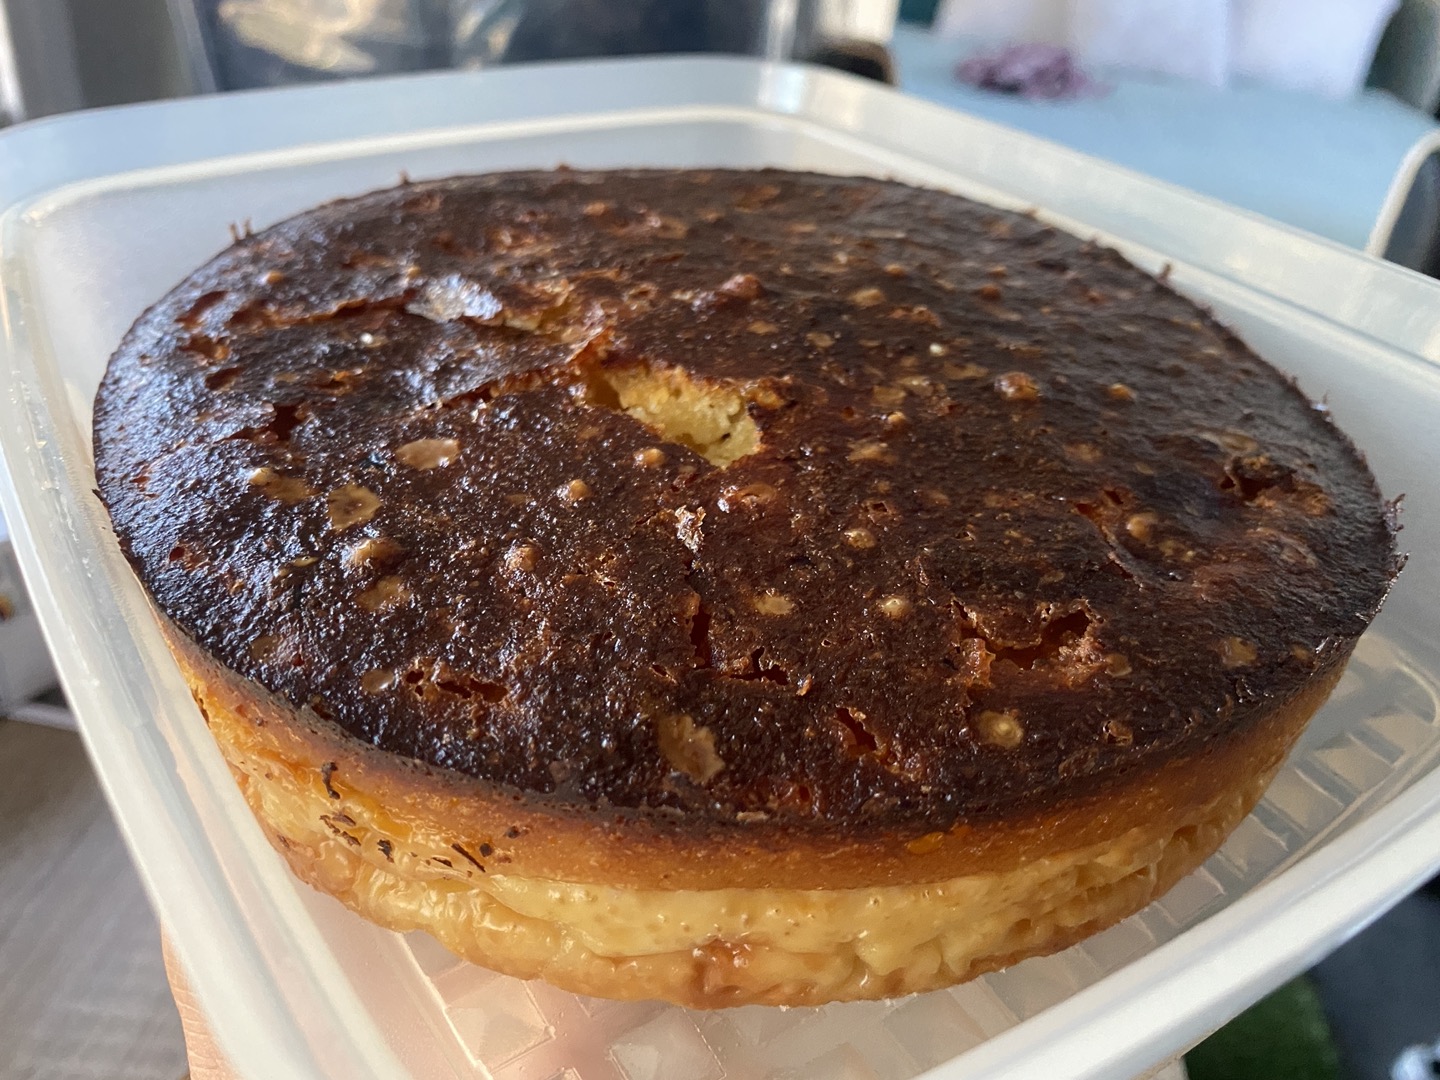
Air Fryer Impossible Pie

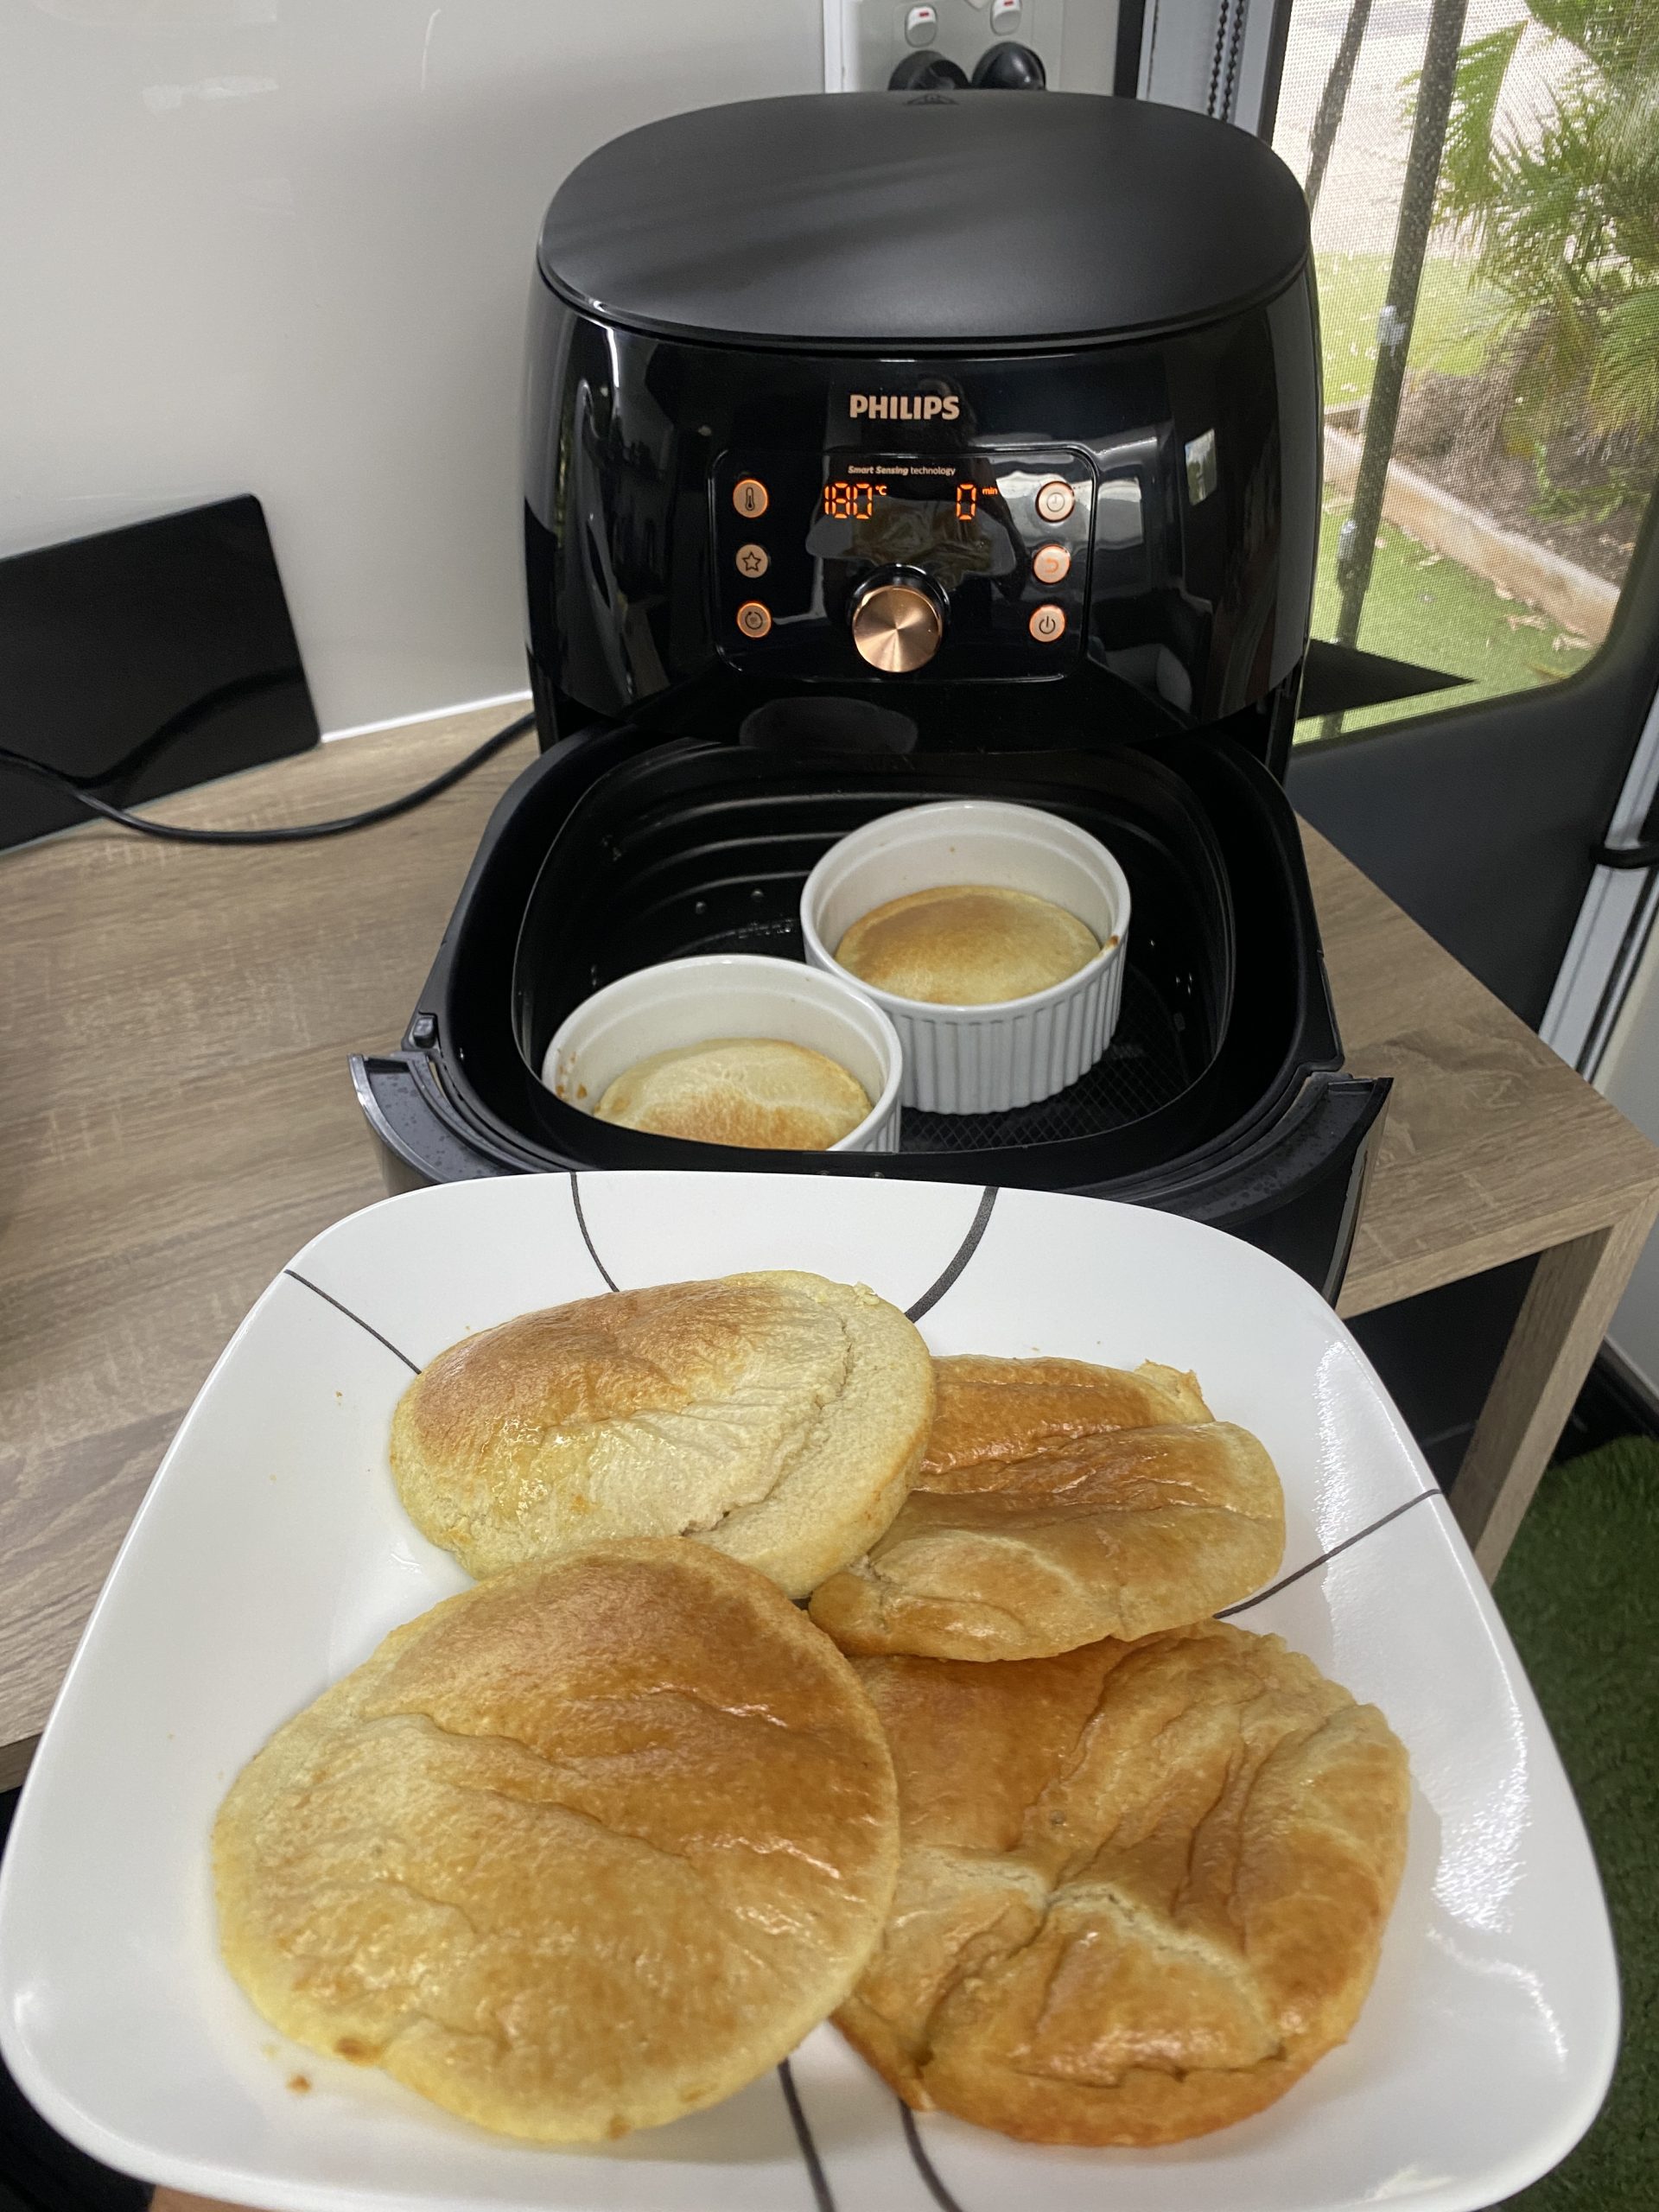
Air Fryer Pancakes

Camp Oven Stuffed Pumpkin

Camp Oven Stuffed Pumpkin

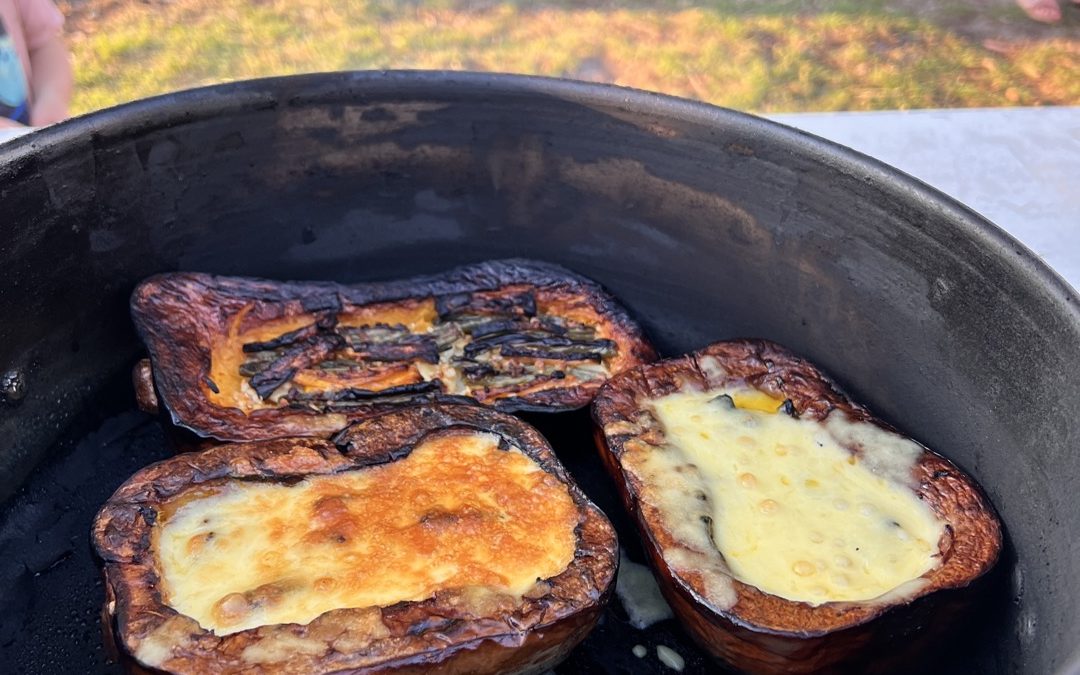
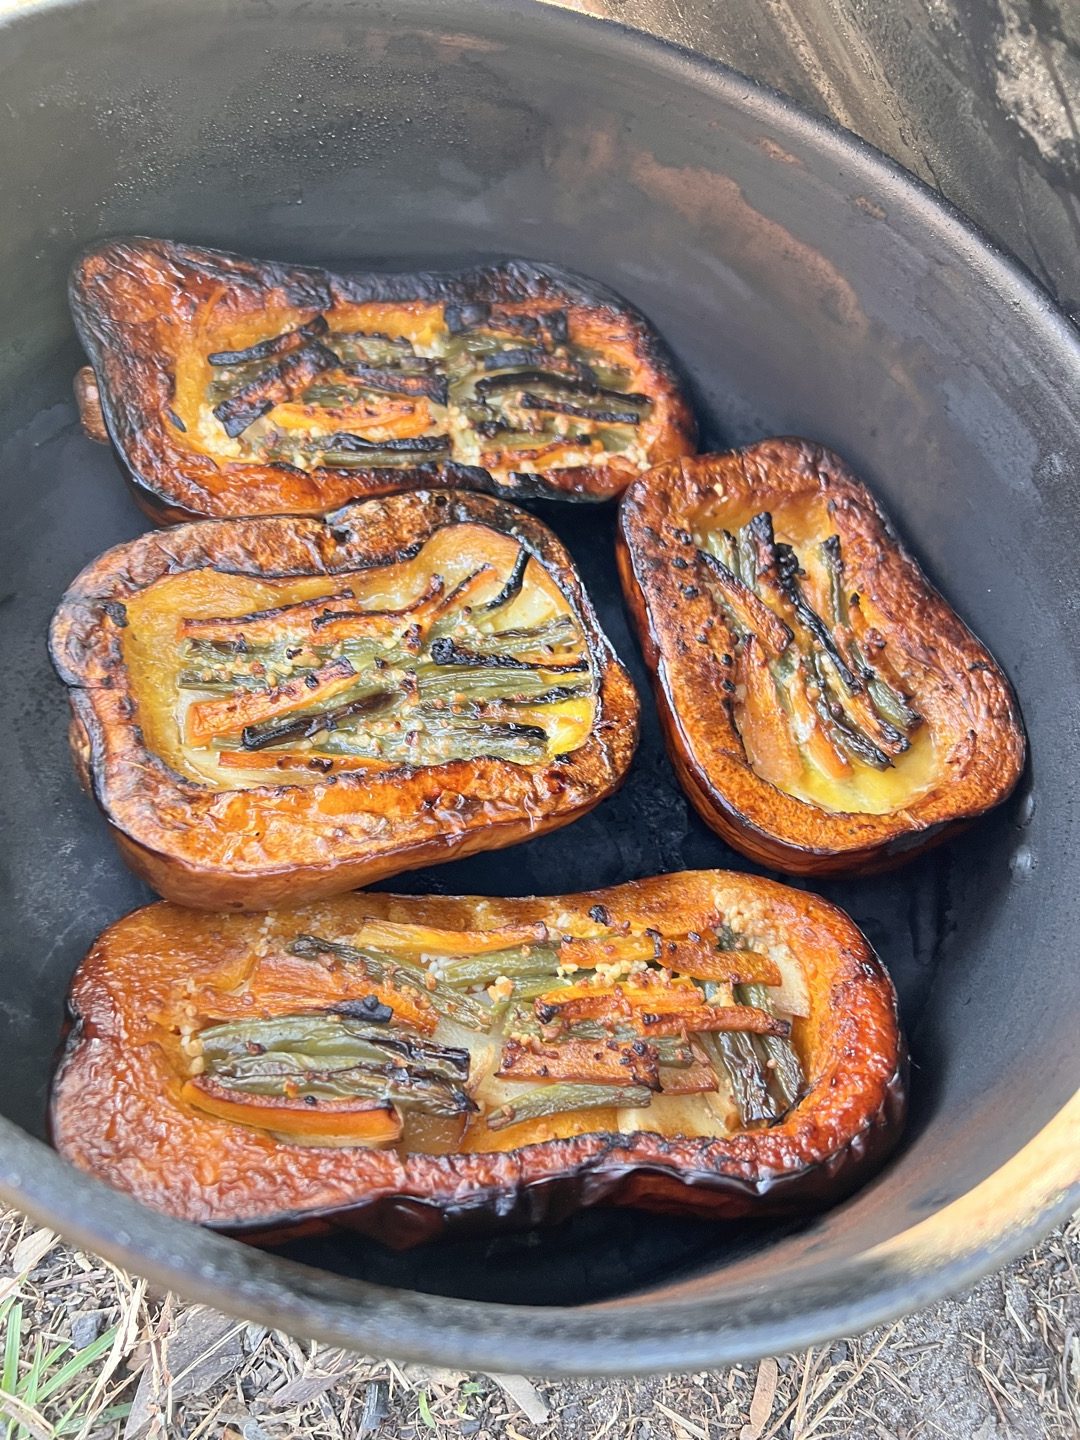
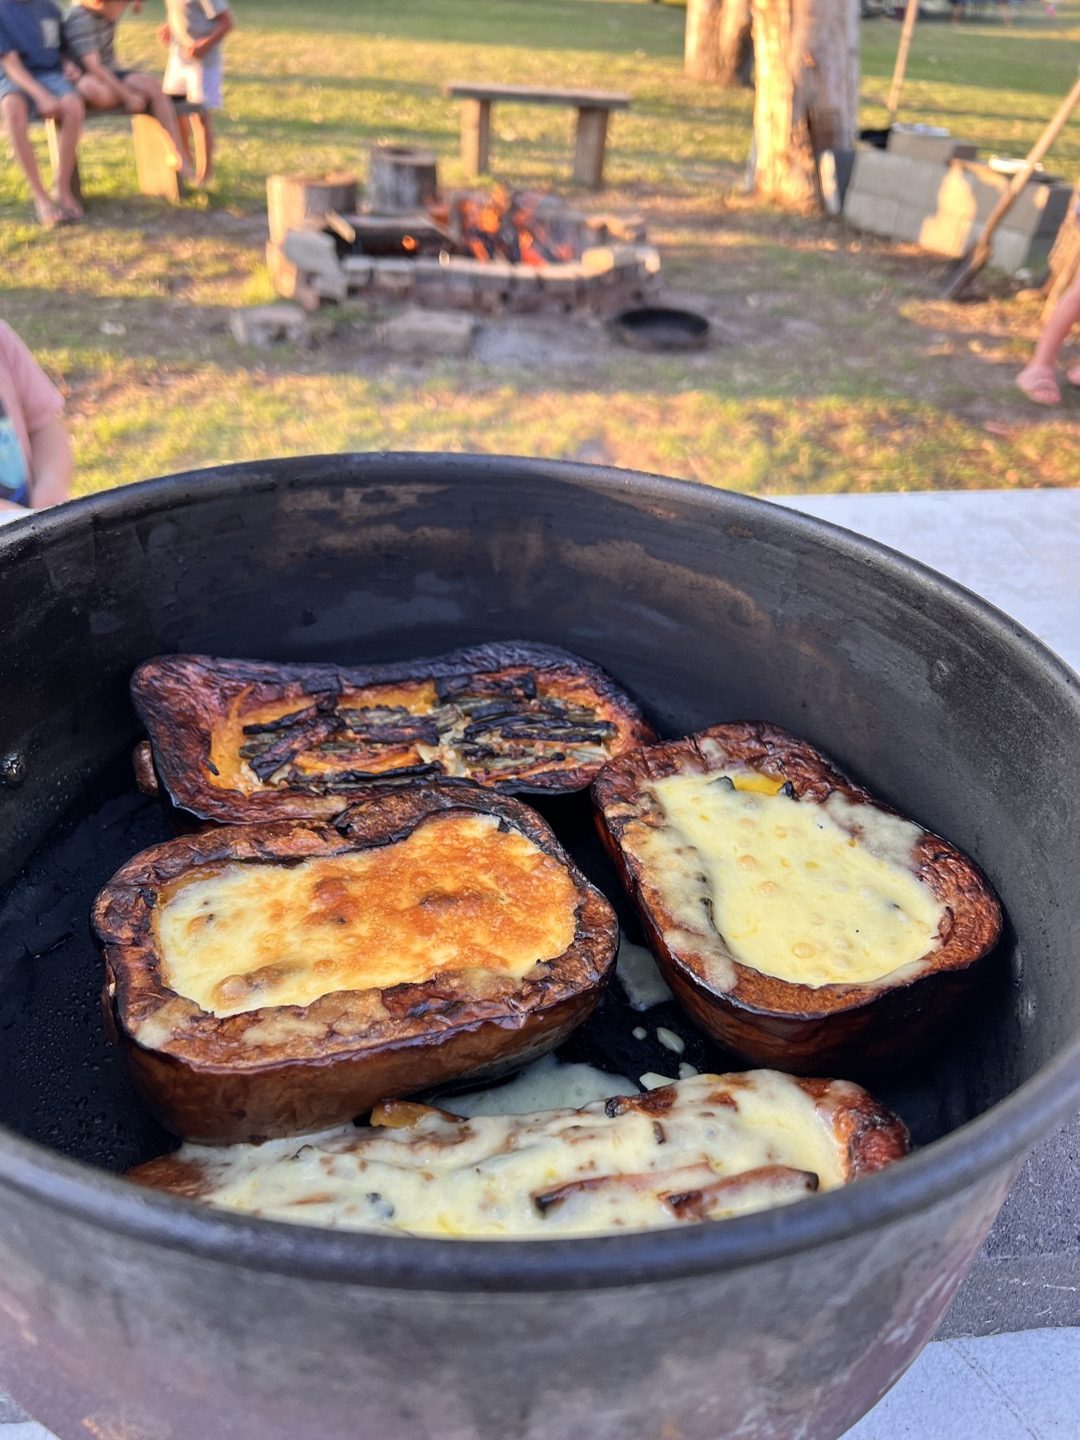
My prize winning stuffed pumpkin recipe is now yours to replicate 🙂 This delicious recipe came about at Burrum Heads when we were staying on our friends property, Burrum Shores (which you can book on Hipcamp!) It’s so good it came in second place in the weekly camp oven cook off! Be creative and stuff it with whatever veggies you have on hand. Let me know how you go.

Ingredients: (I’m not giving exact amounts as it will vary according to taste, size of pumpkin, how many pumpkins etc)

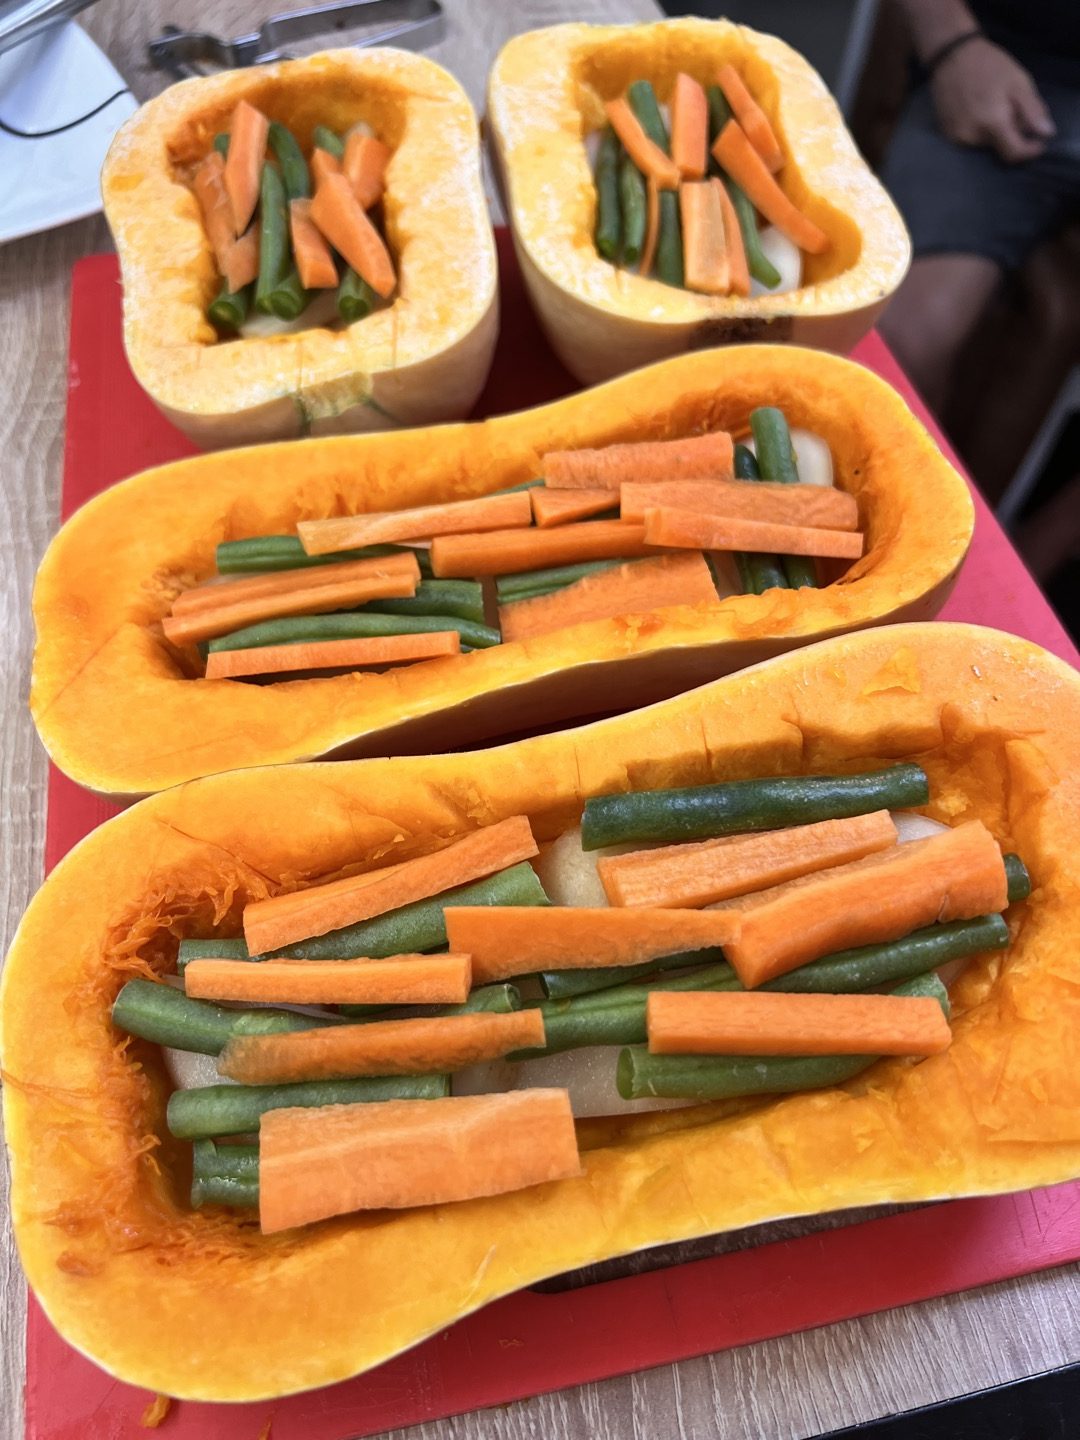
  • Butternut Pumpkin, halved with the seeds and the insides scooped out (scoop more if you want to stuff it more, less if you want more pumpkin)
  • Thinly sliced potato
  • Thinly sliced carrot
  • Green beans
  • Cream
  • Crushed garlic
  • Herbamere (or salt and pepper)
  • White wine

Method:

  1. Layer your sliced potato, carrots, and beans in the pumpkin
  2. Combine cream, garlic, wine, herbs & spices
  3. Pour cream mixture over the veggies
  4. Cook in camp oven with coals on top for about 45 minutes. We pop it onto the coals for 5-10 minutes at the start and then remove it and set it aside, leaving hot coals on top
  5. After about 45 minutes, check and if soft and browning well, add cheese
  6. Put back in camp oven with coals on top for further 30 minutes or until cheese is brown and bubbly
Perfect Grain Free Avocado Waffles

Perfect Grain Free Avocado Waffles

This is the PERFECT waffle recipe when you have a surplus of avocados or a couple that are just a little bit too ripe. These waffles are healthy, fluffy, crispy and so easy to make. Do they have a green tinge? Yep! That would be due to the 2 full avocados in this creamy waffle mixture. What are you waiting for? Get out your waffle iron and let’s go!

Ingredients:

  • 6 large eggs
  • 250 g cream cheese (full fat)
  • 2 ripe avocados, skin off, seed out
  • 1 tsp bicarb soda
  • 1 1/2 cup almond flour
  • 1 1/2 cups arrowroot flour/tapioca flour
  • Splash of water (maybe 1/2 a cup)
  • Sweetener if desired. I usually don’t add any as we often eat these with savoury toppings.

Method:

  1. Preheat waffle maker
  2. Blend all ingredients in a blender until smooth. Check and add more water if necessary.
  3. Allow to sit and thicken while the waffle maker is heating up.
  4. Add a dollop of butter (Optional – sometimes I do, sometimes I don’t!)
  5. Pour the batter in and cook until your liking.
  6. Serve straight away to get that crispy, fluffly texture.

Tips:

  • Omit the avocados if you don’t have any. This recipe is great without them.
  • Use less tapioca flour for a lower carb count.
  • Add extras like sugar-free chocolate chips, blueberries, banana or whatever you like to spice them up a bit! Why not add some allspice? 🙂
  • I store extras in the fridge and to reheat, use the air fryer for about 4 minutes at 180C.


Cheesy Veggie Cups

Cheesy Veggie Cups

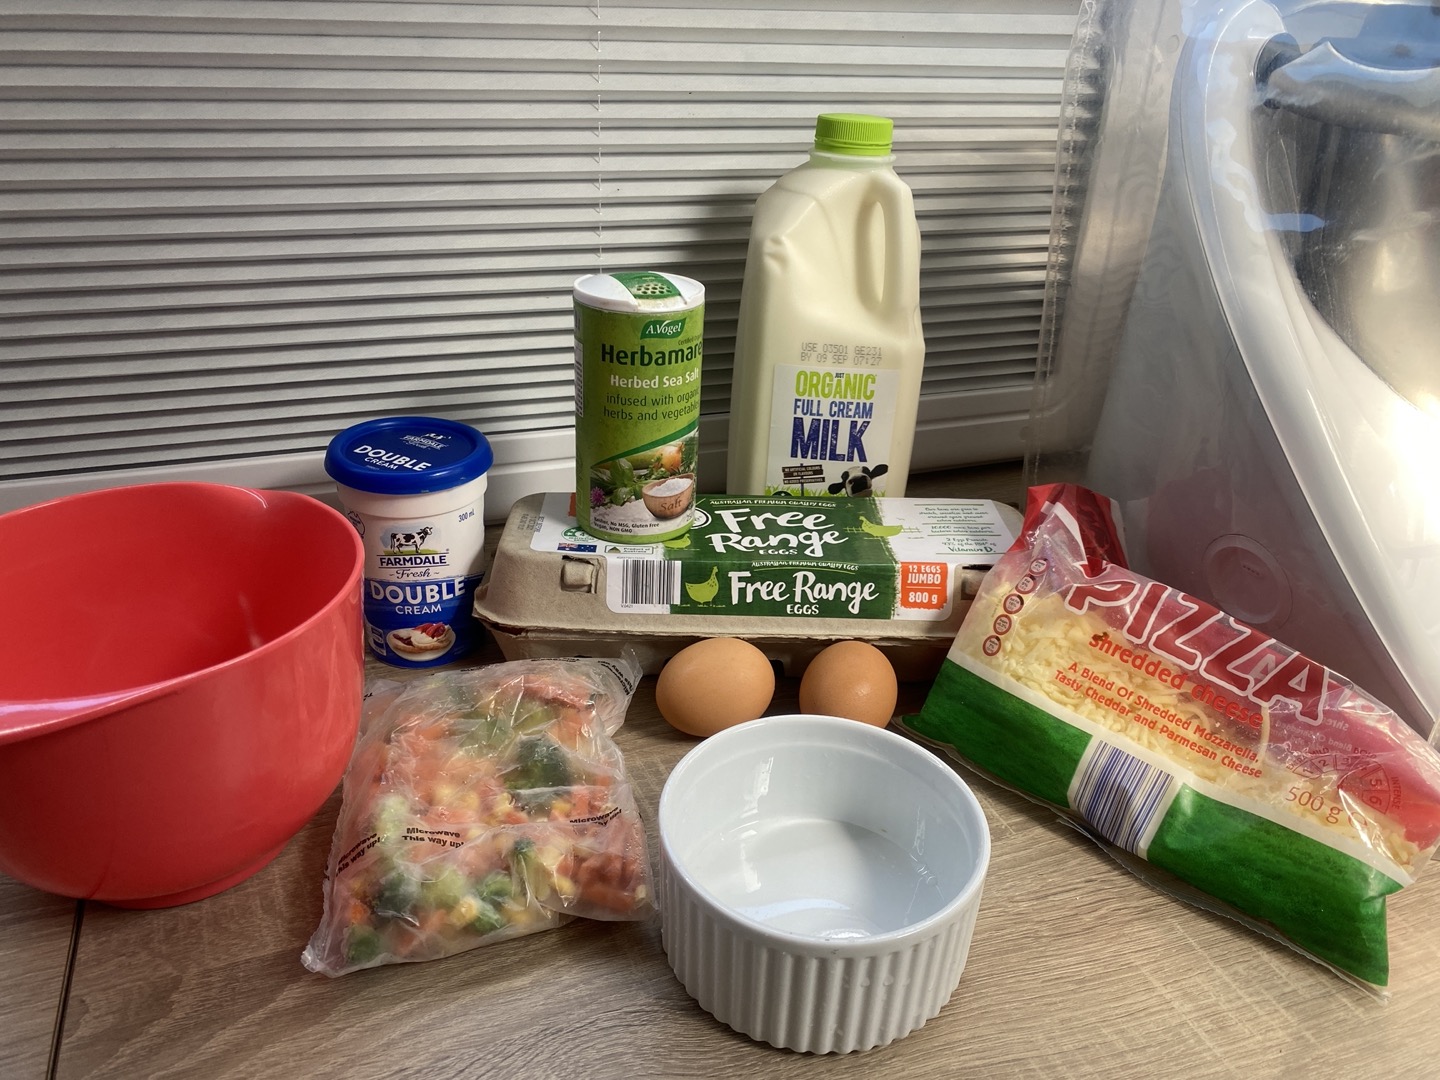
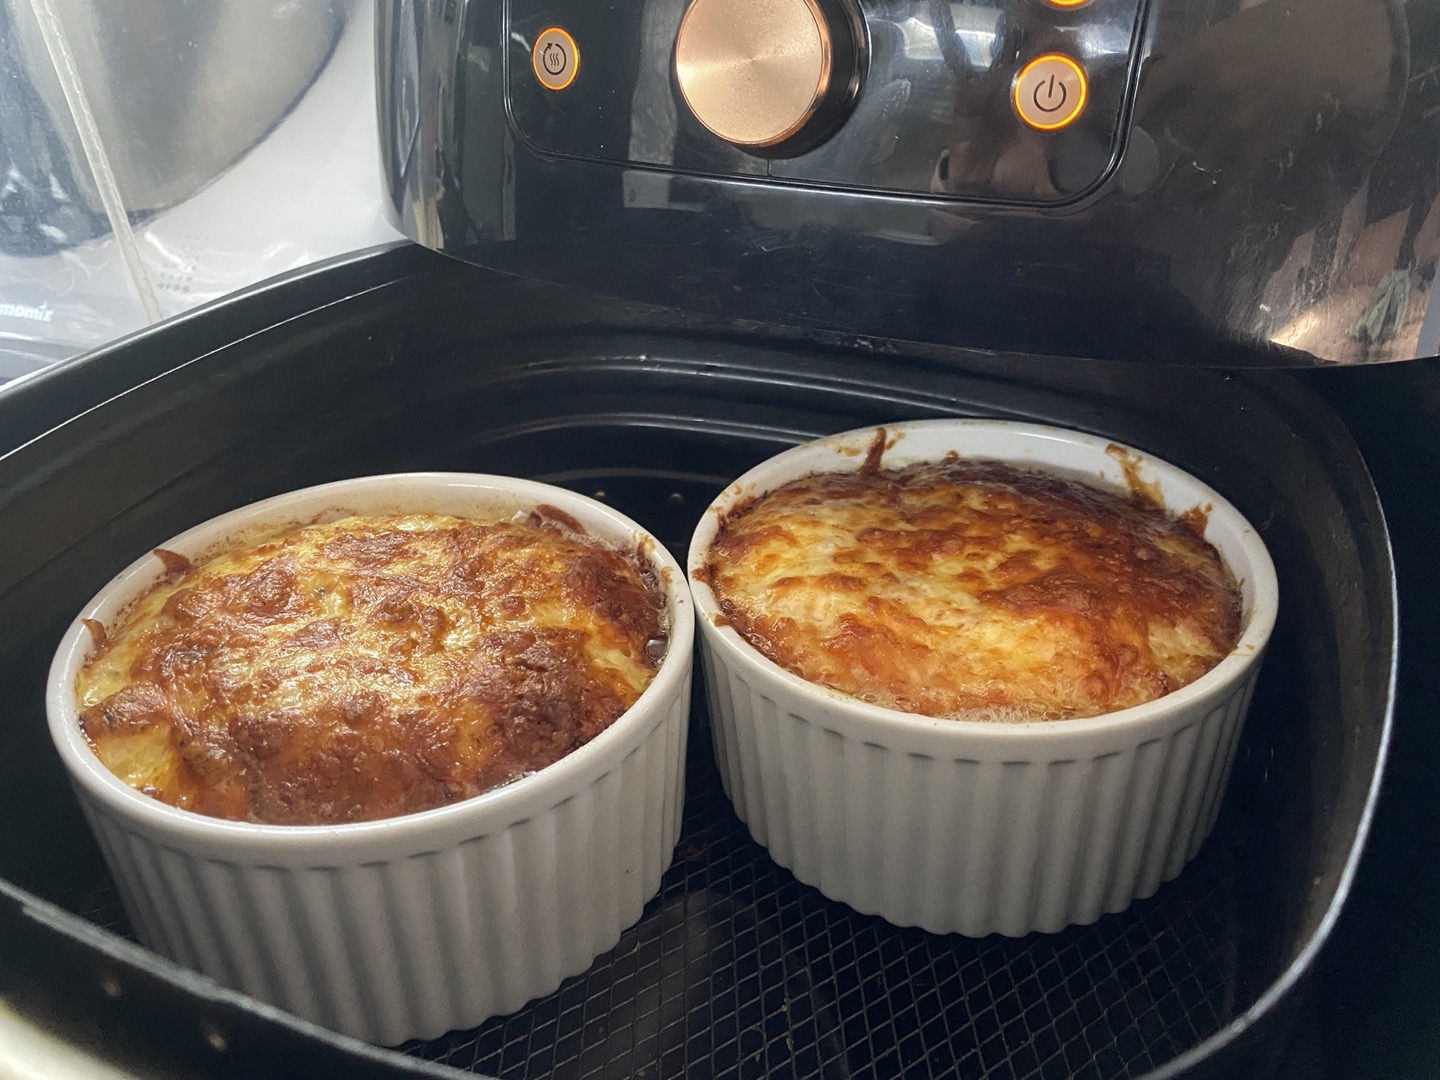
Easy, delicious and made with almost no mess, these cheesy veggie cups will surely become your new favourite dish! Simply mix all the ingredients together and pop them in the air fryer. This is also low carb.

Serves 2

Ingredients:

  • Spray oil
  • 3 large eggs
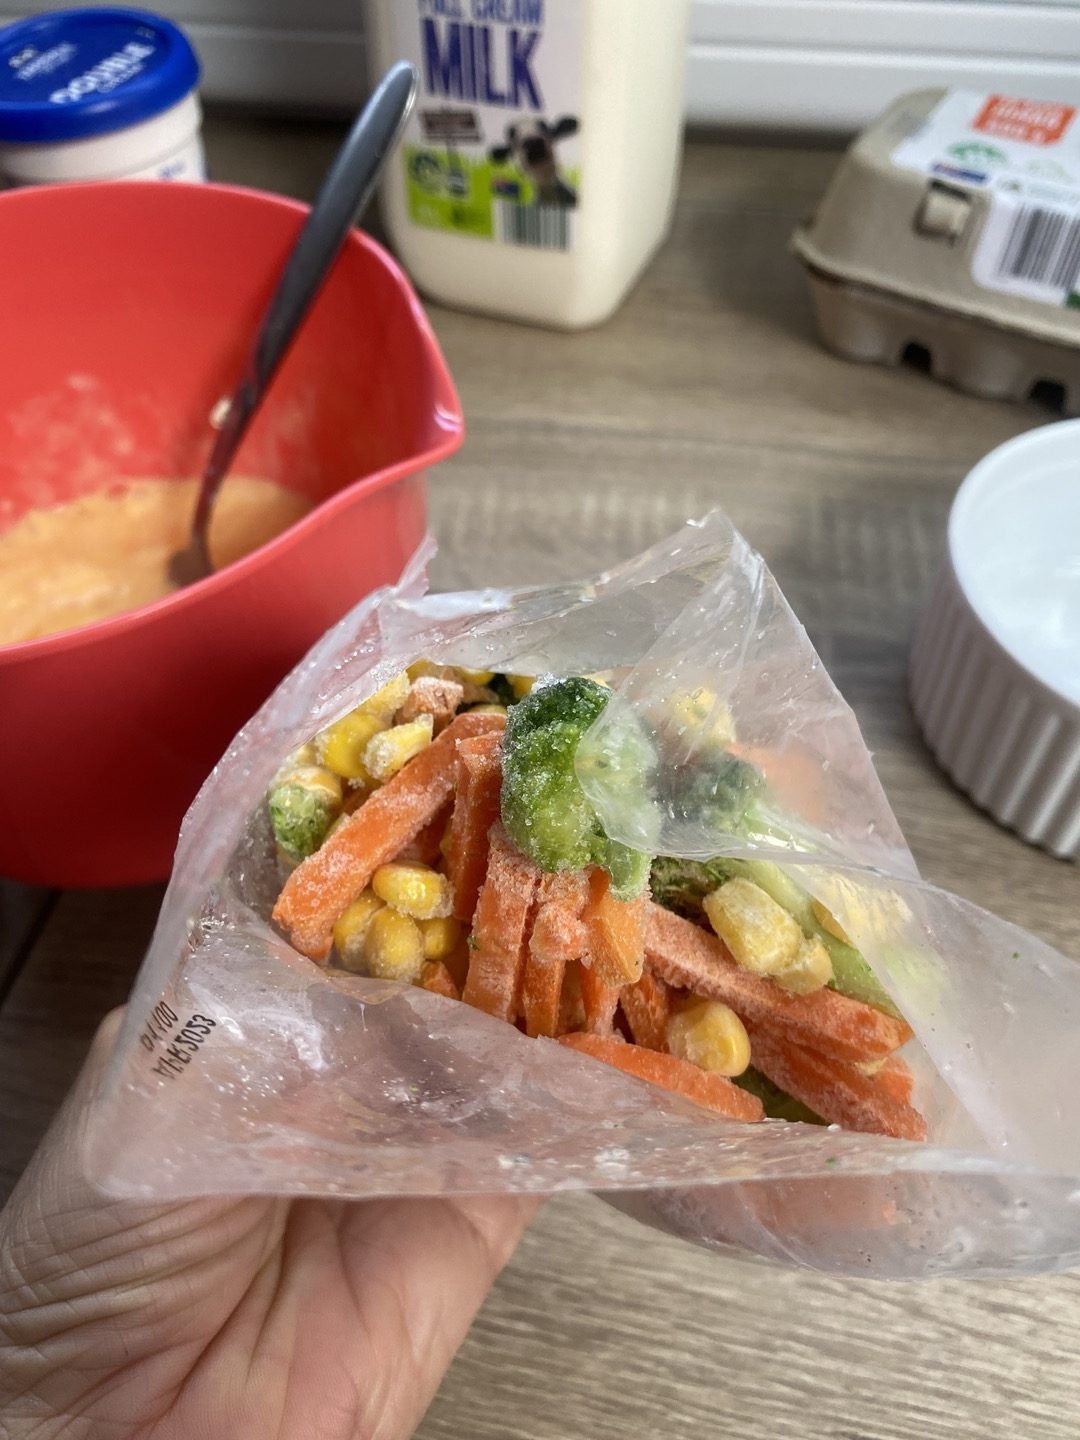
  • 1 cup diced veggies
  • 3/4 cup grated cheese + extra for topping.
  • 2 Tbsp cream
  • 2 Tbsp milk
  • Herbs and spices (I use Herbamere)

Method:

  1. In a medium sized bowl, whisk eggs, cream, milk and herbs/spices.
  2. Add cheese and vegetables and stir to combine.
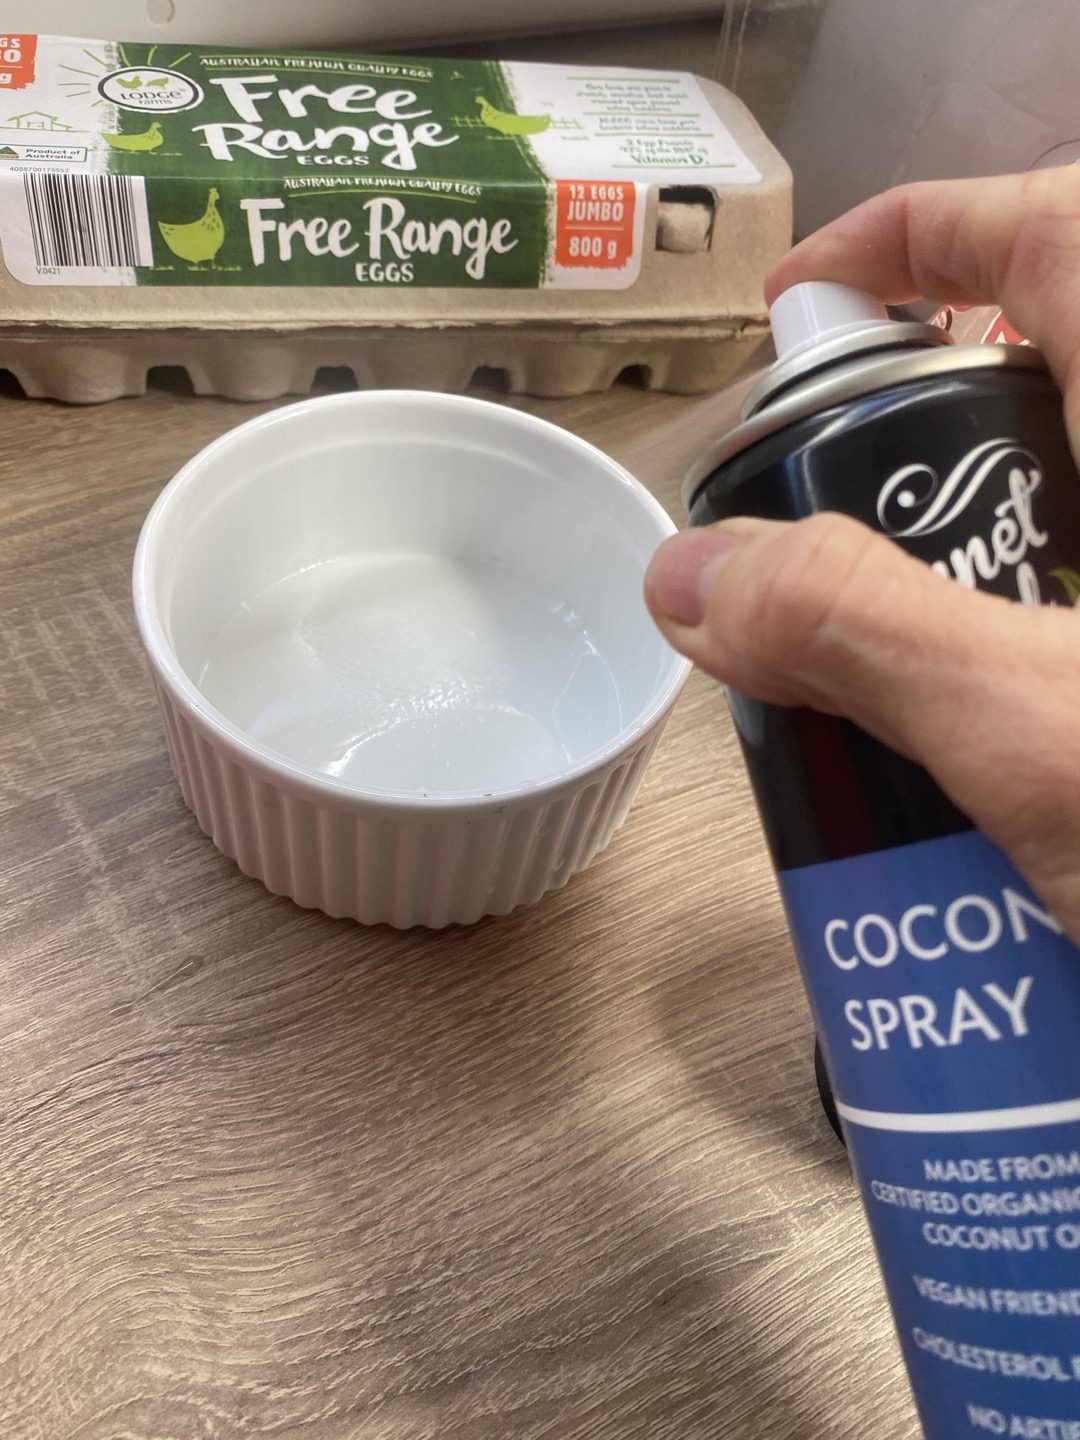
  3. Spray whatever dish you will be cooking them in with oil.
  4. Divide mixture beween dishes.
  5. Bake in air fryer for 12 minutes at 180C.
  6. Add remaining cheese and cook for a further 4-5 minutes or until cheese is golden and bubbly.

Tips:

  • Can be cooked in a regular oven, simply allow oven to pre-heat before cooking and adjust cooking times to suit.
  • This is a delicious breakfast dish.
  • Play with your flavourings. Garlic, paprika, onion powder, different herbs etc.
  • Add some crumbled bacon and spring onion.
  • I use ramekins but you can cook this in one bigger dish if you prefer. Adjust cooking times to suit.
  • I keep little frozen packets of veggies in the freezer as it takes up less room. I use one of these for my veggies.
  • Serve on its own or with 1/2 an avocado or side salad.
Loaded Cauliflower Bake

Loaded Cauliflower Bake

Delicious, healthy and easy to make – this low-carb cauliflower bake will have you begging for seconds!

Serves 5

Ingredients:

  • 1 large head of cauliflower, broken/cut into florets
  • 6-8 rashers bacon, chopped
  • 1 brown onion, sliced
  • 6 Tbsp chives, chopped
  • 1/2 cup cream cheese
  • 1/2 cup sour cream
  • 2C cheese, grated (a combo of mozzarella and tasty is good)
  • 250 g mushrooms, sliced
  • 1 zucchini, grated
  • 1-2 tsp garlic powder
  • 1 tsp herbamere (optional)

Method:

  1. Preheat oven to 180C (omit if using air fryer).
  2. Steam cauliflower lightly.
  3. Fry onion and bacon in a pan. Add garlic powder and cook until onion is transluscent.
  4. In a large bowl, combine sour cream, cream cheese, 1/2 of crumbled bacon & onion, mushroom, zucchini, 3 Tbsp chives, 1 cup cheese, cauliflower and herbamere. Mix well.
  5. Place mixture in baking tray and top with remaining cheese and bacon.
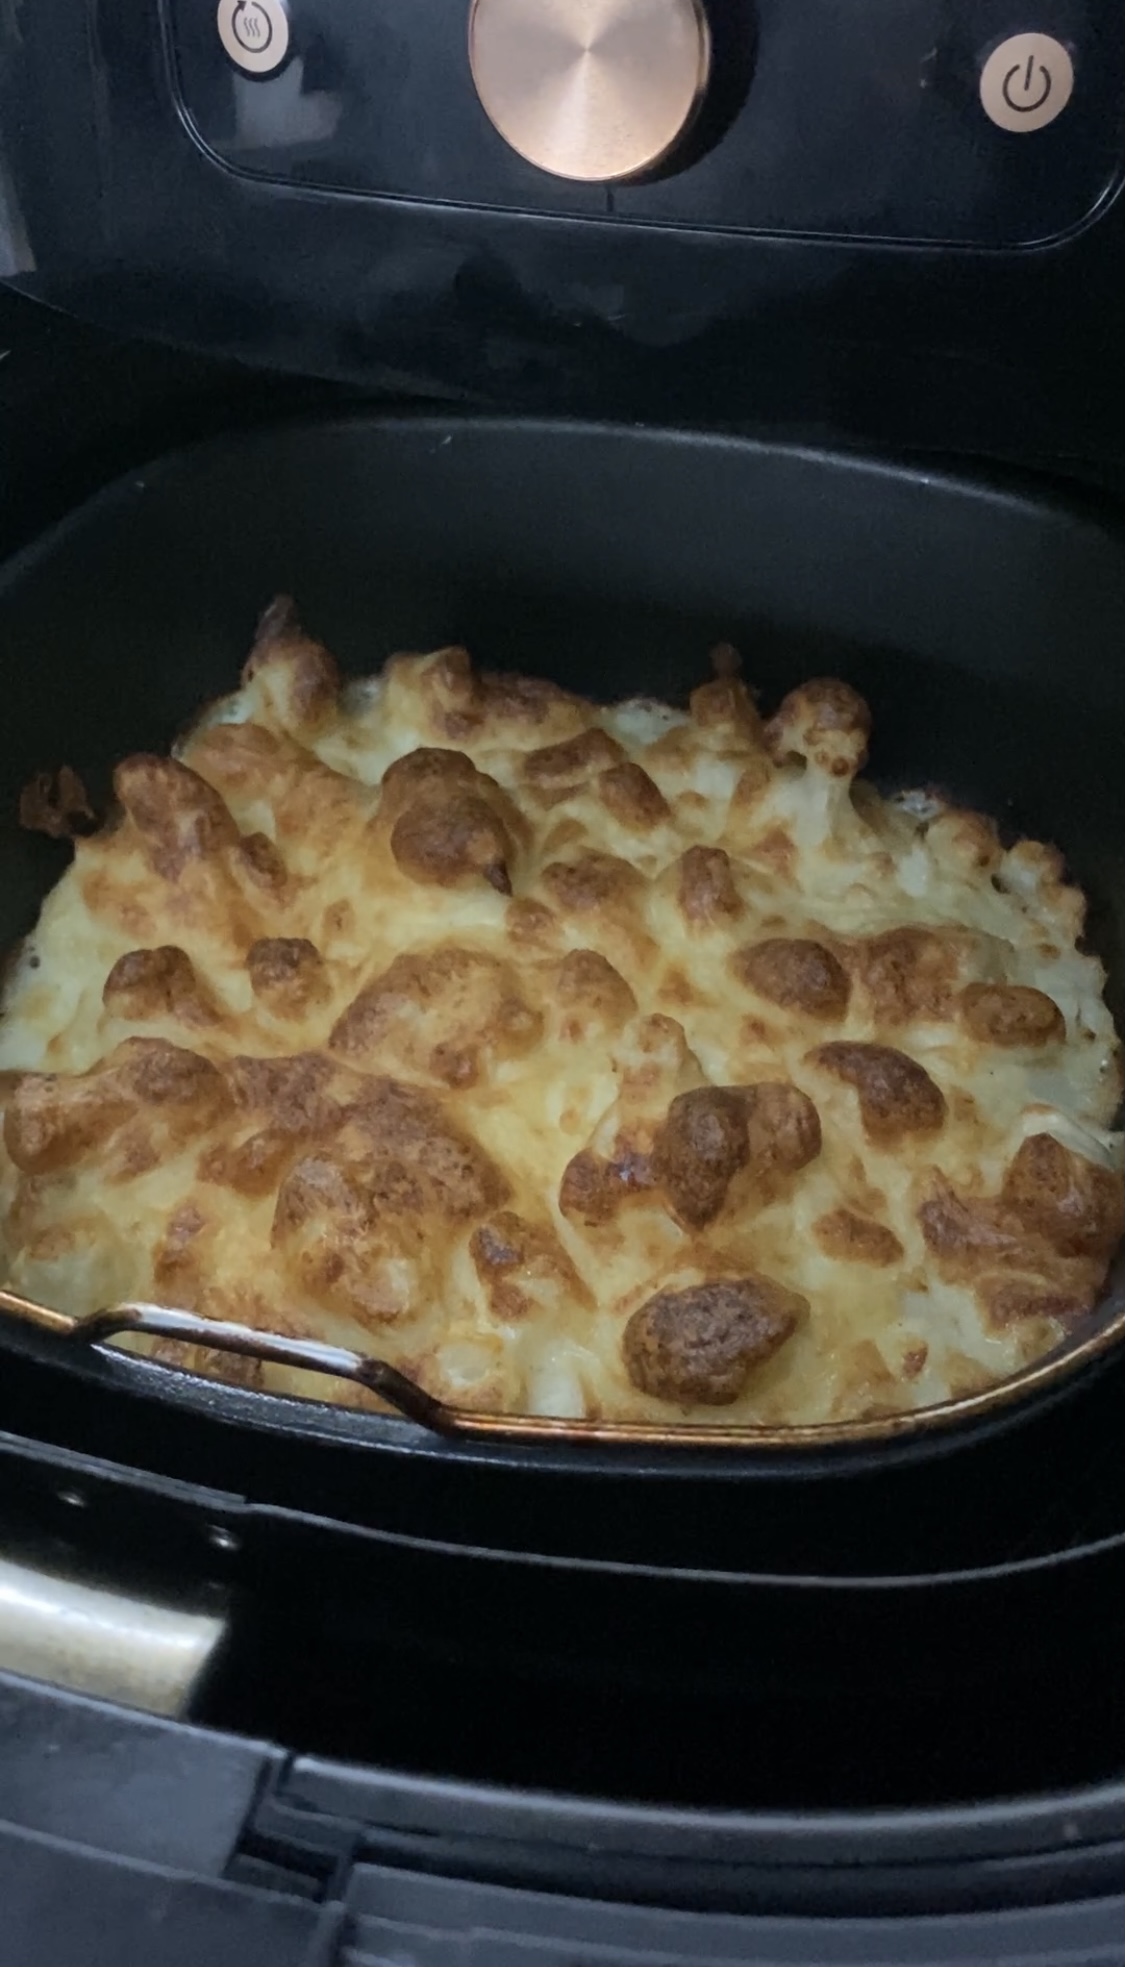
  6. Bake in oven or air fryer for 15-20 minutes or until cheese is golden and bubbling.
  7. Top with remaining chives and serve.

Everything is optional! Use what you have. This picture is a super basic one using what I had in the fridge which was just cauliflower!

Egg Free Bread

Egg Free Bread

Having been diagnosed with an egg intolerance certainly makes finding a good bread recipe hard! Thankfully, this now exists and is a regular for me. I have made it a few ways; once I accidentally left out the ACV and it turned out fine. I have also made it once using a store bought egg replacer (1 Tbps.) and it turned out really well too. Have a play and see what works best for you in your kitchen 🙂 PS. Over time my egg intolerance has reduced so I am able to eat them, just not overdo it!


Ingredients:

  • 1/2c (65g) pysllium husk powder
  • 2/3c (85g) almond meal/flour (the blanched/lighter coloured one)
  • 1/3c (30g) coconut flour
  • 1 tsp. cream of tartar
  • 1 tsp. baking soda
  • 1 tsp. pink salt
  • 1c boiling water
  • 1 Tbsp. apple cider vinegar
  • 1/3 cup melted butter
  • 3 Tbsp. coconut oil melted

Method:

I used my thermomix, but you could easily use a normal food processor or bowl.


  1. Place pysllium husk powder, almond meal, coconut flour, baking soda, cream of tartar and salt into bowl/thermi/food processor and mix until everything is incorporated.
  2. Pour boiling water in while mixing gently.
  3. Add acv, butter and coconut oil.
  4. Continue mixing until a dough is formed.
  5. Spread dough into a greased bread/baking tin. (I use a silicone one).
  6. Bake at 180C for about 45 minutes or until top is brown and it is cooked through.
  7. Cool in baking tin for about 20 minutes before removing and letting cool completely on rack (I fast track this by popping it straight into the fridge in the baking tin!).
  8. Store in refrigerator or freezer. It should last a few days on the bench if the weather isn’t too hot. I choose to slice and then refrigerate.

Tips:

  • Add some garlic and onion powder
  • Add some mixed herbs
  • Add whatever you like and see how it turns out! lol


The ‘dough’ looks a bit odd until you press it down

Press it down using your hands or the back of a spoon

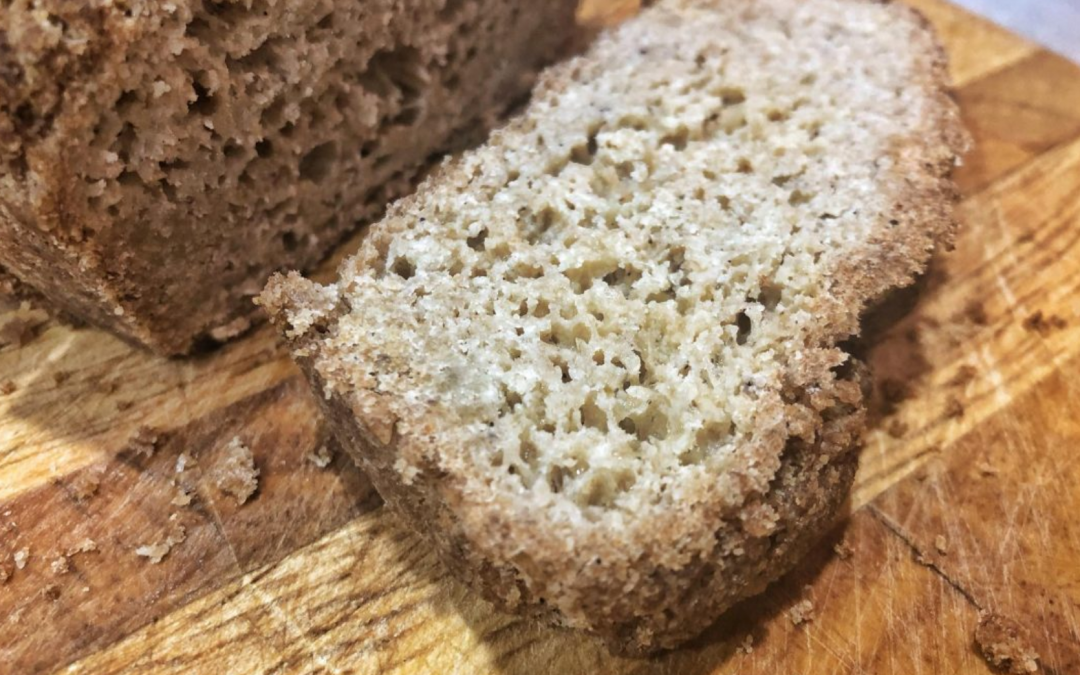
It slices up easily after being refrigerated

What a beautiful loaf of bread!

Exactly what I felt like