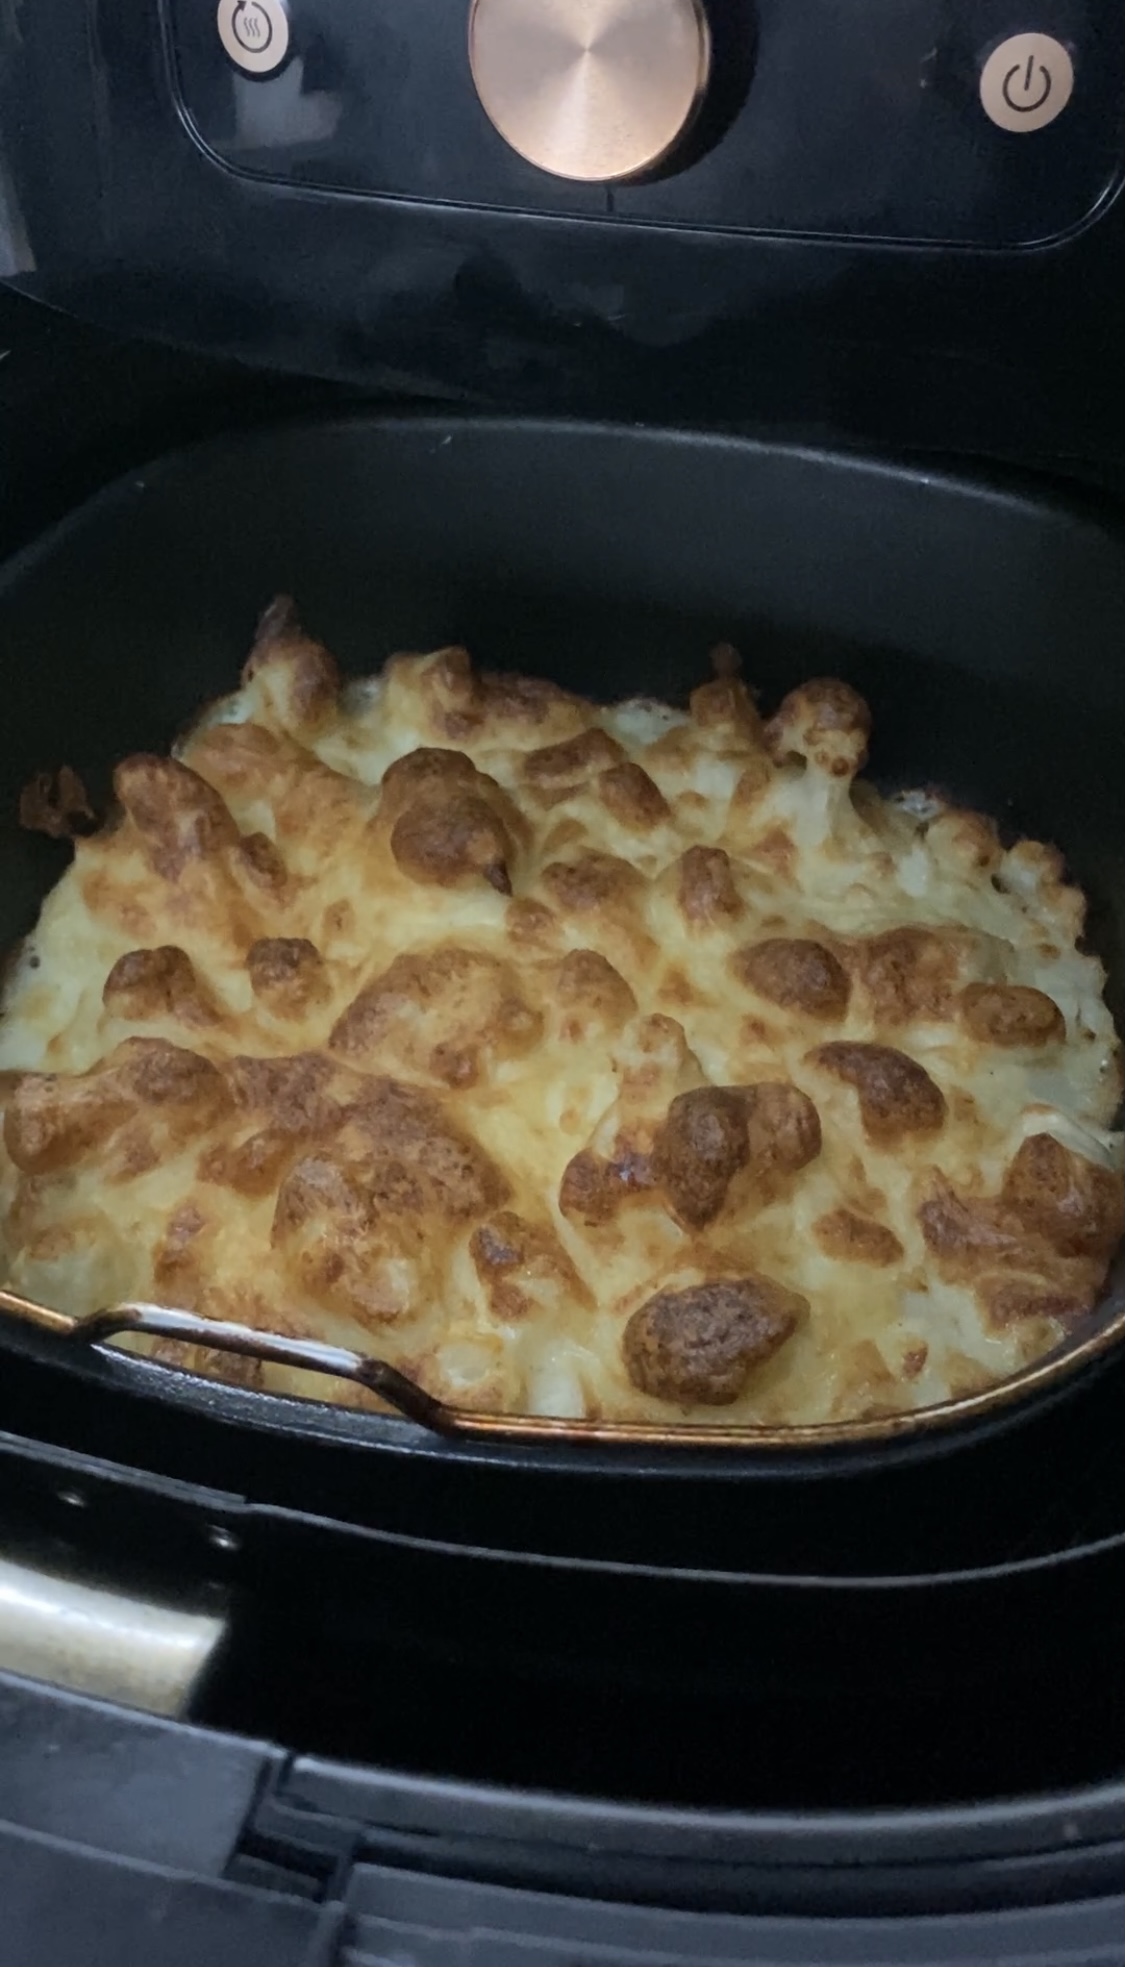
Loaded Cauliflower Bake

Loaded Cauliflower Bake

Delicious, healthy and easy to make – this low-carb cauliflower bake will have you begging for seconds!

Serves 5

Ingredients:

  • 1 large head of cauliflower, broken/cut into florets
  • 6-8 rashers bacon, chopped
  • 1 brown onion, sliced
  • 6 Tbsp chives, chopped
  • 1/2 cup cream cheese
  • 1/2 cup sour cream
  • 2C cheese, grated (a combo of mozzarella and tasty is good)
  • 250 g mushrooms, sliced
  • 1 zucchini, grated
  • 1-2 tsp garlic powder
  • 1 tsp herbamere (optional)

Method:

  1. Preheat oven to 180C (omit if using air fryer).
  2. Steam cauliflower lightly.
  3. Fry onion and bacon in a pan. Add garlic powder and cook until onion is transluscent.
  4. In a large bowl, combine sour cream, cream cheese, 1/2 of crumbled bacon & onion, mushroom, zucchini, 3 Tbsp chives, 1 cup cheese, cauliflower and herbamere. Mix well.
  5. Place mixture in baking tray and top with remaining cheese and bacon.
  6. Bake in oven or air fryer for 15-20 minutes or until cheese is golden and bubbling.
  7. Top with remaining chives and serve.

Everything is optional! Use what you have. This picture is a super basic one using what I had in the fridge which was just cauliflower!

Air Fryer Hard Boiled Eggs

Air Fryer Hard Boiled Eggs

My air fryer never ceases to amaze me. Sure, it does great sweet potato fries and an INSANELY delicious pork belly roast, but did you know you can do simple things like fry and even ‘BOIL’ EGGS in your air fryer?

Try this and let me know how you go! I haven’t ‘boiled’ an egg in water for years.

This method is so easy and it’s never not worked for me. But – if it goes wrong for you, please don’t blame me! Lol. I have the Philips XXL 2225w air fryer so you may need to modify according to what you are using.


Ingredients:

  • Raw eggs. I cook between 4-6 at any one time. No need to bring to room temp – straight out of the fridge is fine!

Method:

  1. Preheat the air fryer to 120° C for about 3 minutes
  2. Place the eggs in the airfryer basket or baking dish (I use the baking dish accessory).
  3. Cook for 16 minutes
  4. Remove from the air fryer, and pop them in a bowl of cold water for 10 minutes
  5. Peel the eggs, slice the tops off … or paint them. Whatever it is you want do with your ‘hard boiled’ eggs!


Egg Free Bread

Egg Free Bread

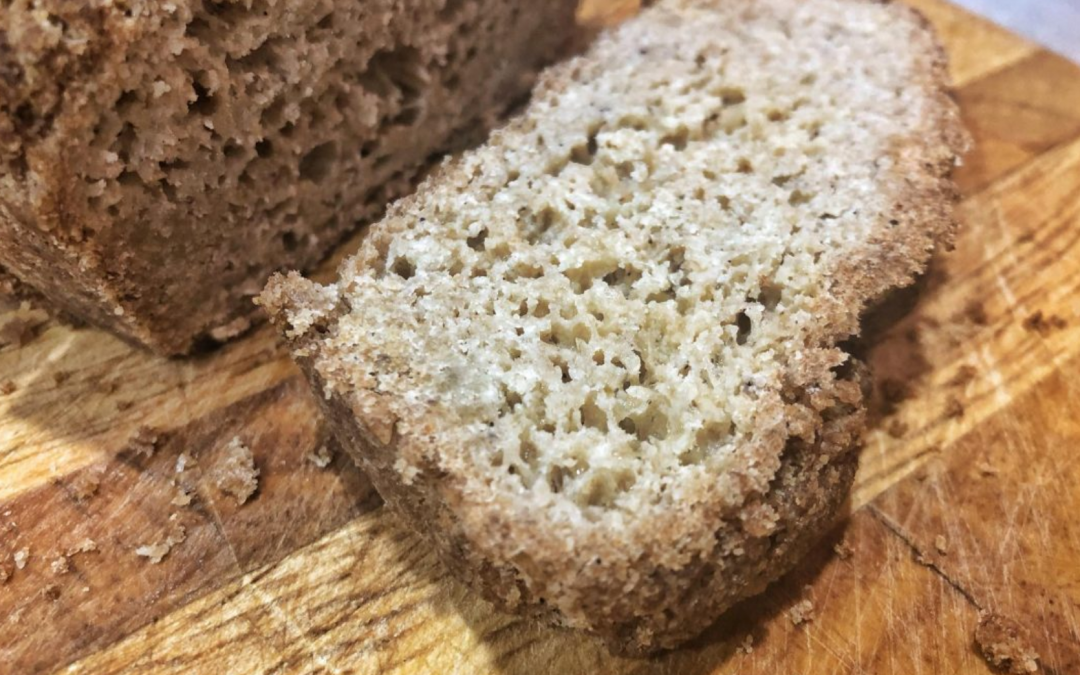
Having been diagnosed with an egg intolerance certainly makes finding a good bread recipe hard! Thankfully, this now exists and is a regular for me. I have made it a few ways; once I accidentally left out the ACV and it turned out fine. I have also made it once using a store bought egg replacer (1 Tbps.) and it turned out really well too. Have a play and see what works best for you in your kitchen 🙂 PS. Over time my egg intolerance has reduced so I am able to eat them, just not overdo it!


Ingredients:

  • 1/2c (65g) pysllium husk powder
  • 2/3c (85g) almond meal/flour (the blanched/lighter coloured one)
  • 1/3c (30g) coconut flour
  • 1 tsp. cream of tartar
  • 1 tsp. baking soda
  • 1 tsp. pink salt
  • 1c boiling water
  • 1 Tbsp. apple cider vinegar
  • 1/3 cup melted butter
  • 3 Tbsp. coconut oil melted

Method:

I used my thermomix, but you could easily use a normal food processor or bowl.


  1. Place pysllium husk powder, almond meal, coconut flour, baking soda, cream of tartar and salt into bowl/thermi/food processor and mix until everything is incorporated.
  2. Pour boiling water in while mixing gently.
  3. Add acv, butter and coconut oil.
  4. Continue mixing until a dough is formed.
  5. Spread dough into a greased bread/baking tin. (I use a silicone one).
  6. Bake at 180C for about 45 minutes or until top is brown and it is cooked through.
  7. Cool in baking tin for about 20 minutes before removing and letting cool completely on rack (I fast track this by popping it straight into the fridge in the baking tin!).
  8. Store in refrigerator or freezer. It should last a few days on the bench if the weather isn’t too hot. I choose to slice and then refrigerate.

Tips:

  • Add some garlic and onion powder
  • Add some mixed herbs
  • Add whatever you like and see how it turns out! lol


The ‘dough’ looks a bit odd until you press it down

Press it down using your hands or the back of a spoon

It slices up easily after being refrigerated

What a beautiful loaf of bread!

Exactly what I felt like