Apple Sauce (thermomix)

Apple Sauce (thermomix)

This recipe contains about 5g of carbs per 50g serve when made with xylitol only (no honey or rice malt syrup).

It is definitely more Paleo than LCHF, so please take this into account.


Serves 12

  • 600g apples UNPEELED (depending on size) preferably organic (or at least soaked/rinsed well)
  • 80 g  water
  • 2 Tbsp. Xylitol (or stevia) optional (omit if adding honey or rice malt syrup)
  • ½ tsp. citric acid or lemon juice

Method:

  • Core and quarter the apples, leaving the peel on. (feel free to remove peel if apples aren’t organic)
  • Put apples and water into TM bowl and chop for 30 seconds on speed 4.
  • Open lid, scrape down the sides of the bowl with spatula (add citric acid and sweetener if using)
  • Cook at 90C for 9 minutes on speed 4.
  • For a smoother consistency, blend for about 30 seconds gradually increasing to speed 8.

Optional Flavour Additions:

  • 1 tsp. vanilla extract, 1 tsp. cinnamon
  • 1 tsp. maple extract, 1 tsp. cinnamon
  • 1 tsp. mixed spice, 1-2 Tbsp. Raw honey
  • 1 tsp. mixed spice, 1-2 Tbsp. Rice malt syrup

Tips:

  • If the applesauce is too thick, add more water to thin it out.
  • Add more or less sweetener to suit your preference.
  • If too sweet, add more lemon juice or citric acid.
  • Serve hot or cold.
  • Freezes well and will last at least a year when frozen. When freezing, make sure you use jars specifically labeled for freezing and only fill ¾ full to allow for expansion.
  • I usually make a triple batch and it will last 12 months as we eat it so infrequently.

Serve with:

  •  Pork chops and savoury dishes
  •  Cottage cheese as a snack or light lunch
  • Vanilla ice cream (low carb) or yogurt
    • custard recipe here: http://www.mimfit.net/almost-dairy-free-custard/
  • Use in recipes to add a sweeter apple flavour (can be used in place of oil)


(Visited 17 times, 1 visits today)
Air Fryer Roast Veggies

Air Fryer Roast Veggies

Ingredients:

Whatever veggies you have lying around but I used these:

  • tomato
  • zucchini
  • capsicum
  • red onion
  • mushrooms
  • seasoning of choice (garlic powder, onion powder, herbs/spices etc)
  • pinch of xylitol
  • olive oil and basil
  • parmesan cheese

Method:

  1. Chop into bite size pieces.
  2. Add all ingredients to air fryer baking dish.
  3. Cook for 15 mins at 180C.
  4. Add parmesan and cook for another 2 mins
Bone Broth

Bone Broth

You should be making bone broth on a regular basis so you have it on hand as a base for lots of your yummy recipes. It is often used as a healing meal on its own. It’s always a good idea to have bone broth ready in the freezer!

It may seem like a hassle to begin with, but after making it a few times, you will get the hang of it. And preparing it yourself makes it really economical. Remember this is a lifestyle, not a diet, and these changes are to benefit your health long-term.

If you can’t make your own bone broth you can purchase pre-made bone broth from certain supermarkets (I know Food Works in QLD often stocks it) and from health food stores. Pre-made is more expensive but can be convenient (although often only cooked for 12 hours).

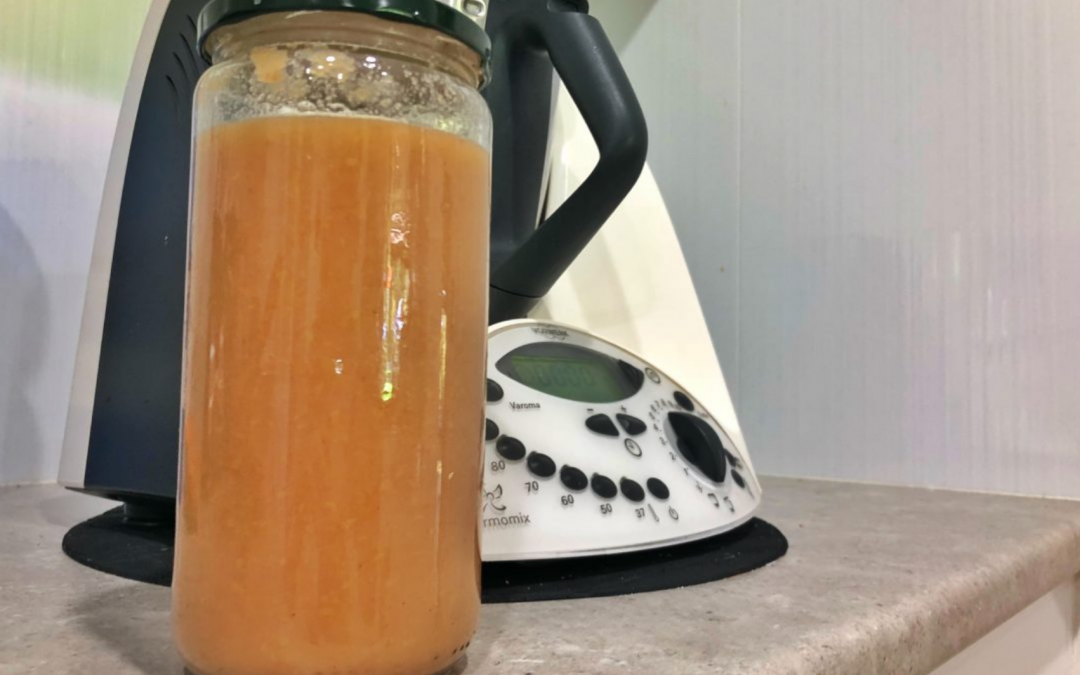
Bone broth concentrate is also very handy to have in the cupboard just in case you run out of your own. I take a jar with us when we go away in the caravan as it’s easy and saves space in the fridge or freezer. And as all caravanners know, space is precious!  I simply add it to whatever I’m cooking, or even just add it to a mug of boiling water for a gut soothing addition to my caravanning diet 🙂

You can substitute store bought stock in the recipes, but please know that the bone broth is extremely important to a true healthy way of eating. Bonox is NOT a suitable replacement.

Bone broth contains proteins and other nutrients in the marrow; calcium, magnesium, iodine, potassium, phosphorus and much more that won’t be present in stock. Bone broth can help to heal your gut, protect your joints, help you sleep better, is wonderful for immune support, can strengthen you hair, bones and nails, give you glowing skin and more energy! If you feel ‘blah’ a cup on its own works wonders.

There is a vegetarian option, but the healing properties and all the benefits from traditional bone broth, are not present.

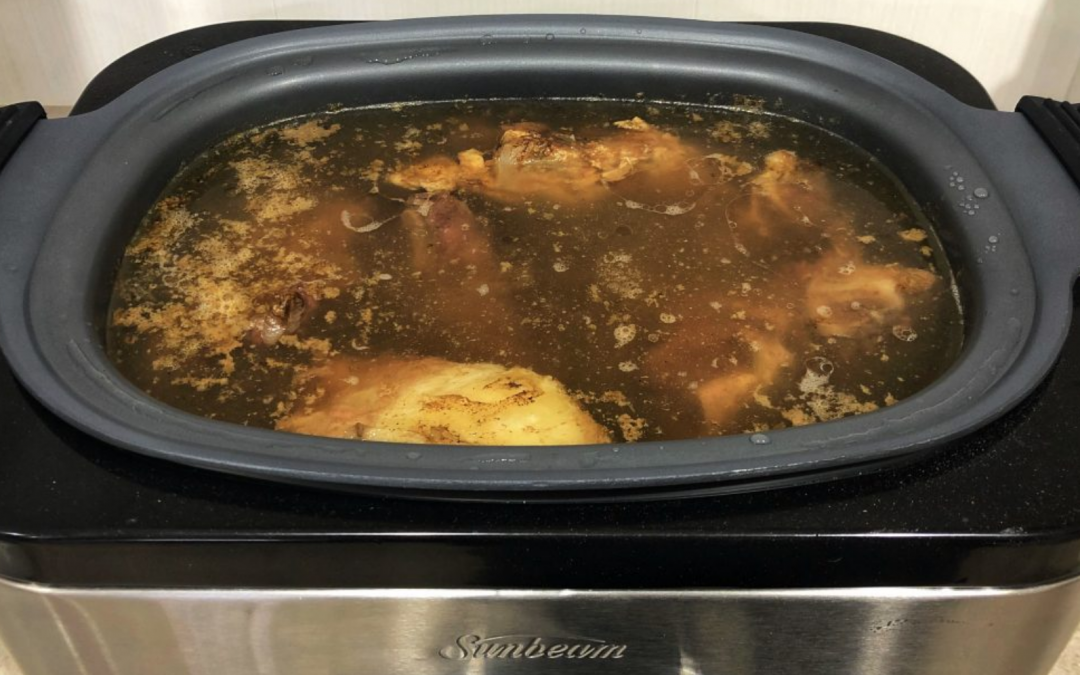
A slow cooker is a wonderful investment in your health as it is much easier to flick it on and leave it than worrying about the stovetop burners being left on for hours on end. Slow cookers are very cheap (about $40) and are used ALL the time in our house!


A warm mug of bone broth while I work … yum 🙂

Chicken or Beef Bone Broth Makes about 1.5 litres

Ingredients:

  • 2.5k of mixed bones (beef marrow, knuckle bone and some meatier bones like neck and ribs) or 2-3 organic chicken carcasses (roasted or raw)
  • 2 litres filtered water
  • 2 Tbsp. vinegar (I use apple cider vinegar, but white wine or other vinegar would be fine) OR 1-3 cups of KOMBUCHA VINEGAR
  • Herbamere

Method:

  1. Oven roast the meatier beef bones for 45 minutes at 170C (optional, you can skip this part, but I love the extra flavour!) of if you have a slow cooker like mine with a sear function, brown them off before changing the setting to slow cook.
  2. Soak the less meaty beef bones in water and the vinegar (optional – you can add it later, but it draws more nutrients out this way).
  3. Sprinkle bones with vinegar (if you haven’t soaked the bones in it; if you have, add all the water and vinegar together)
  4. Add filtered water up to the brim
  5. Cook on low for at least 12 hours – if you can, leave it for 2-3 days – the longer, the better (in my opinion!) I leave mine 2-3 days. (you can also boil the broth before transferring it to the slow cooker – this can help extract more of the collagen that helps the broth to ‘gel’ when cooked.)
  6. Add water if it becomes extremely thick or the level drops considerably.
  7. Strain it into a large bowl (I use a large collander and then repeat with a sieve) and place in the fridge.
  8. Stir in herbamere to flavour (or salt and your choice of flavourings)
  9. Cool and then scoop the congealed fat from the top (set aside to use for something else if the bones were from healthy animals)
  10. Divide finished stock between containers (leave some head space if freezing) or use zip lock bags and save in portions sizes in fridge or freezer for later use. Ice cubes trays are great for smaller portion sizes. I use silicon muffin trays.
  11. I always have a 2L bottle in the fridge and my freezer is always ‘stocked’!

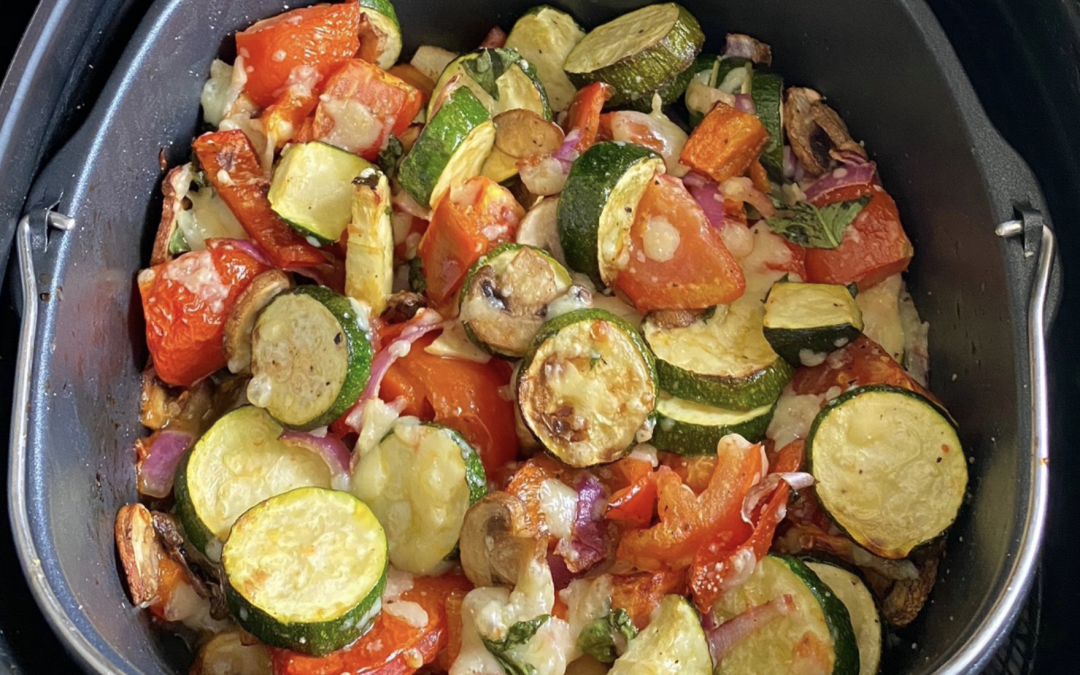
Vegetarian Bone Broth Alternative makes almost 3 litres


Ingredients:

  • 8 celery stalks, chopped
  • 6 carrots (unpeeled if organic)
  • 2  onions, roughly chopped
  • 2 unpeeled large sweet potatoes (peeled if not organic)
  • 4 cloves garlic, crushed
  • 1 bunch coriander (with stems)
  • 4 cups mixed of fresh chopped spinach and kale
  • 1 sheet seaweed
  • Handful of peppercorns
  • 1/4 cup fresh parsley, roughly chopped
  • 3  bay leaves
  •  Filtered water


Method:

  1. Put all the veggies in a large soup pot. Cover and bring to the boil.
  2. Remove lid, and reduce heat to low, so that the broth can simmer gently for about two hours. Add water if the level drops below the tops of the veggies.
  3. Add the coriander, parsley, seaweed, peppercorns, and bay leaves during the last 15 minutes.
  4. Strain using a strainer over a large bowl.
  5. Let broth cool, taste and season to your liking.
  6. Cool completely before storing in fridge or freezer.


We should all know how AMAZING bone broth is for us, and we should be drinking some EVERY DAY ….but is tasteless bone broth driving you crazy?

Have you given up having your daily dose because it’s just so ‘blah’?

Here are some simple tips to improve the flavour of your bone broth:

  • Season with something like Herbamere.
    Herbamere contains: sea salt, organic celery leaves, organic leek, organic cress (water and garden), organic onion, organic chive, organic parsley, organic lovage, organic garlic, organic marjoram, organic rosemary, organic thyme, kelp (with trace iodine).
    Use about 1 tsp. per litre.
  • Let it boil down (by removing the lid for about 15 minutes at the end to reduce the stock down and let it thicken up).
  • Roast the bones and veggies first ( I ALWAYS do this!).
  • If using veggies and herbs, don’t add them until the last few hours (sometimes overcooked carrots can give off a horrible taste.
  • Use fresh, good quality ingredients.
  • Ideally, you want bones with a bit of meat on them and bones with visible cartilage and marrow. The more collagen the better!

Is your bone broth not ‘gelling’?

Bone broth that doesn’t gel is still good for you and it probably even has some gelatin in it, just not enough to make it ‘set/gel’.  If you’d like a broth you can tumble (rather than pour) out of your jar, there are a few things you can try.

  • Adding more collagen-rich animal parts, like skin, feet, and joints.
  • Knuckle bones (from any animal).
  • Chicken feet, pork, lamb, goat, or pig or beef feet.
  • Tendons.
  • Entire chicken carcasses (I get these from my butcher).
  • Heads. Fish chicken, duck, or goose heads will work just as well. (not sure I could bring myself to try this one!) lol
  • Wingtips (chicken, duck, or goose).
  • Bring the broth to a boil first. Even if you’re making it in the slow-cooker, just boil the borth in a pot on the stove first, then transfer that straight to the slow cooker.
  • Try adding a little vinegar to your bones before you pour in the water. I use ACV.
  •  Leave it for a few days – the longer the better 🙂


What tips do you have for making a tasty bone broth? 🙂

(Visited 247 times, 1 visits today)
Berries and Cream

Berries and Cream

This is isn’t as much a recipe as it is an idea or suggestion for a simple dessert. This is something you don’t really have to think about and that you can bary according to what ingredients you have and how much effort you want to put it.


Ingredients:

  • cream
  • berries
  • optional extras:
    • nuts
    • muesli
    • toasted coconut
    • chia seeds
    • chopped fruit
    • whatever you want to add!

Method:

  1. Pour the cream into a bowl
  2. Top with berries and extras or stir them through

Tips:

  • Whip the cream with some vanilla extract
  • Add a drizzle of syrup (rice malt syrup, maple or honey)
  • Add some cacao powder and sweetener to the cream when whipping
Fat Hot Chocolate

Fat Hot Chocolate


I’m sure most of us have heard of bullet-proof coffee.  Chris loves it!  I’m not so keen on coffee but felt like I was missing out on this delicious, warm, filling way to start the day.

So one morning when I asked my daughter Charli what she felt like for breakfast and she said “something small”,  my brain started ticking over…


Usually on mornings like that I would whip up some sort of delicious breakfast smoothie with all sorts of yummy, filling, nutritious ingredients.  The only problem with that idea … wass that it was only 13°C outside!  That’s far too cold for us to be drinking something icy cold ❄️☃️

And so the fat hot chocolate was born!  ☕️

Charli was ‘Oh Yummmmmm’ing’ straight away. I didn’t even have time to snap a pic of her with a full mug! 😆

Everything was thrown into the thermomix and blitzed for about 10 seconds. A normal blender or even a food processor will work fine for this. What was thrown in there? Well, I’m glad you asked 😊


Recipe:

Serves 2

Ingredients:

  • 2 Tbsp. raw organic cacao powder
  • 2 Tbsp. unsalted butter (solid is fine)
  • 2 Tbsp. coconut oil (solid or liquid)
  • 1/2 – 1tsp. cinnamon powder (adjust according to taste)
  • 1 tsp. vanilla bean paste or vanilla extract
  • 100ml thick cream (dollop cream is great)
  • 500 ml boiling water
  • A few drops of Nirvana Organics liquid stevia (I used chocolate flavoured but plain would be fine too) or sweetener of choice

Method:

  1. Add it all to the blender/food processor and blitz.
  2. Taste and adjust to your liking.
  3. Drink up!

You could also mix with a stick blender or just mix it right in the mug adjusting the ingredients. It won’t be as ‘well incorporated’  but it will taste just fine. Use enough water for the size mugs you are using. Add more cream for a ‘less watery’ drink. And if you’re making it for someone who prefers it sweeter and doesn’t mind extra carbs (like my son!) add a tsp of rice malt syrup. 😊👍🏼

Sweet Potato Brownies

Sweet Potato Brownies

This is a recipe from eatdrinkpaleo that popped up my screen when I was searching for ‘Paleo brownies made with sweet potato’, and boy I’m glad it did! I’ve tweaked it slightly, and it is ridiculously good – incredible! Yum. Yum. Yum!

Please be aware that it contains sweet potato and honey, and will therefore be higher in carbs than the recipes I usually make – this is Paleo, not LCHF. To reduce the carb count you could try Xylitol or stevia as the sweetener (I haven’t tried this yet). Punch the numbers into MyFitnessPal to calculate whether or not this will fit into your macros for the day. Remember, it is a treat food – not an everyday dessert! 🙂

 Ingredients:

  • 2-3 cups greated sweet potato
  • 3 whole eggs
  • ½ cup melted coconut oil
  • ⅓ cup honey
  • 2 tsp. vanilla extract
  • ½ cup raw cacao powder, sifted
  • 2 tsp. baking powder
  • 2½ Tbsp. coconut flour

Method:

  1. Preheat oven to 185°C – oven must be hot before putting the brownies in. (Ignore if baking in air fryer)
  2. In a large bowl or blender (I use my thermomix), combine sweet potato, eggs, vanilla, honey and coconut oil and stir/blend until completely mixed together.
  3. Add cacao powder, baking powder and coconut flour.
  4. Stir/blend until completley mixed. ( I annihilate mine until it’s super smooth! lol)
  5. Pour mixture into a baking dish lined with baking paper and lightly greased.
  6. Bake 25-30 minutes.
  7. Remove from oven and let cool for 10 minutes before carefully removing the brownie cake from the tin. Allow to cool for a further 10 or so minutes on a wire cake rack.
  8. Transfer the brownies (paper and all) to a chopping board and cut it into squares.

Options:

  1. Add cacao nibs for a chocolatey crunch.
  2. Add desiccated coconut
  3. Use rice malt syrup in place of honey
  4. Drizzle with some melted chocolate
  5. For egg-free, replace the 3 eggs with 3Tbsp of golden flax seed flour and 9 Tbsp. water

Turn it into a self-saucing pudding by pouring the mixture into a greased baking dish and

  1. Mix 1 cup boiling water with 2 Tbsp. rice malt syrup and 2 Tbsp. cacao
  2. Gently pour over batter
  3. Bake for an additional 15 min (total of 45 minutes at 180 degrees)