Perfect Grain Free Avocado Waffles

Perfect Grain Free Avocado Waffles

This is the PERFECT waffle recipe when you have a surplus of avocados or a couple that are just a little bit too ripe. These waffles are healthy, fluffy, crispy and so easy to make. Do they have a green tinge? Yep! That would be due to the 2 full avocados in this creamy waffle mixture. What are you waiting for? Get out your waffle iron and let’s go!

Ingredients:

  • 6 large eggs
  • 250 g cream cheese (full fat)
  • 2 ripe avocados, skin off, seed out
  • 1 tsp bicarb soda
  • 1 1/2 cup almond flour
  • 1 1/2 cups arrowroot flour/tapioca flour
  • Splash of water (maybe 1/2 a cup)
  • Sweetener if desired. I usually don’t add any as we often eat these with savoury toppings.

Method:

  1. Preheat waffle maker
  2. Blend all ingredients in a blender until smooth. Check and add more water if necessary.
  3. Allow to sit and thicken while the waffle maker is heating up.
  4. Add a dollop of butter (Optional – sometimes I do, sometimes I don’t!)
  5. Pour the batter in and cook until your liking.
  6. Serve straight away to get that crispy, fluffly texture.

Tips:

  • Omit the avocados if you don’t have any. This recipe is great without them.
  • Use less tapioca flour for a lower carb count.
  • Add extras like sugar-free chocolate chips, blueberries, banana or whatever you like to spice them up a bit! Why not add some allspice? 🙂
  • I store extras in the fridge and to reheat, use the air fryer for about 4 minutes at 180C.


Air Fryer Hard Boiled Eggs

Air Fryer Hard Boiled Eggs

My air fryer never ceases to amaze me. Sure, it does great sweet potato fries and an INSANELY delicious pork belly roast, but did you know you can do simple things like fry and even ‘BOIL’ EGGS in your air fryer?

Try this and let me know how you go! I haven’t ‘boiled’ an egg in water for years.

This method is so easy and it’s never not worked for me. But – if it goes wrong for you, please don’t blame me! Lol. I have the Philips XXL 2225w air fryer so you may need to modify according to what you are using.


Ingredients:

  • Raw eggs. I cook between 4-6 at any one time. No need to bring to room temp – straight out of the fridge is fine!

Method:

  1. Preheat the air fryer to 120° C for about 3 minutes
  2. Place the eggs in the airfryer basket or baking dish (I use the baking dish accessory).
  3. Cook for 16 minutes
  4. Remove from the air fryer, and pop them in a bowl of cold water for 10 minutes
  5. Peel the eggs, slice the tops off … or paint them. Whatever it is you want do with your ‘hard boiled’ eggs!


Gluten Free Crepes

Gluten Free Crepes

We all want the perfect crepes every time, right? Well – this recipe has never failed me. It makes delicious, thin and delicate crepes that are perfect for stacking and/or filling and rolling. I’ve cooked it in a variety of frying pans, whipped it up in the thermomix and using a hand blender. I’ve used cows milk and macadamia milk and I’ve made it with and without the arrowroot flour. Have a play and see what works for you. Adjust the liquid to your desired thickness and then flip when it’s as cooked as you like! Remember, crepes are fragile and can be hard to flip, so keep practicing!

Ingredients:

  • 120 g cream cheese (preferably softened, but it doesn’t matter if you’re using the thermi!)
  • 4 large eggs
  • 3/4 (about 75 g) cup almond flour
  • 1/4 cup arrowroot flour (about 35 g) Omit for lower carb count
  • 2 Tbsp sweetener (I use Sukrin Gold)
  • 1/4 cup milk of choice (I prefer macadamia)
  • Dash of salt
  • Oil or butter for the pan (I find a blob of butter per crepe works (and tastes) best!)

Method:

  1. Blend all ingredients thoroughly in a high powered blender (I use my Thermomix) and allow to rest for at least 5 minutes to thicken.
  2. Preheat the pans over medium heat (I use 2 at a time to speed up the process!)
  3. Place a blob of butter into the pan and swirl it around. Don’t use too much if you are swirling the batter as it can mess up the batter.
  4. Pour about 4Tbsp of batter in the middle and either swirl it around or use a wooden crepe spreader (that’s what I use).
  5. Allow to cook until the batter is almost dry on top
  6. I slip part of the spatula under the side and lift the crepe a little with my finger before sliding the spatula all the way under and flipping holding it a little with my fingers. This tends to stop them tearing or folding over themselves. If you’re a smarty pants you could flip it just using the pan and a flick of the wrist! But – well, that’s not me (yet!)!
  7. Cook them all and then eat them up. Or save them for later. These store well and remain pliable for a dew days in an airtight container in the fridge. 
  8. We use the Natvia sugar free syrups and toppings (chocolate, caramel etc), berries, bananas, jam, cream and so on. Chris stacks them and I roll them.

Have fun and please let me know how you go in the comments below


Healthy Brownies

Healthy Brownies

Could this be the best brownie recipe ever? I think so … and I mean out of all the brownie recipes, not just the healthy ones! Crunchy on the outside, soft and gooey in the middle. Oh yes please!


Ingredients

  • 250g unsalted grass fed butter or coconut oil
  • 1/2 cup dark choc chips (72% or more)
  • Stevia to taste
  • OPTIONAL 1/4 cup rice malt syrup (leave out for a lower carb count)
  • 2 heaped Tbsp. raw cacao powder
  • 1 tsp. vanilla extract or vanilla bean paste
  • A few shakes of Himalayan rock salt (pink salt)
  • 3 eggs, lightly beaten
  • 1 cup almond meal/flour
  • 1 tsp. baking powder
  • OPTIONAL About 15 macadamias ‘smashed’ (I put them in a ziplock and hit them (gently) with a rolling pin!)
  • Desiccated coconut for serving (optional)


Traditional Method

  1. Preheat oven or air fryer to a moderate 160C.
  2. Heat a medium sized saucepan over medium heat.
  3. Melt butter and chocolate in saucepan, and add rice malt syrup if using and stevia.
  4. Remove from the heat and stir in cacao and vanilla.
  5. Add eggs and stir well.
  6. Add almond meal and baking powder and mix well until all ingredients are incorporated.
  7. Gently fold macadamias through mixture.
  8. Pour into a baking tray lined with baking paper (the bigger it is, the thinner your brownies will be)
  9. Bake in oven or air fryer for about 25 minutes until done.
  10. Let sit before slicing (this is easier if left in the fridge overnight)

Thermomix Method

  1. Preheat oven or air fryer to a moderate 160C.
  2. In Thermomix bowl, add butter, chocolate chips and rice malt syrup (if using) and melt for about 4 minutes/60C/speed 2.
  3. Check, and melt for a little longer if necessary.
  4. Remove MC and add cacao and vanilla through the hole in the lid while stirring gently.
  5. Continue mixing gently while you add the eggs through the hole.
  6. Add almond meal and baking powder also through hole in lid.
  7. Increase slowly to speed 5 for about 4 seconds.
  8. Reduce to gentle/stir, add macadamias and stir until combined.
  9. Pour into a baking tray lined with baking paper (the bigger it is, the thinner your brownies will be). I use the baking tray accessory for the Philips XXL air fryer.
  10. Bake in oven or air fryer for about 25 minutes until done.
  11. Let sit before slicing (this is easier if left in the fridge overnight)
Paleo Banana Cake

Paleo Banana Cake

This cake is deliciously moist! It is definitely a banana cake, not a banana bread

Cake:

  • 3 large or 4 small ripe bananas
  • 100g natvia or sugar/sugar substitute
  • 150g grass fed butter, at room temperature
  • 2 large, free range organic eggs
  • 1 tsp vanilla extract
  • 240g gluten free flour
  • 1 tsp bicarb soda
  • 30g milk of choice (coconut/almond)


Method:

  1. Preheat oven to 160 degrees celsius. Skip this step if baking in air fryer.
  2. Grease and line a 20cm cake tin with baking paper (or use a silicone tin) and set aside.
  3. Mix the peeled bananas 5seconds/speed5. Set aside.
  4. Place the softened butter and sugar into the TM bowl and mix 30 seconds/speed5 (scraping down the bowl partway through).
  5. Reduce to Speed 2 and add the eggs one at a time mixing for as long as it takes to add the eggs.
  6. Increase to Speed 5 for 10 seconds.
  7. Add the mashed bananas and the vanilla extract and mix 5seconds/speed5.
  8. Add the flour, bi-carb soda and milk and mix on 10 seconds/speed4.
  9. Scrape down the sides of the bowl and mix for 10 seconds or until completely combined.
  10. Pour the mixture into the prepared tin and bake in the oven or air fryer for 1 hour or until golden on top and a skewer inserted into the middle comes out clean.
  11. If the cake is browing too quickly, place foil over the top and continue to cook. Make sure to press the foil into the sides of the cake tin if using an air fryer (the foil will get sucked up otherwise!)
  12. Leave in tin for about 15 minutes before turning out onto a wire rack.
  13. Allow to cool completely if using frosting. If serving with custard, go for it and eat it warm!

Notes:

 This recipe works perfectly fine with self raising flour, cows milk and sugar if you aren’t into the Paleo way of eating 🙂

Egg Free Bread

Egg Free Bread

Having been diagnosed with an egg intolerance certainly makes finding a good bread recipe hard! Thankfully, this now exists and is a regular for me. I have made it a few ways; once I accidentally left out the ACV and it turned out fine. I have also made it once using a store bought egg replacer (1 Tbps.) and it turned out really well too. Have a play and see what works best for you in your kitchen 🙂 PS. Over time my egg intolerance has reduced so I am able to eat them, just not overdo it!


Ingredients:

  • 1/2c (65g) pysllium husk powder
  • 2/3c (85g) almond meal/flour (the blanched/lighter coloured one)
  • 1/3c (30g) coconut flour
  • 1 tsp. cream of tartar
  • 1 tsp. baking soda
  • 1 tsp. pink salt
  • 1c boiling water
  • 1 Tbsp. apple cider vinegar
  • 1/3 cup melted butter
  • 3 Tbsp. coconut oil melted

Method:

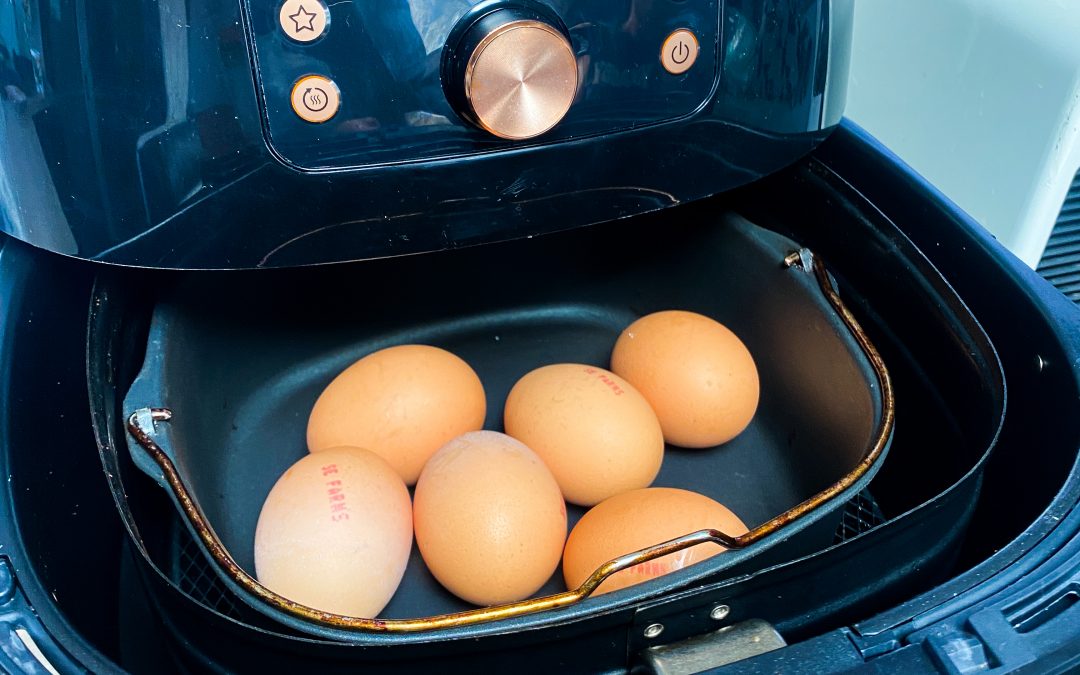
I used my thermomix, but you could easily use a normal food processor or bowl.


  1. Place pysllium husk powder, almond meal, coconut flour, baking soda, cream of tartar and salt into bowl/thermi/food processor and mix until everything is incorporated.
  2. Pour boiling water in while mixing gently.
  3. Add acv, butter and coconut oil.
  4. Continue mixing until a dough is formed.
  5. Spread dough into a greased bread/baking tin. (I use a silicone one).
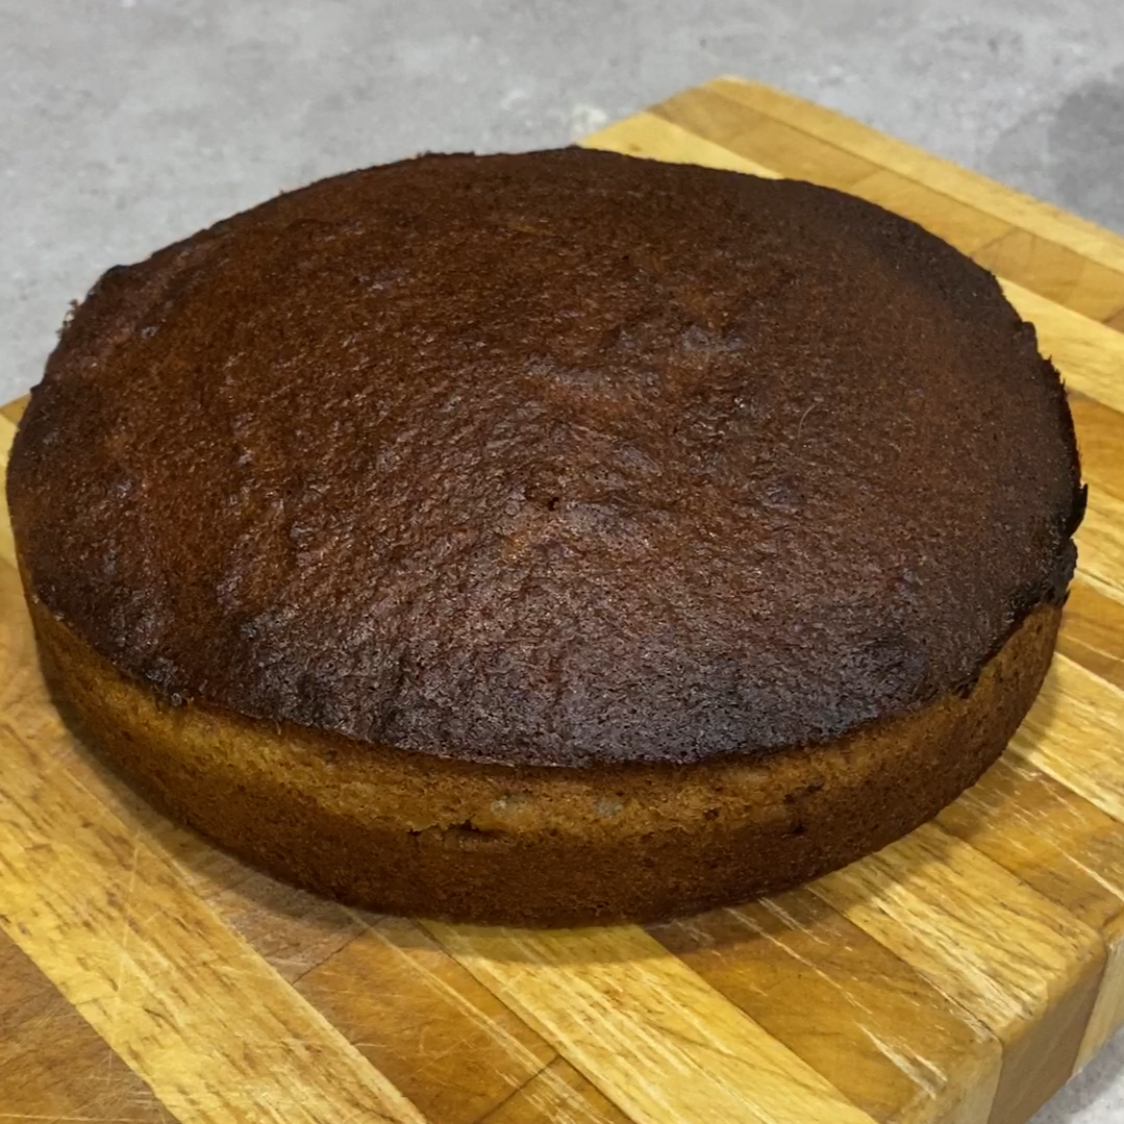
  6. Bake at 180C for about 45 minutes or until top is brown and it is cooked through.
  7. Cool in baking tin for about 20 minutes before removing and letting cool completely on rack (I fast track this by popping it straight into the fridge in the baking tin!).
  8. Store in refrigerator or freezer. It should last a few days on the bench if the weather isn’t too hot. I choose to slice and then refrigerate.

Tips:

  • Add some garlic and onion powder
  • Add some mixed herbs
  • Add whatever you like and see how it turns out! lol


The ‘dough’ looks a bit odd until you press it down

Press it down using your hands or the back of a spoon

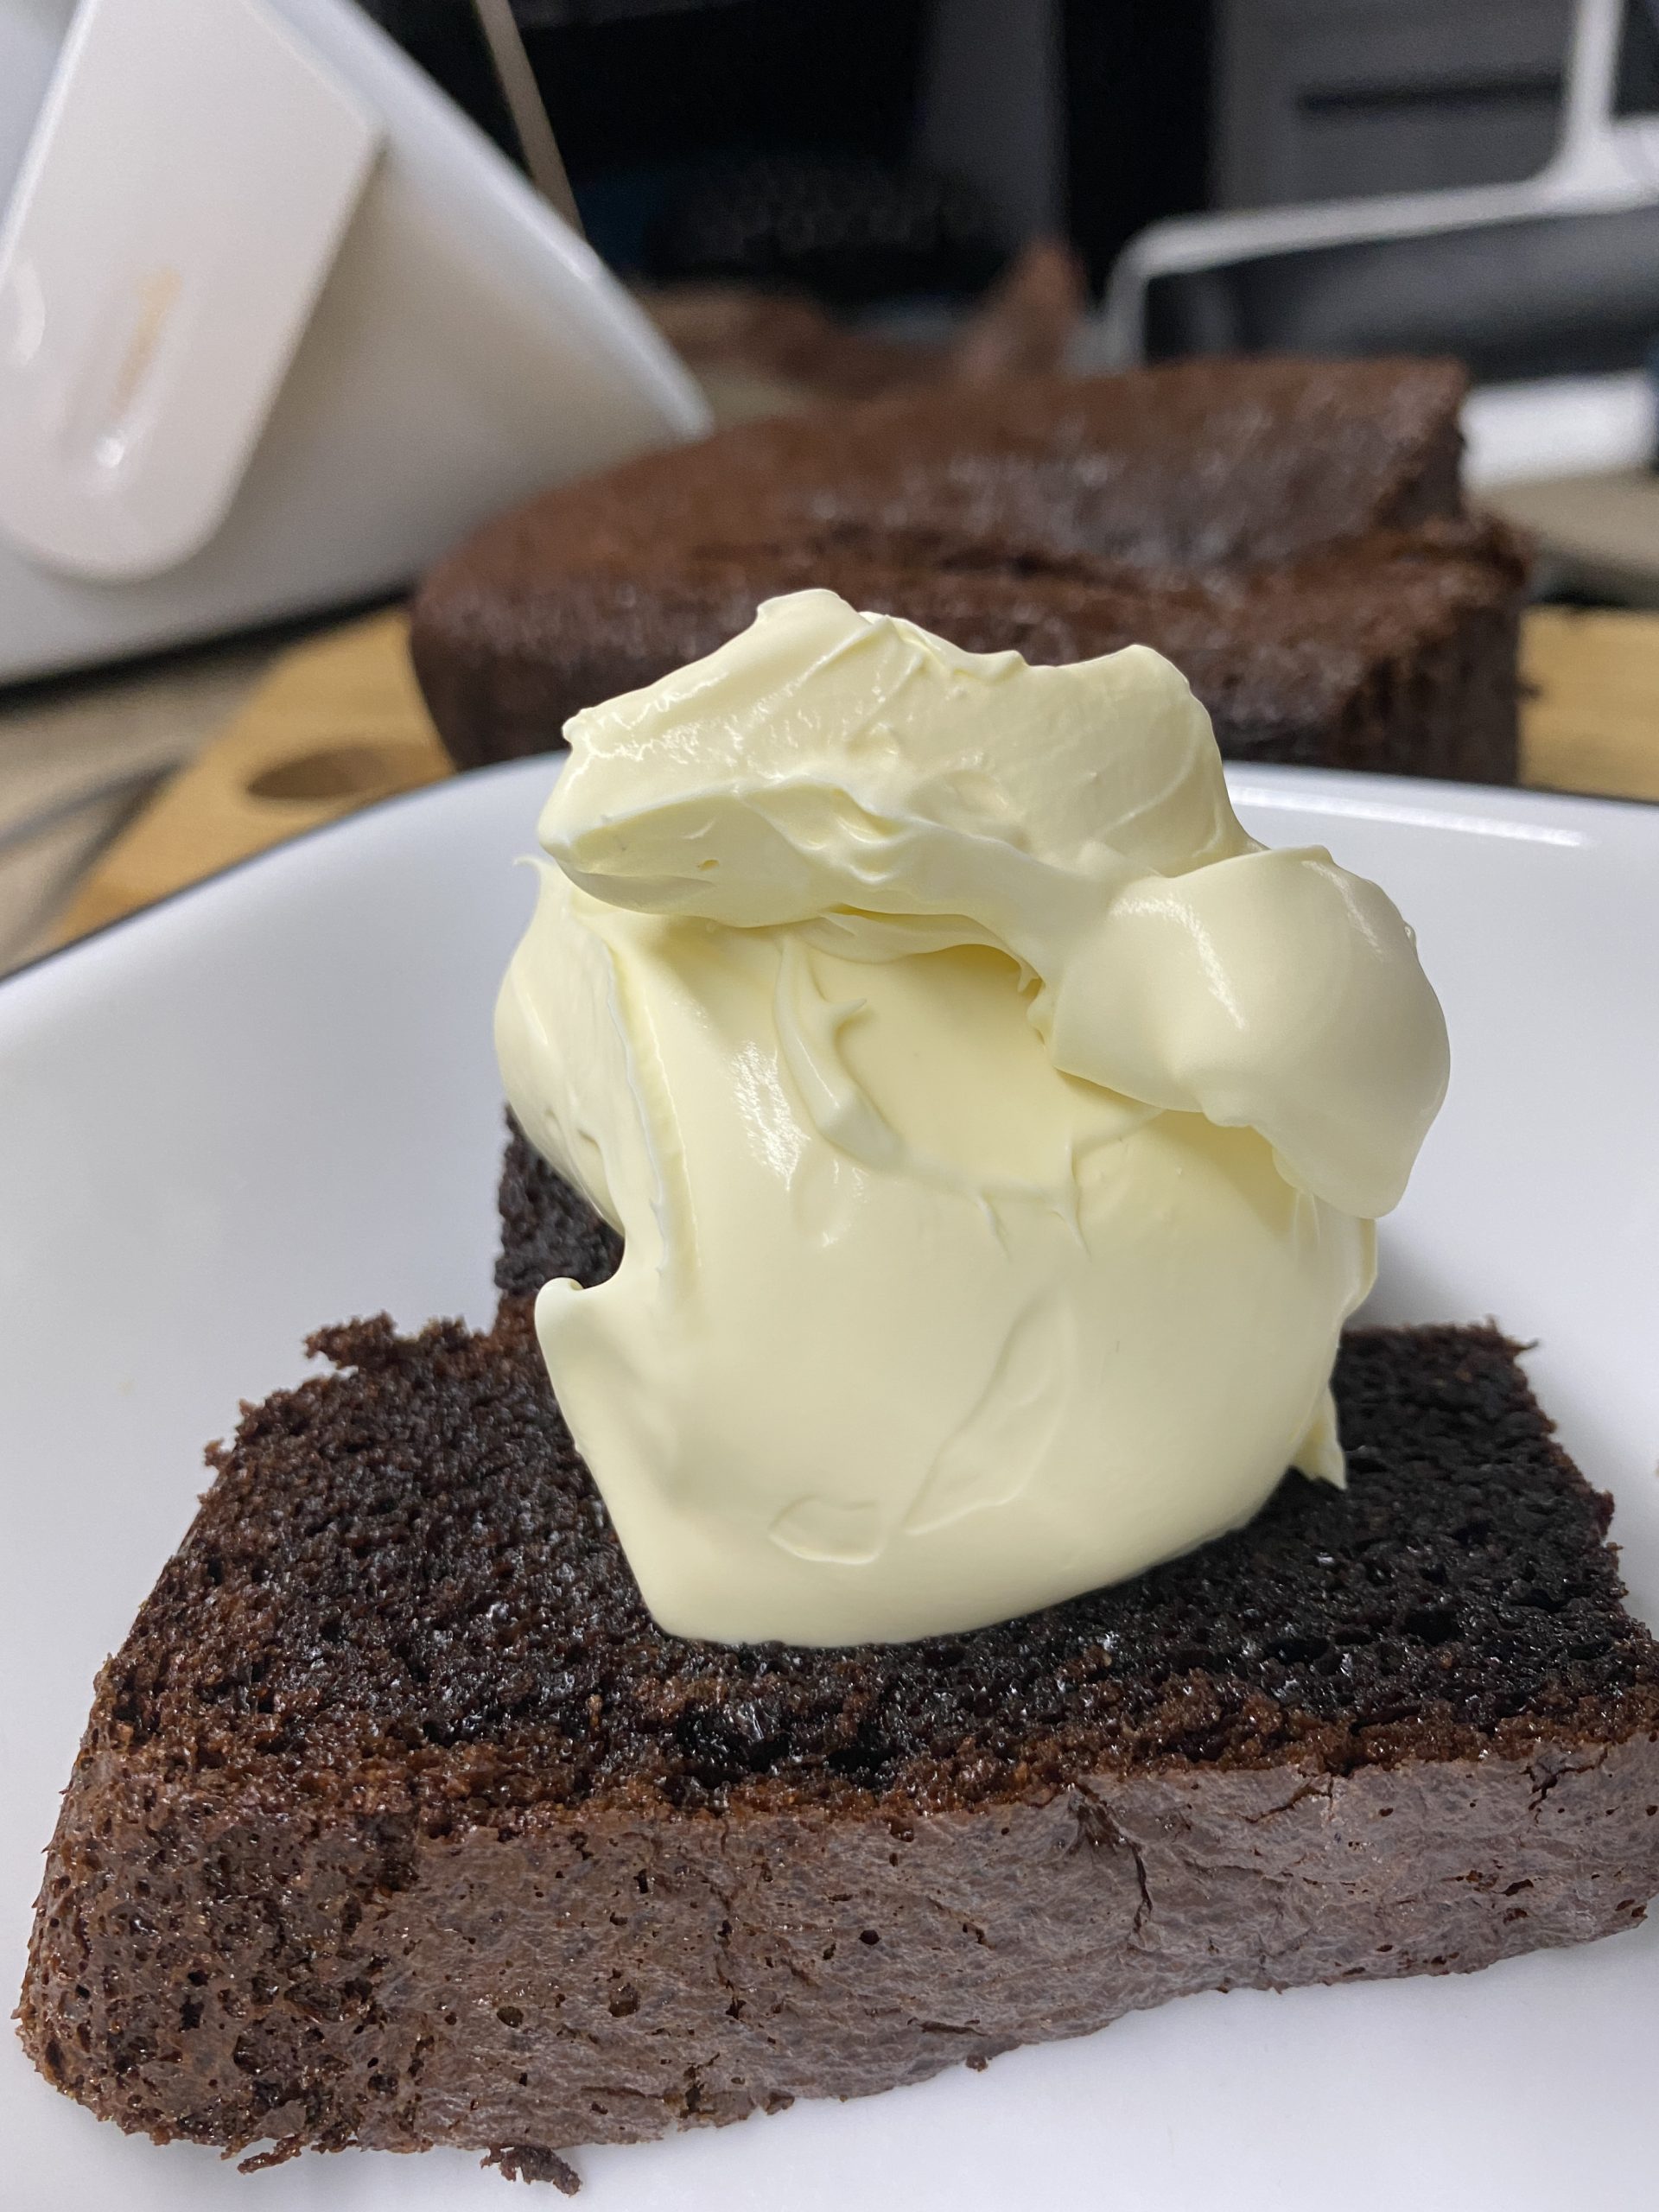
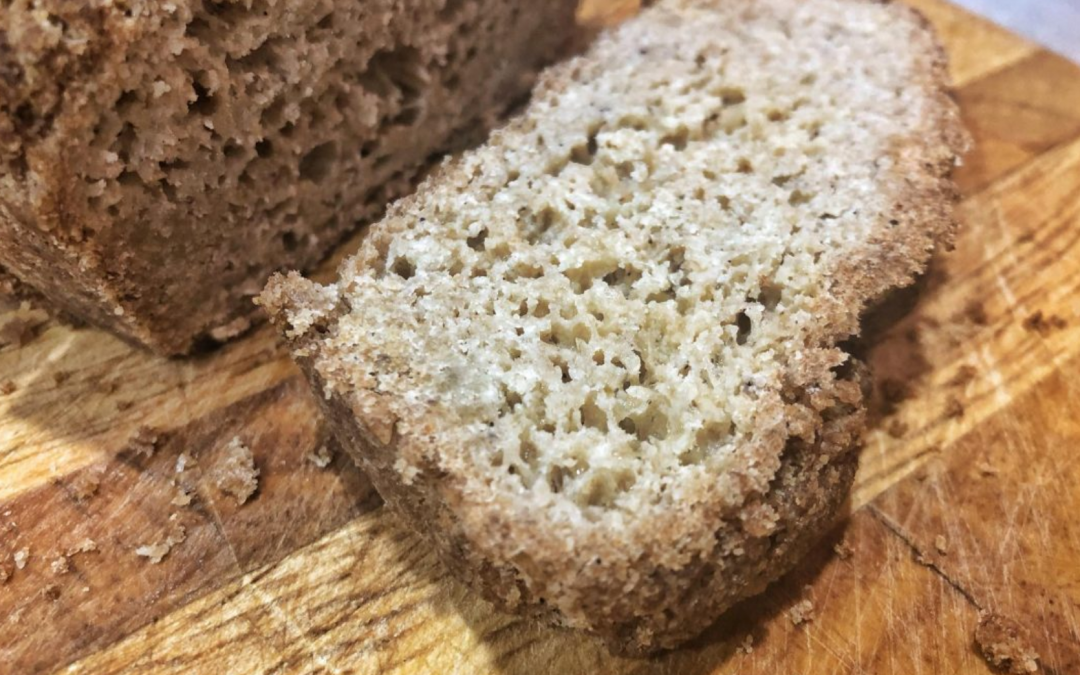
It slices up easily after being refrigerated

What a beautiful loaf of bread!

Exactly what I felt like