About this Recipe
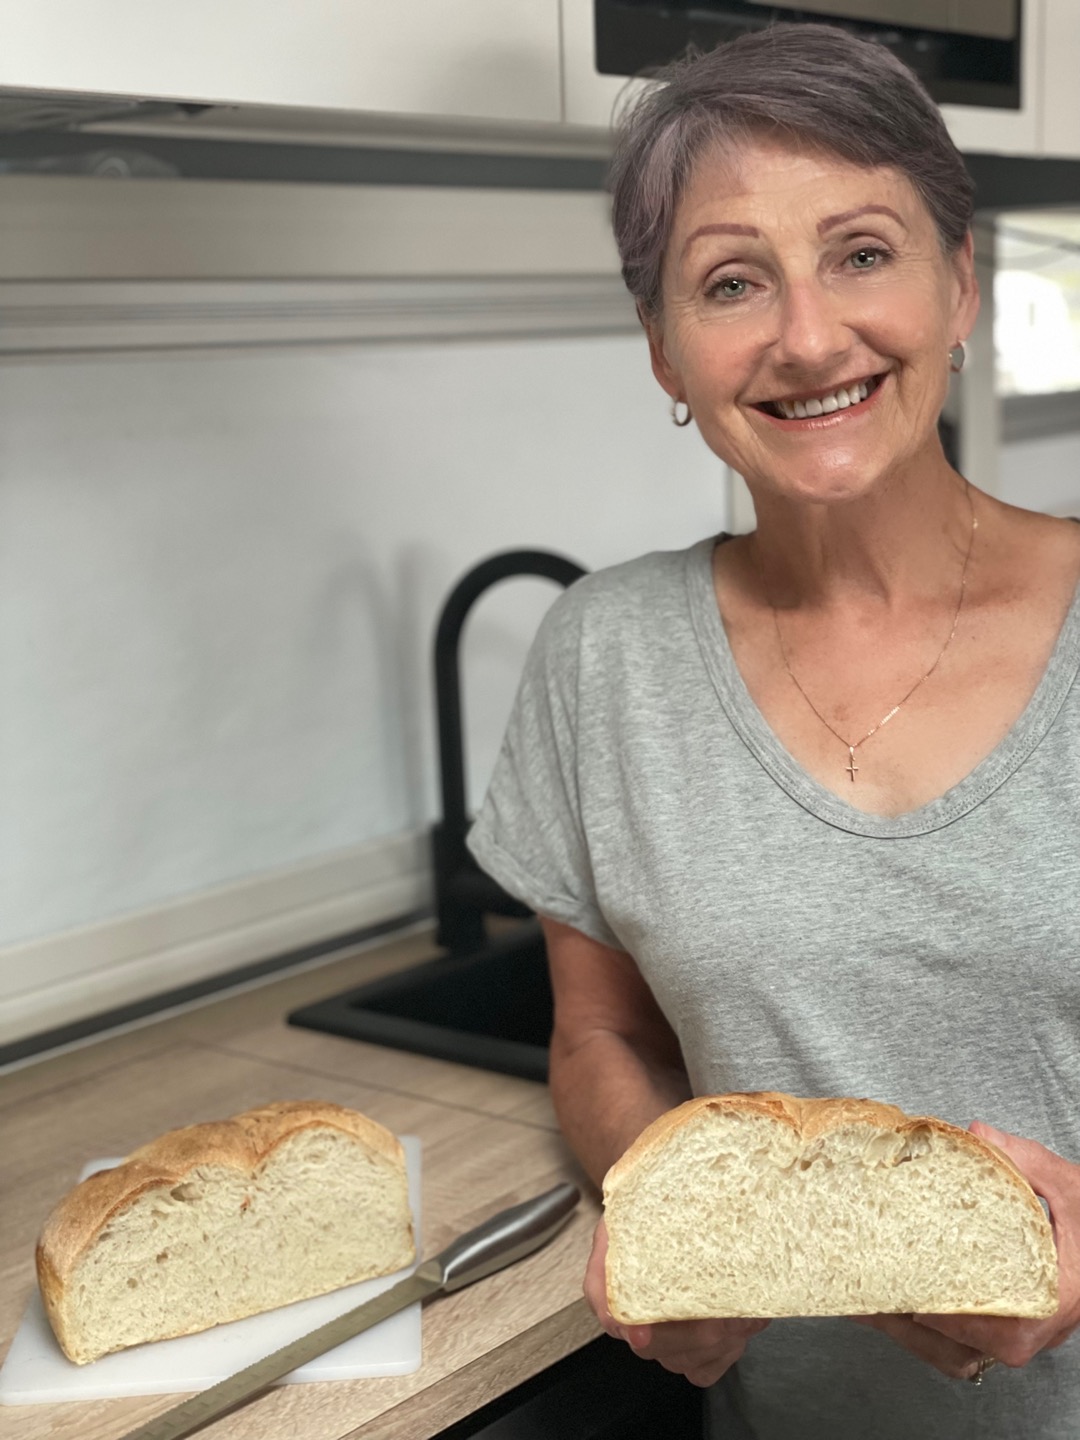
By: Karen Mace
I never thought I could make sourdough. It all seemed too hard. Now, I am a fan. I love it and using this method makes it easy and fun. Once you get used to making the basic loaf, you can throw all sorts of things in to make it ‘special’. Just add things at the pressing into a square or rectangle stage.
Ingredients
- 400g bakers flour (can use all white or a mix of white and wholegrain). I prefer Kialla Organic Stoneground White Flour
- 1 tsp salt
- 230mls water
- 160-200g starter
Tip:
The starter is really important. When I started making sourdough bread I didn’t prepare the starter before using it. Since I have been doing that I’ve noticed a marked (positive) difference in rising and flavour. A friend gave Miriam some of his starter and Miriam gave some to me. The person our friend got it from had kept it going for 25 years, add another two years to that and we have a starter that has been going for 27 years! Before we throw everything into the Thermi, we ‘gee up’ as our friend says, the starter. What that means is you feed the starter and leave it for a couple of hours to bubble and brew until it’s doubled in size. To do this, add equal parts starter, water and flour. The top will be a mass of bubbles and the mix itself will be a stretchy, stingy consistency – perfect! When it’s like this, it’s ready to use. You can also test the starter by dropping a bit into water. If it floats, it’s ready!

Step by Step Instructions
Step 1
Throw all the above into your Thermomix. Set dough mode to 5 mins and let it go.
Step 2
Tip dough out into a very lightly oiled dish (I use a Pyrex one, but it can be any kind), place a piece of plastic wrap or a tea towel over the top and let it rise for three-four hours in a draft-free spot. The warmer it is, the quicker it will rise, but you don’t want it to rise too quickly otherwise it might collapse on itself.
Step 3
When it has doubled in size, tip onto a lightly floured board. I like to use rice flour for this part, but it’s a preference only. Pat out into a square or rectangle, then pull the corners into the middle of the piece of dough. You can place it in a Banneton or you can place it straight into the airfryer baking pan.
Step 4
Cover again and place in the refrigerator for 12 – 24 hours. I find that the longer it is in the ‘fridge, the more intense the flavour.
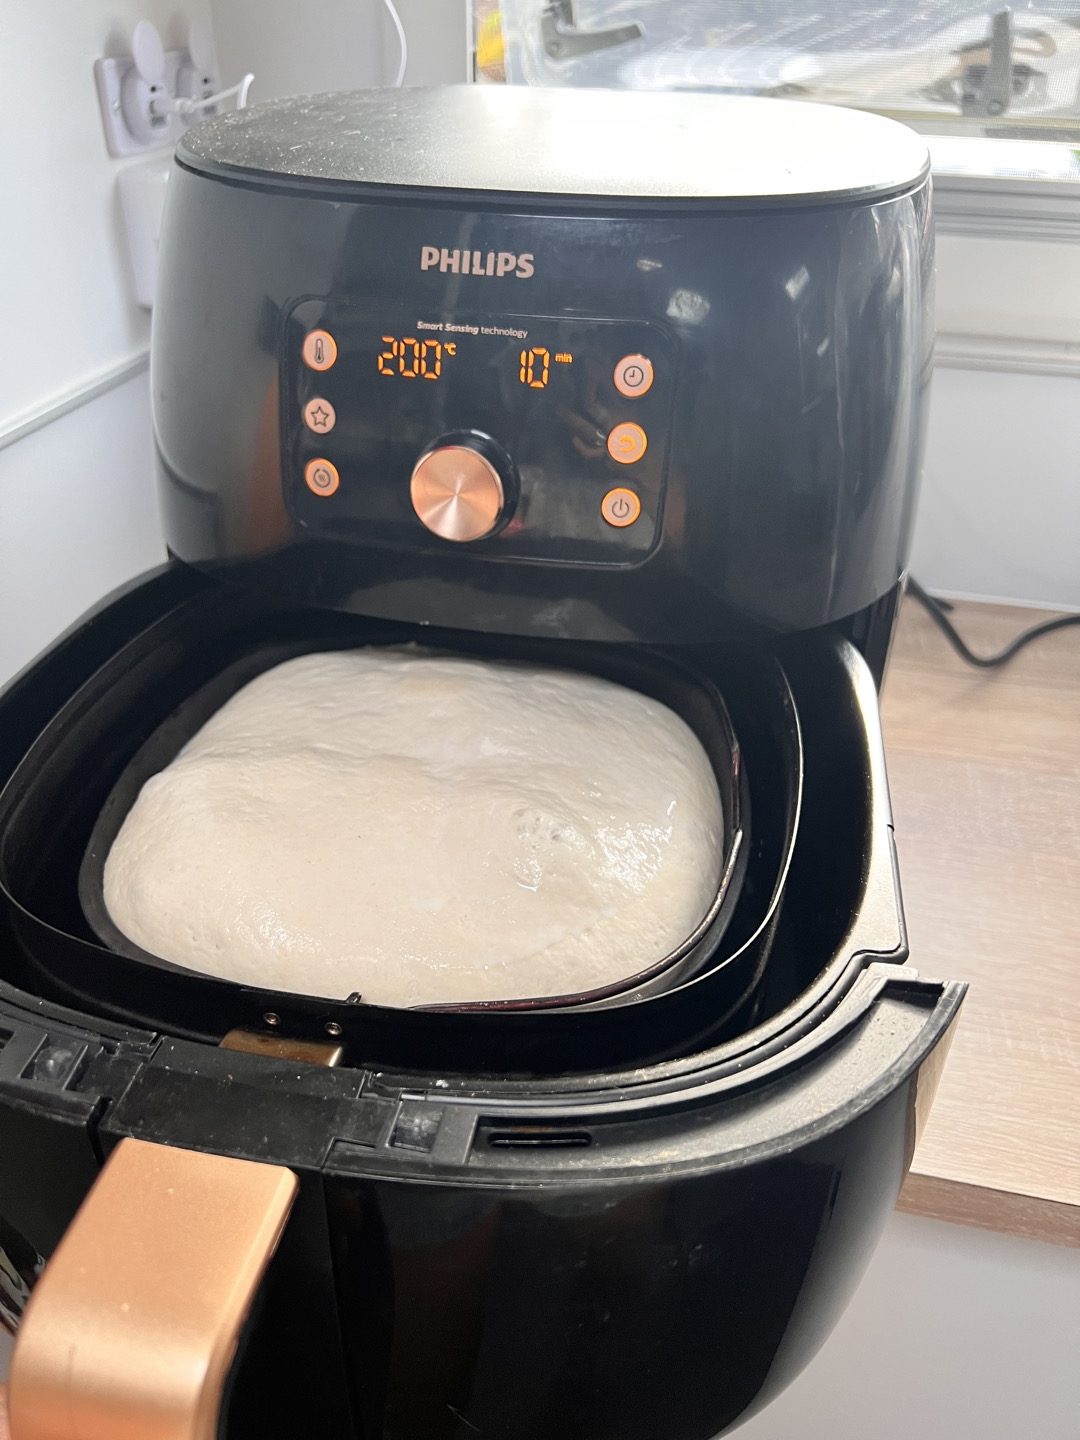
Step 5
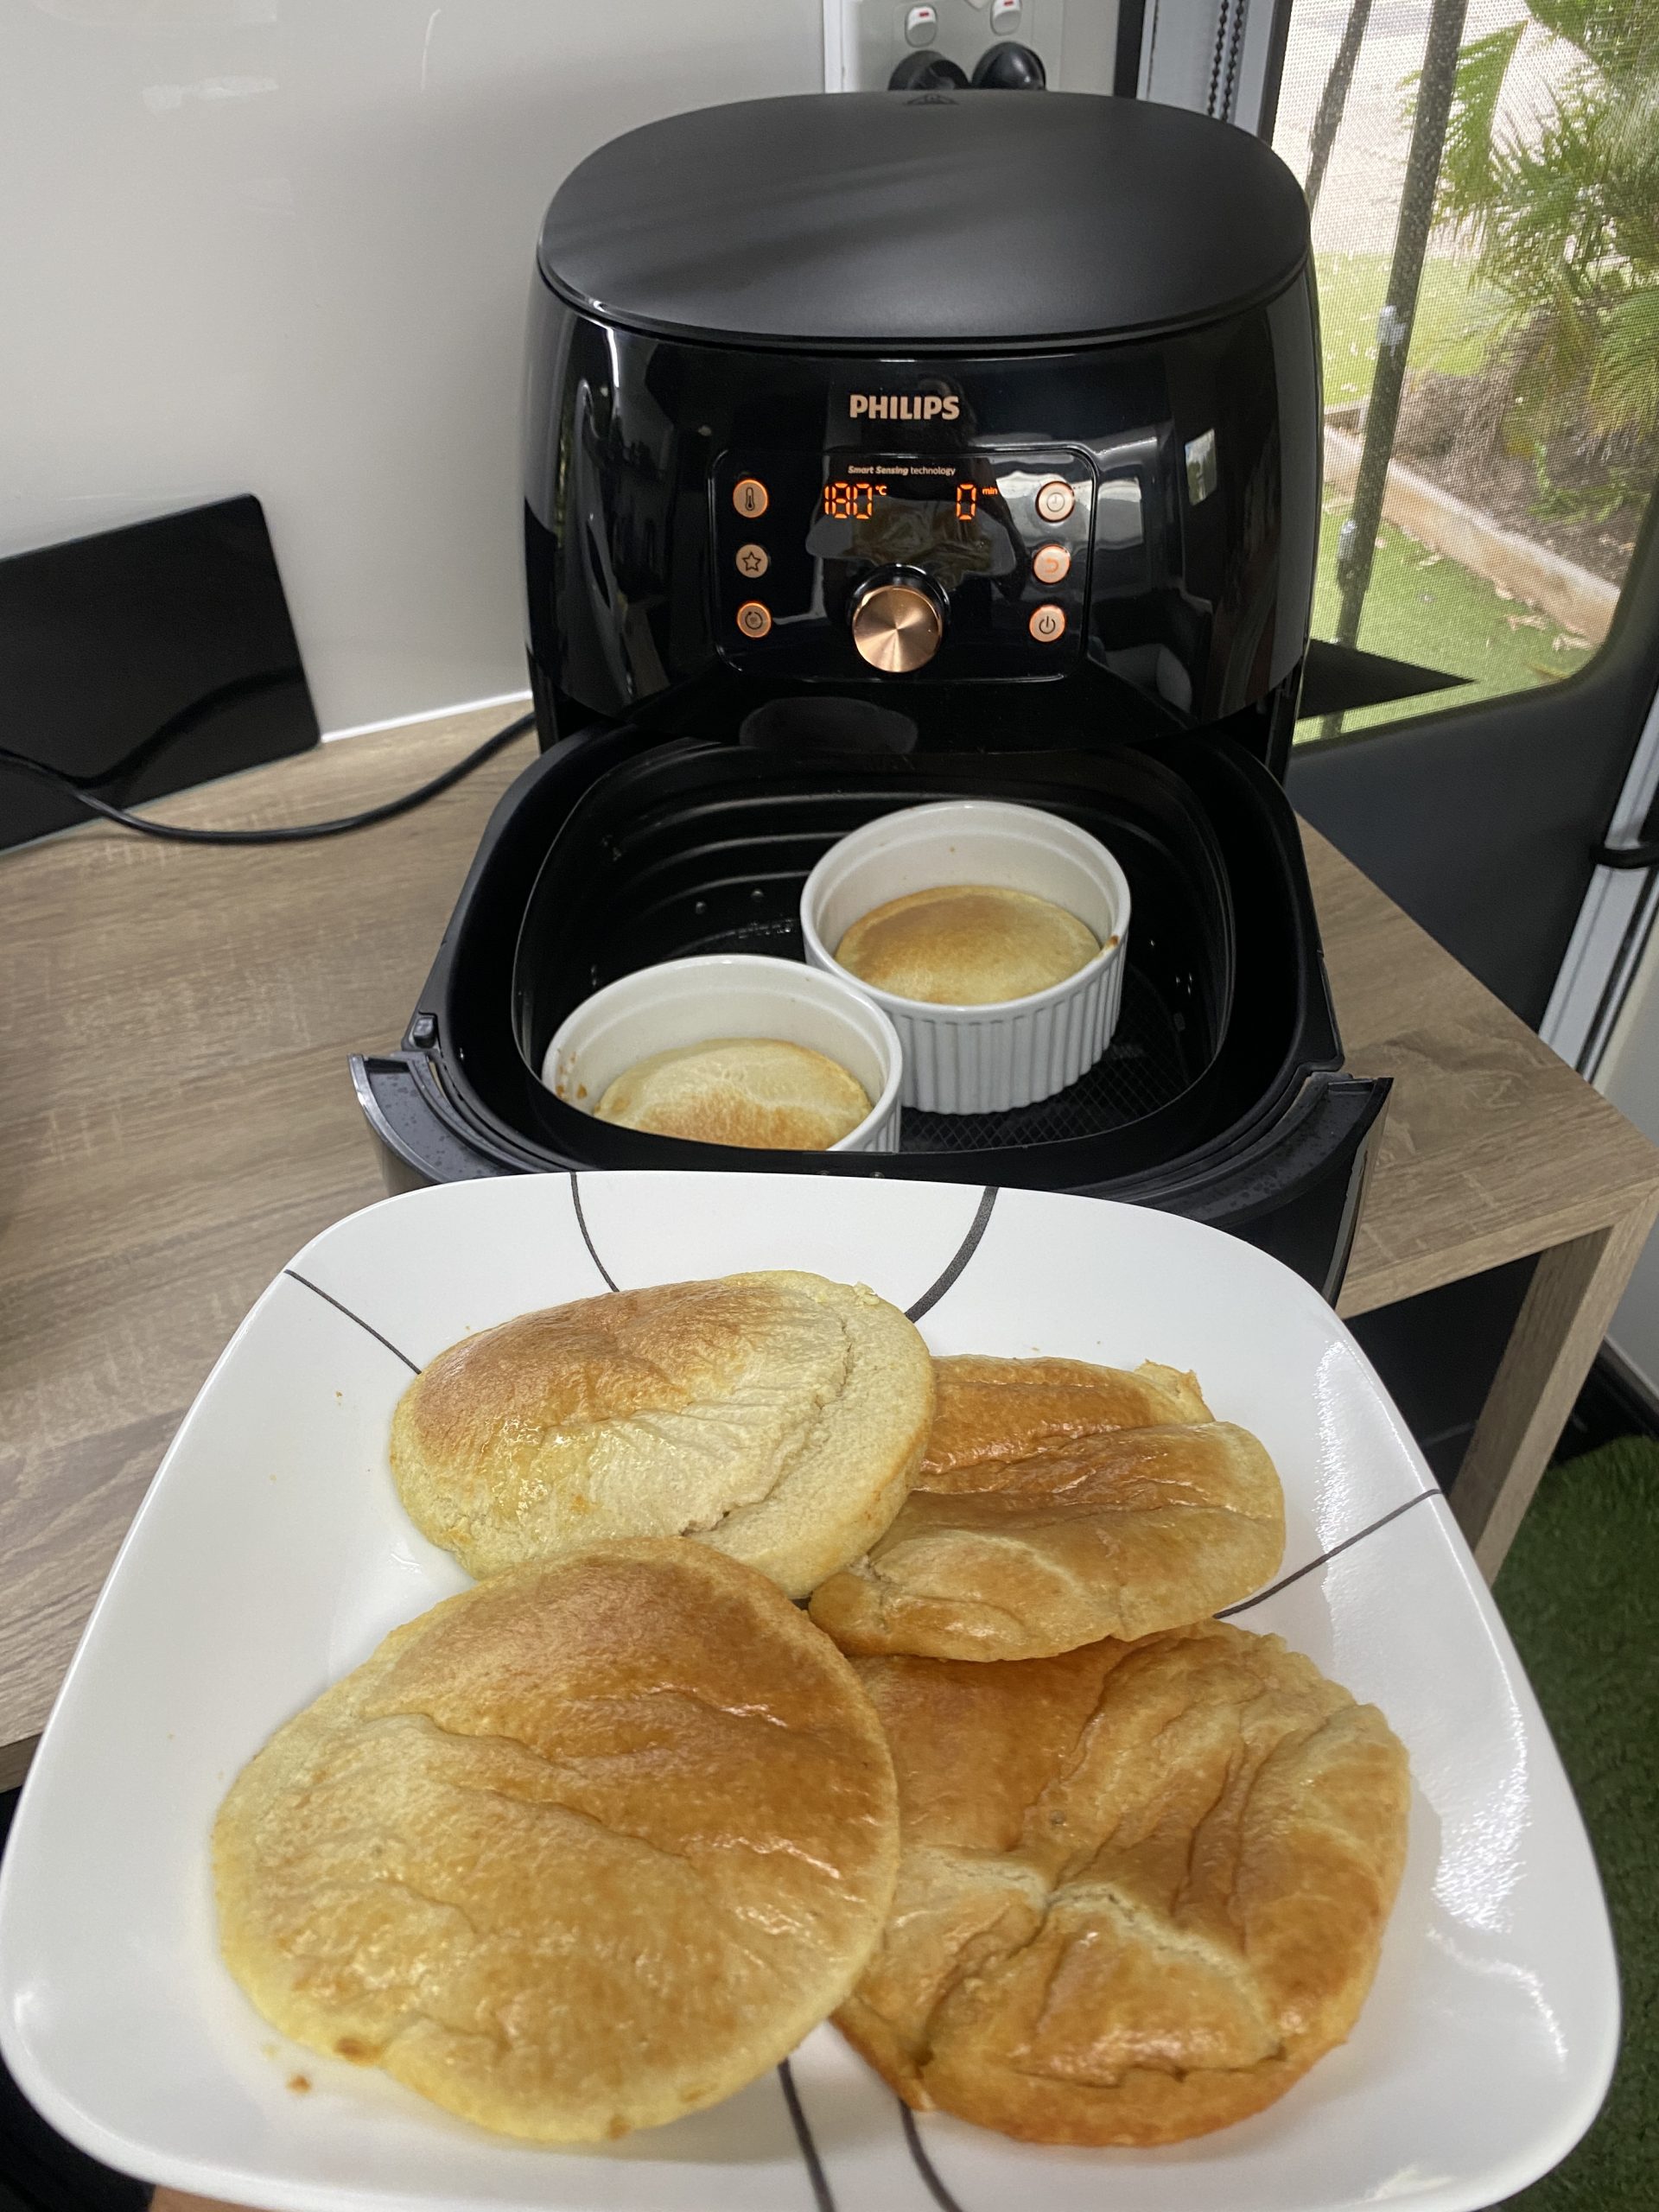
To bake the loaf, if it is already in your baking pan, pop it into preheated airfryer, set to pie mode, cook for 10 mins at 200 degrees, then reduce temp to 180 degrees for 20 mins. You can bake straight from the ‘fridge, or leave it to come to room temperature before baking. It may need a little less time if you choose the second option. The loaf is ready when you hear a hollow sound when it’s tapped with a knuckle.
Happy baking. Please let us know how you go if you choose to try making your own sourdough bread!