Air Fryer Frittata

Air Fryer Frittata

Oh no! It’s lunch time and you’ve prepped nothing. That was how this recipe came about, and I’m glad it did. Easy, healthy and delish. Another low-carb winner here!

Ingredients:

  • 1 brown onion, sliced
  • 1 bunch bok choy, washed and sliced
  • 1/2 zucchini, grated and squeezed (squeeze the moisture out!)
  • 1 medium tomato, diced
  • 6 large eggs
  • 1/4 c double cream
  • 3 tsp crushed garlic
  • 1 tsp smoked paprika
  • 75g of pepperoni/ham/salami
  • 2 handfuls of grated cheese (tasty/mozzarella etc)
  • 2 squirts (or a few drops) of smoked oil (optional but delish!)
  • 2 tsp. olive or avocado oil

Method:

  1. Pour oil into air fryer baking dish with onion, garlic, paprika and sliced stalks of bok choy.
  2. Stir and cook for 6 minutes at 180C.
  3. Add grated zucchini to air fryer baking dish and cook a further 5 minutes at 180C.
  4. While that is cooking, crack the eggs into a bowl and lightly whisk.
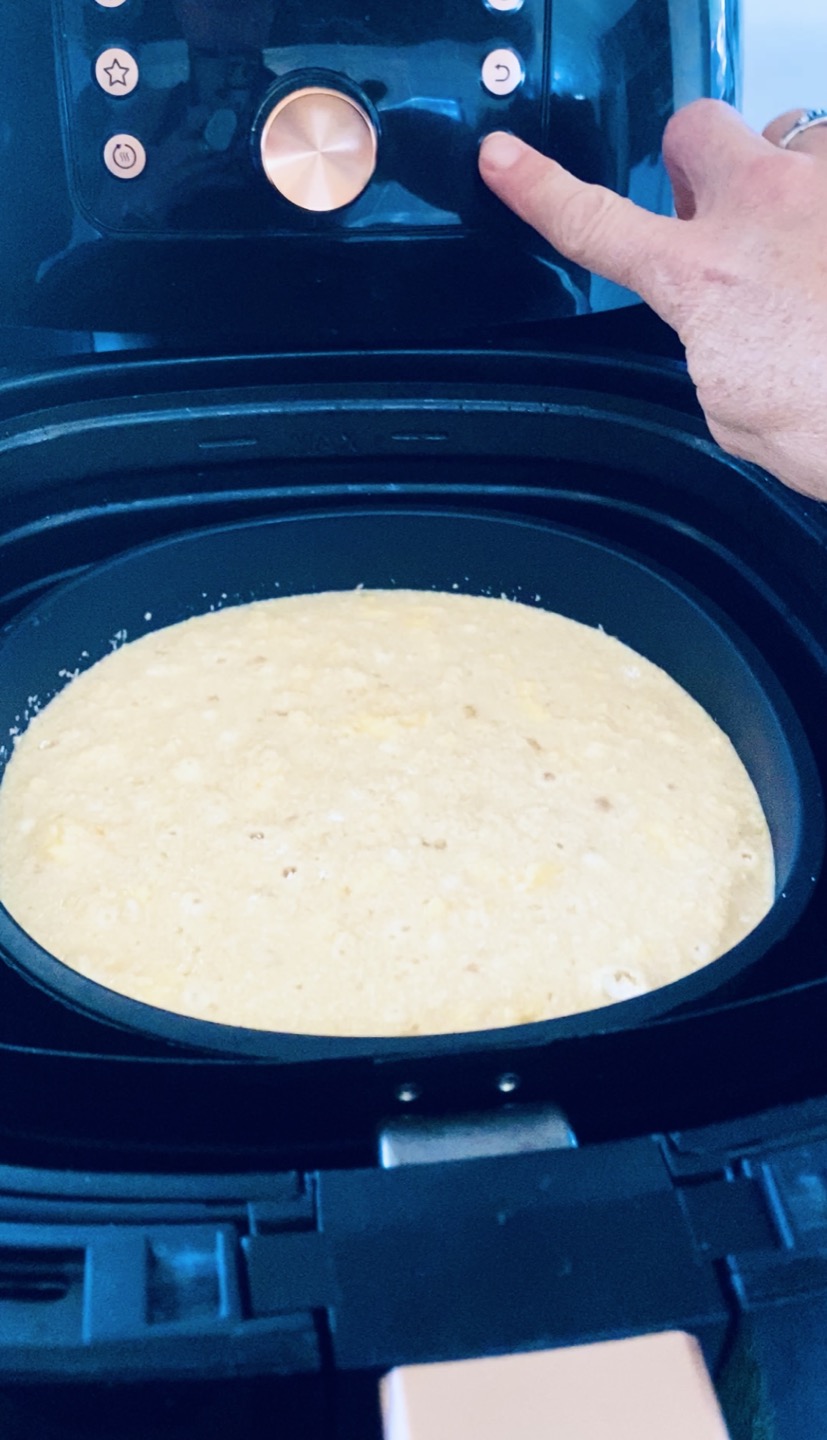
  5. Pour eggs into baking dish along with cream, pepperoni/ham/salami and mix well.
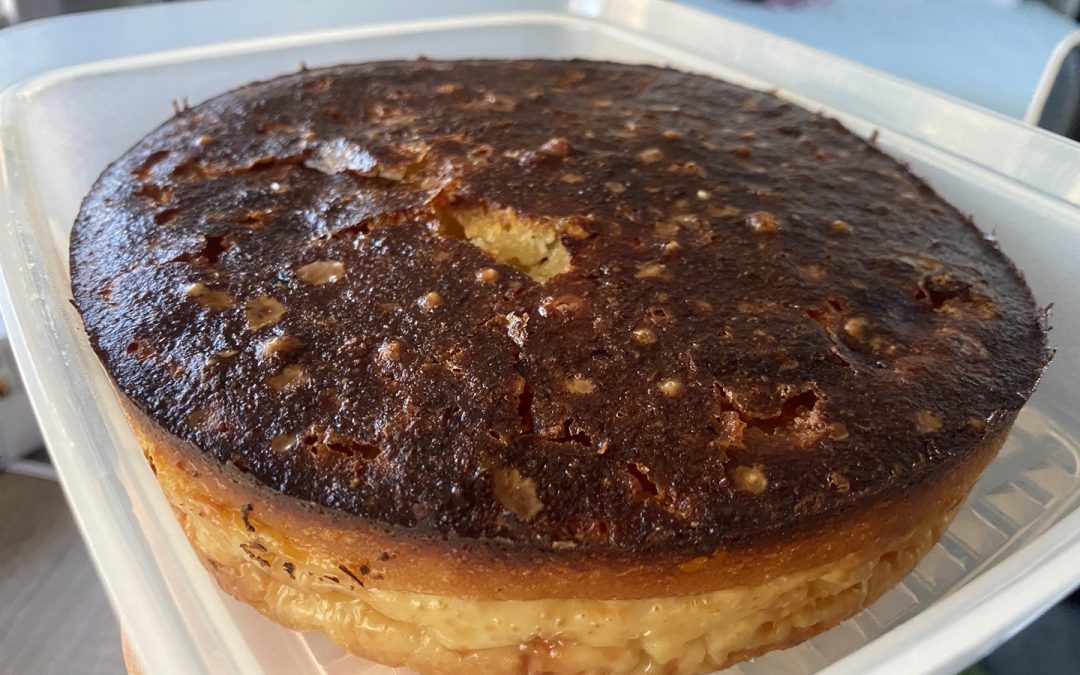
  6. Sprinkle cheese on top and bake at 180 for about 15 minutes or until cheese is golden and bubbly.
  7. Serve as is or with a side salad.

Please note this can also be made in the oven! Simply fry the onion and bok choy etc in a frying pan before transferring to an oven-safe dish and baking in a conventional oven.

Air Fryer Chicken Thighs

Air Fryer Chicken Thighs

Deliciously seasoned chicken thighs cooked to crispy, juicy perfection in just 12 minutes. Cooking chicken thighs in the air fryer is so quick, easy and easy to clean up! The chicken comes out perfectly juicy, every time. 


Ingredients:

  • 4 chicken thighs (skinless and boneless)
  • Salt & pepper to taste
  • 1 tsp smoked or sweet paprika
  • 1 tsp garlic powder
  • ½ tsp oregano
  • ½ tsp onion powder
  • Optional hot spice of choice (I don’t eat spicy food, so add what you like here!)

Method:

  1. Preheat your air fryer to 180C for 5 minutes.
  2.  Cut thighs in half.
  3. Add seasoning and chicken thighs to a large zip-top bag or a bowl with a lid and toss to coat.
  4. After pre-heating your air fryer dish, spray with cooking spray.
  5. Place 4 of the chicken thigh halves in the air fryer, and cook at 180C for 6 minutes.
  6. Turn and cook for 6 minutes more. Check and cook for longer if needed. Thighs are done when an internal meat thermometer reads 75C.
  7. Remove thighs and keep warm (I use my thermoserver)
  8. Repeat with remaining thighs.
  9. Serve with side of choice. We usually have steamed green veggies.
Crackslaw

Crackslaw

A delicious, easy to make and super healthy beef and cabbage stir-fry you will fall in love with. This low carb, high protein recipe is so good, it’s addictive! Play around with the recipe until you get it just how you like it.

Ingredients:

  • 1 kg mince meat (pork/beef/breakfast sausage)
  • 1 brown onion, sliced (optional)
  •  1 cup diced musrooms
  • 3 tsp minced garlic
  • 2 tsp minced ginger
  • 2 Tbsp Tamari or gluten-free soy sauce or coconut aminos
  • 1 Tbsp rice vinegar
  • 1 tsp sesame oil
  • 1 tsp olive or avocado
  • 1 tsp sriracha sauce (optional)
  • 4 cups shredded cabbage (I always use purple cabbage)
  • Sesame seeds, crushed pork rinds, mayo and some runny fried eggs to serve


Method:

  1. Heat olive/avocado oil over medium heat in a large frying pan.
  2. Add onions and saute for 1-2 minutes.
  3. Add in beef, garlic and ginger, and cook, while breaking up with a wooden spoon, until browned.
  4.  Stir in sesame oil, soy sauce/tamari/aminos, rice vinegar, and (optional) sriracha. Season with pepper (you won’t need salt!) and more sriracha as desired.
  5. Add in the shredded cabbage and cook until wilted.
  6. Serve with mayo, black sesame seeds, crushed pork rinds, and eggs.
Air Fryer Hard Boiled Eggs

Air Fryer Hard Boiled Eggs

My air fryer never ceases to amaze me. Sure, it does great sweet potato fries and an INSANELY delicious pork belly roast, but did you know you can do simple things like fry and even ‘BOIL’ EGGS in your air fryer?

Try this and let me know how you go! I haven’t ‘boiled’ an egg in water for years.

This method is so easy and it’s never not worked for me. But – if it goes wrong for you, please don’t blame me! Lol. I have the Philips XXL 2225w air fryer so you may need to modify according to what you are using.


Ingredients:

  • Raw eggs. I cook between 4-6 at any one time. No need to bring to room temp – straight out of the fridge is fine!

Method:

  1. Preheat the air fryer to 120° C for about 3 minutes
  2. Place the eggs in the airfryer basket or baking dish (I use the baking dish accessory).
  3. Cook for 16 minutes
  4. Remove from the air fryer, and pop them in a bowl of cold water for 10 minutes
  5. Peel the eggs, slice the tops off … or paint them. Whatever it is you want do with your ‘hard boiled’ eggs!


Gluten Free Crepes

Gluten Free Crepes

We all want the perfect crepes every time, right? Well – this recipe has never failed me. It makes delicious, thin and delicate crepes that are perfect for stacking and/or filling and rolling. I’ve cooked it in a variety of frying pans, whipped it up in the thermomix and using a hand blender. I’ve used cows milk and macadamia milk and I’ve made it with and without the arrowroot flour. Have a play and see what works for you. Adjust the liquid to your desired thickness and then flip when it’s as cooked as you like! Remember, crepes are fragile and can be hard to flip, so keep practicing!

Ingredients:

  • 120 g cream cheese (preferably softened, but it doesn’t matter if you’re using the thermi!)
  • 4 large eggs
  • 3/4 (about 75 g) cup almond flour
  • 1/4 cup arrowroot flour (about 35 g) Omit for lower carb count
  • 2 Tbsp sweetener (I use Sukrin Gold)
  • 1/4 cup milk of choice (I prefer macadamia)
  • Dash of salt
  • Oil or butter for the pan (I find a blob of butter per crepe works (and tastes) best!)

Method:

  1. Blend all ingredients thoroughly in a high powered blender (I use my Thermomix) and allow to rest for at least 5 minutes to thicken.
  2. Preheat the pans over medium heat (I use 2 at a time to speed up the process!)
  3. Place a blob of butter into the pan and swirl it around. Don’t use too much if you are swirling the batter as it can mess up the batter.
  4. Pour about 4Tbsp of batter in the middle and either swirl it around or use a wooden crepe spreader (that’s what I use).
  5. Allow to cook until the batter is almost dry on top
  6. I slip part of the spatula under the side and lift the crepe a little with my finger before sliding the spatula all the way under and flipping holding it a little with my fingers. This tends to stop them tearing or folding over themselves. If you’re a smarty pants you could flip it just using the pan and a flick of the wrist! But – well, that’s not me (yet!)!
  7. Cook them all and then eat them up. Or save them for later. These store well and remain pliable for a dew days in an airtight container in the fridge. 
  8. We use the Natvia sugar free syrups and toppings (chocolate, caramel etc), berries, bananas, jam, cream and so on. Chris stacks them and I roll them.

Have fun and please let me know how you go in the comments below


Impossible Pie (Gluten Free)

Impossible Pie (Gluten Free)

This is a pretty forgiving recipe. It was the first dessert I ever baked on my own when I was about 11 years old! I’ve used coconut oil instead of butter, different flours and this time you will see the mixture is all lumpy in the bottom image as I didn’t melt the butter – it was soft at room temp so I just threw it in and stirred and it melted in the air fryer and turned out just fine. You can see where I tasted this one before I took the pic (and I may have accidentally cooked it at 180 before I realized and dropped it to 160. It’s a little dark on top but still tastes amazing!)   Have fun, let the kids have a go … and enjoy! It’s easy to make and soooo tasty. You’re welcome 🙂

Ingredients

  • 4 large eggs
  • 2 cups milk or milk replacement (coconut, rice etc)
  • 1 cup sugar or sugar substitue (I use Sukrin Gold)
  • 1/4 cup melted butter
  • 2 tsp. vanilla extract
  • 1 cup desiccated coconut
  • 1/2 cup gluten free flour or your preferred flour substitute (I use arrowroot starch/tapioca flour)
Please note, if you have a thermomix (or other mixer) throw it all in and blend it up – that’s what I do!

Air Fryer Method

  • In a large bowl, whisk eggs.
  • Add milk, sugar, butter, vanilla and stir well.
  • Add coconut and flour.
  • Pour into baking dish.
  • Place into air fryer and bake for 30-40 minutes at 160ºC (this depends on your oven – I bake at this temp in my 2225w Philips XXL)
  • Remove and allow to cool before serving.
  • It tastes great on its own or with cream and berries!

Traditional Method

  • Preheat oven to 180ºC
  • In a large bowl, whisk eggs.
  • Add milk, sugar, butter, vanilla and stir well.
  • Add coconut and flour.
  • Pour into baking dish.
  • Place in the center of your oven and bake for 35-40 minutes (this depends on your oven).
  • Remove and allow to cool before serving.
  • It tastes great on its own or with cream and berries!