Easy Beef & Cauliflower Stir Fry

Easy Beef & Cauliflower Stir Fry

Ingredients:

  • 500g Beef, thinly sliced (I use stir-fry beef)
  • 500g Cauliflower florets, cut into bite sized pieces (I use a bag of frozen cauli)
  • 3 Tbsp olive oil
  • 1 Brown onion, diced
  • 1 Capsicum, diced (optional)
  • 3 Garlic Cloves, minced (fresh or in a jar)
  • 1 Tbsp Ginger, minced
  • Chilli flakes (optional and to taste)

Sauce Ingredients:

  • 1/2 cup Water
  • 1 Tbsp Arrowroot flour (can use corn starch or regular flour as thickener)
  • 1/4 cup Soy sauce
  • 2 tsp Rice wine vinegar or distilled white vinegar
  • 2 tsp Sesame seed oil
  • 1 Tbsp Honey (optional – omit for low carb)

Method:

  1. Make the sauce first by mixing together the water and arrowroot flour/cornstarch until smooth. Add in all remaining sauce ingredients, stir until combined and set aside.
  2. Heat a large frying pan over medium-high heat. Add 2 Tbsp of oil and the onion, garlic and ginger. Cook until onion is translucent.
  3. Add cauliflower and capsicum and cook until it is tender. If using frozen add a lid to the frying pan and allow to cook for 5-10 minutes or until soft, stirring every couple of minutes. If using fresh and you prefer your cauliflower soft, add about 1/4 cup of water to the pan while it cooks. Cook until water is absorbed and cauliflower is soft.
  4. Remove all ingredients from pan and place into a bowl while you cook the beef.
  5. Add remaining 1 Tbsp of oil to pan. Increase pan heat to high.
  6. Add beef and sear. This should take no more than 30 seconds each side. DO NOT overcook – a little pink meat is OK as it will cook through later.
  7. Add cauliflower back into the pan with the beef and stir to combine.
  8. Stir the sauce in the bowl to make sure the arrowroot flour/ cornstarch is incorporated and pour the sauce over the beef and cauliflower.
  9. Heat the sauce to a strong simmer. Cook for about 1-2 minutes to thicken the sauce, stirring occasionally to make sure all beef is cooked and beef and cauliflower is coated with sauce.
  10. Serve with sour cream. Can also be served with cauli-rice or cauli mash to be kept low-carb. Serve with rice or pasta if preferred.
Camp Oven Chili con Carne

Camp Oven Chili con Carne

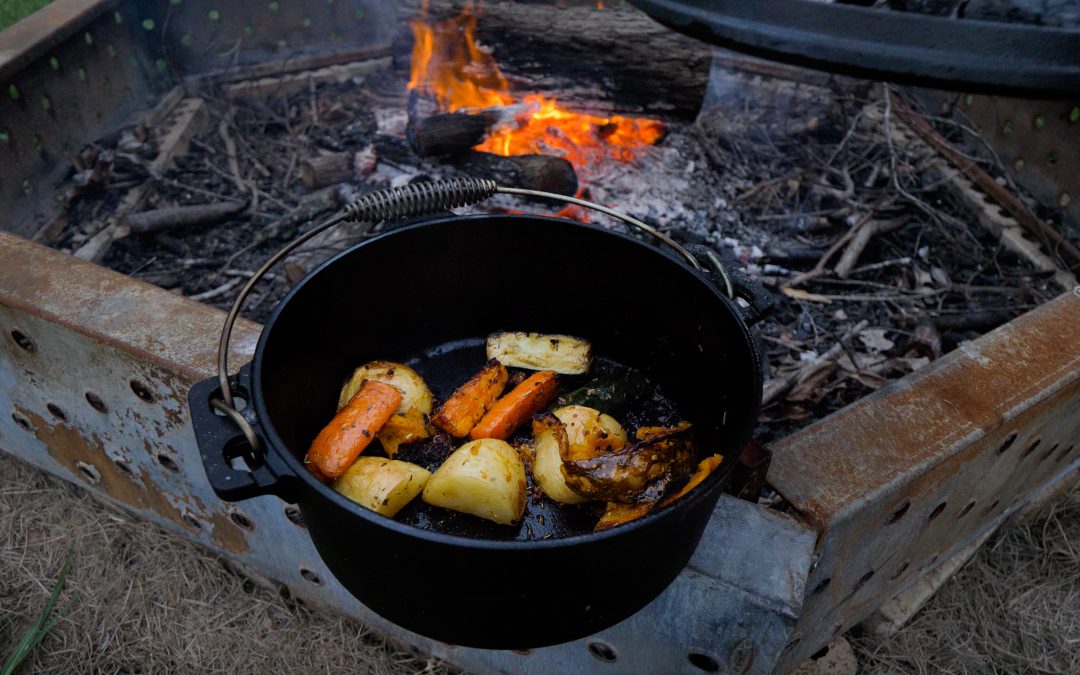
This is so easy … this is actually the first ever recipe we cooked in our brand new camp oven on our own. We used ingredients that we had in the freezer and pantry and walah! Mexican bowls for us. It really could have been done in a frying pan, but we really just wanted to use our new camp oven – and Chris had a great time cooking it 🙂


Ingredients:

  • 500g mince beef
  • 1 brown onion, diced
  • 1 red capsicum (optional)
  • 1 packet taco seasoning (or make your own)
  • Chilli and/or cayanne powder (optional and amount to taste)
  • 1/4 cup red wine
  • 1/4 cup water
  • 1 can red kidney beans
  • 1 can crushed tomatoes (optional)
  • 2 Tbsp olive oil

Method:

  1. Preheat your camp oven over the coals.
  2. Add the oil and onion and stir until onion is transluscent.
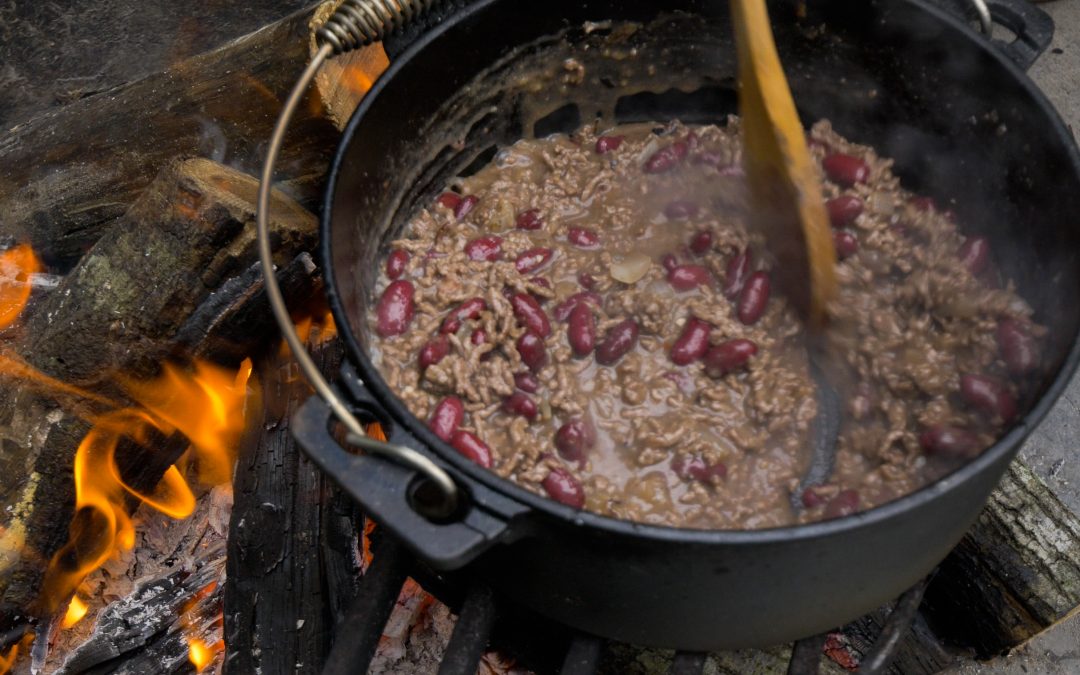
  3. Add mince beef and stir until browned all over.
  4. Add taco seasoning and stir to combine.
  5. Add water, wine, beans and tomatoes if adding and stir well.
  6. Replace lid on camp oven and return to the coals for about 10 minutes or until the liquid has reduced.
  7. If it is still quite runny, remove from the coals, take the lid off and allow to continue to cook in the pot until the desired consistency is achieved.
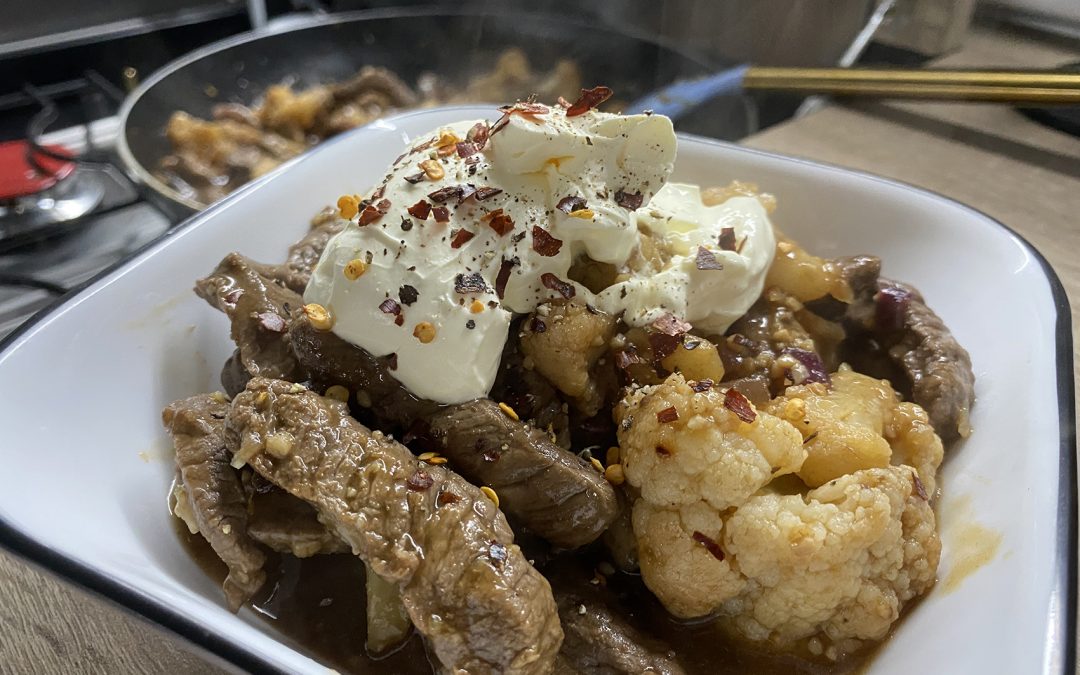
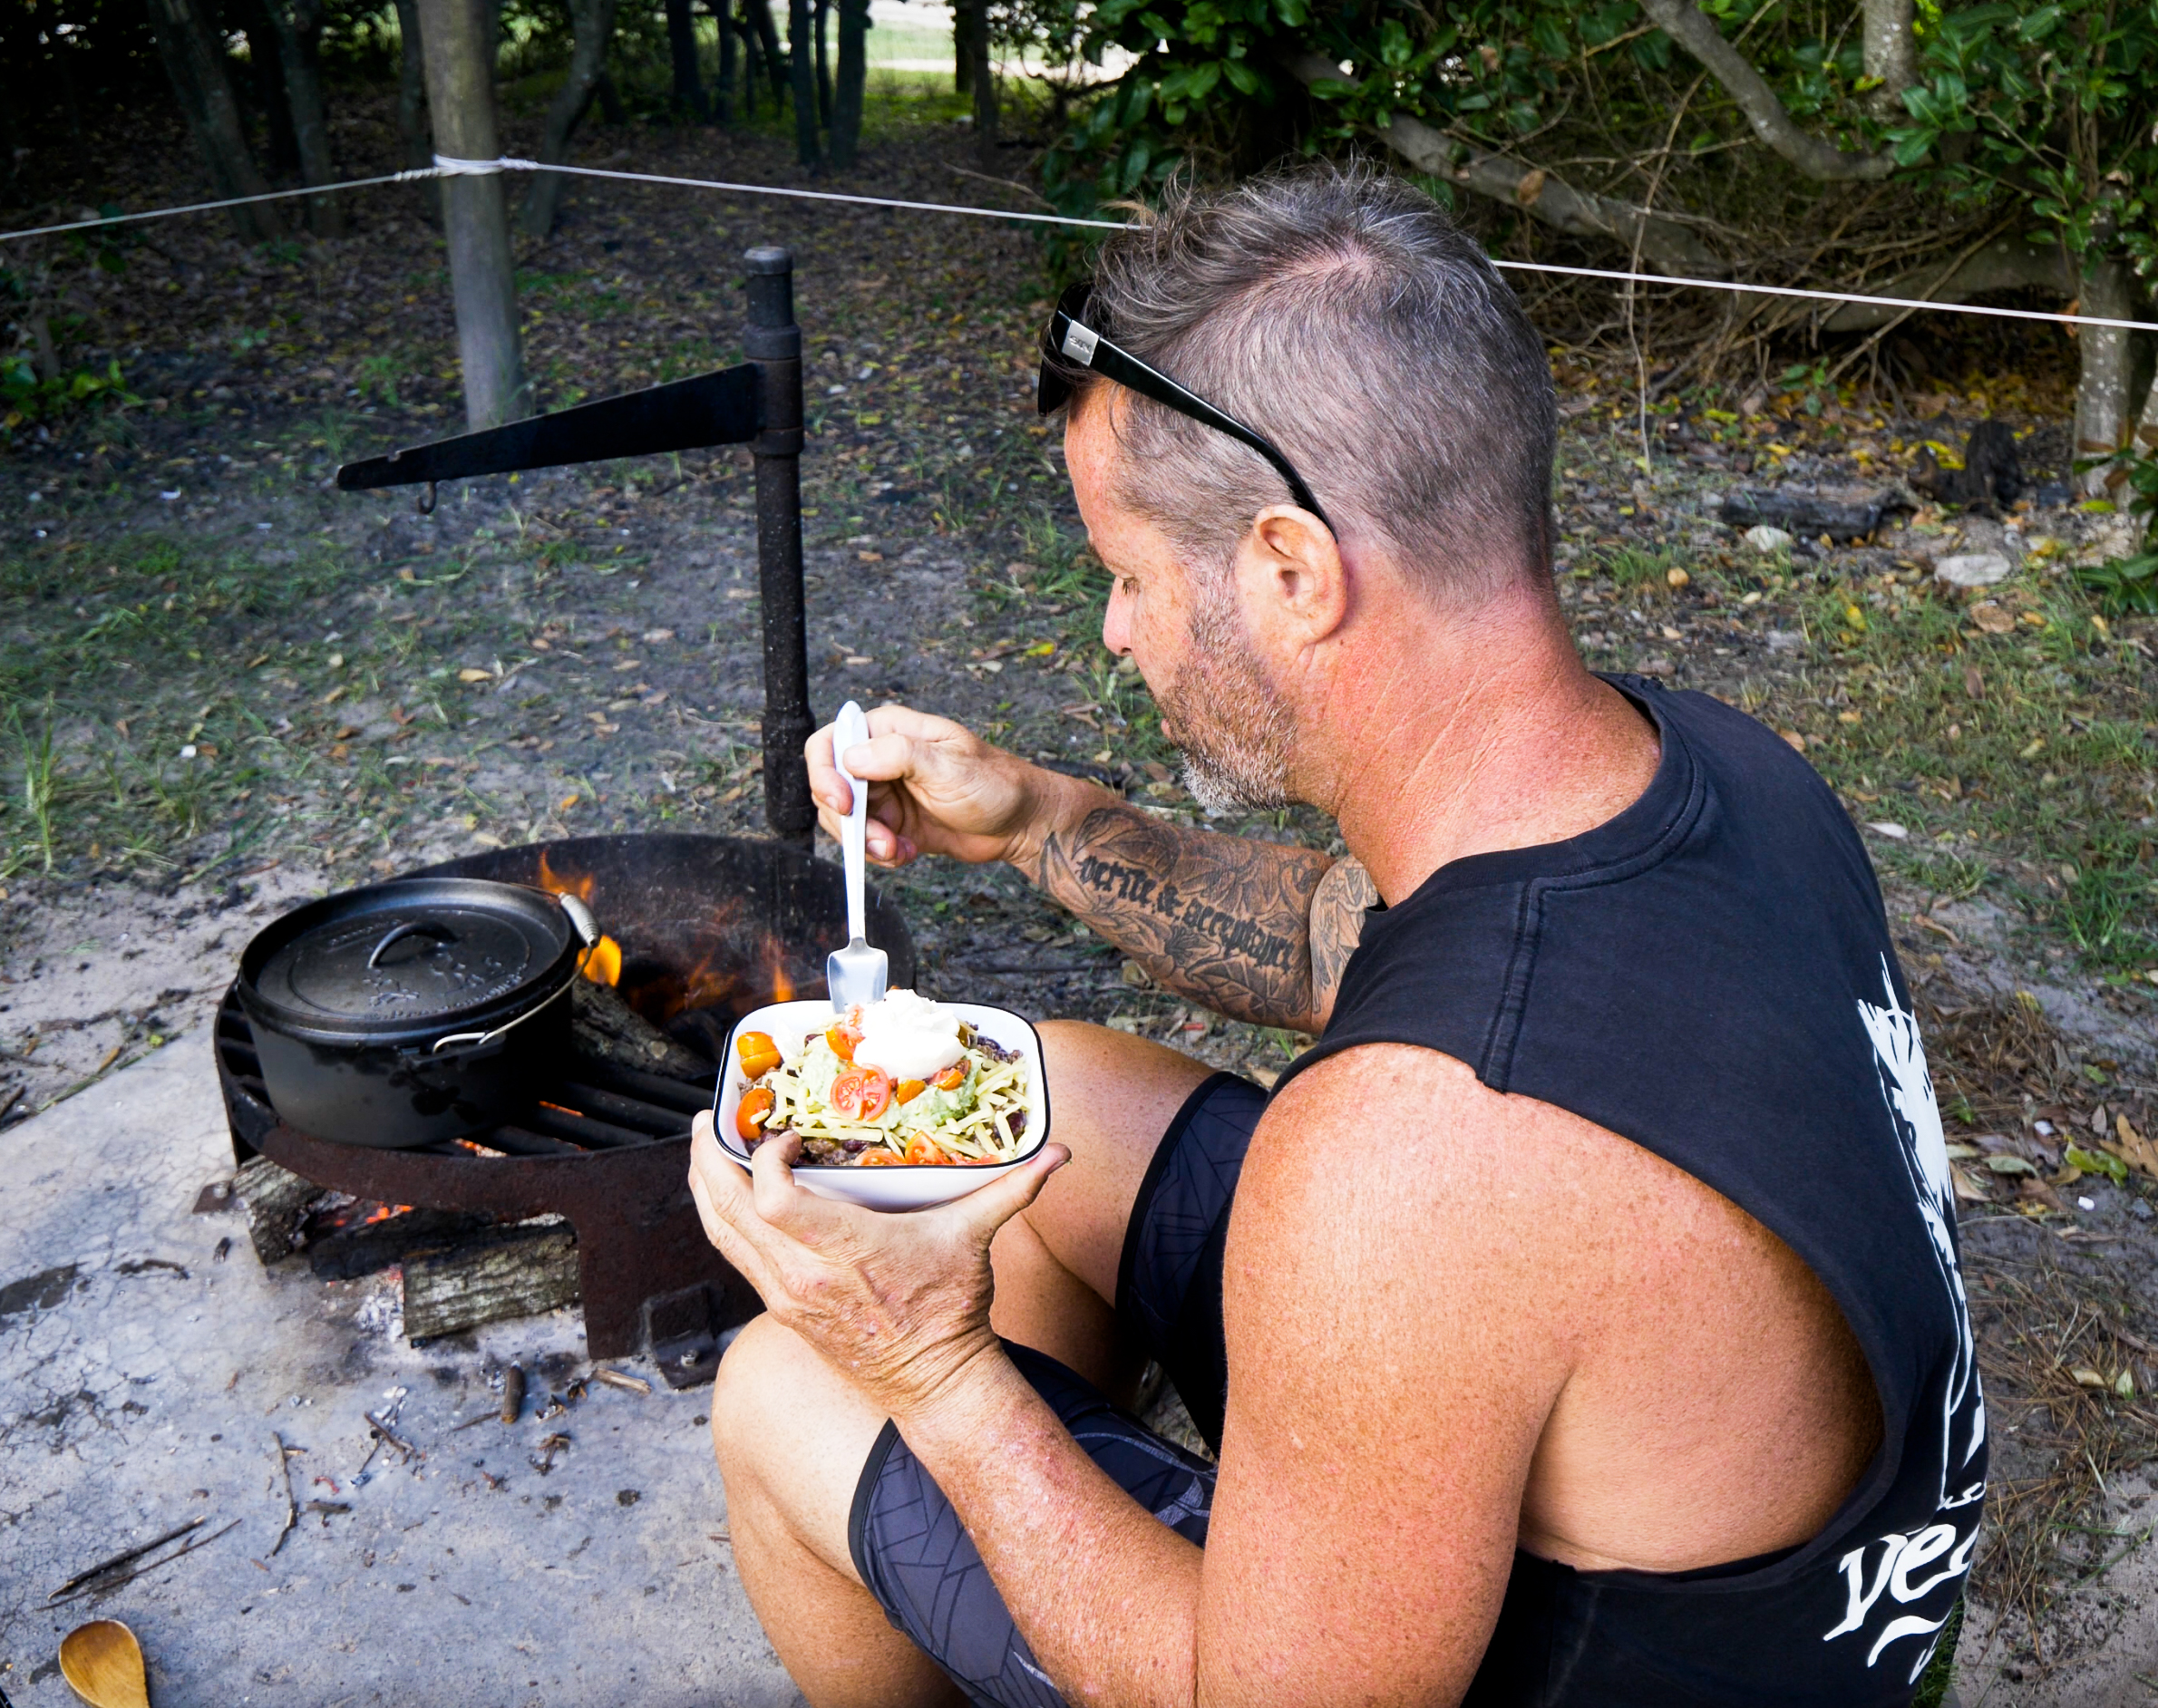
To Serve:

We generally try to keep things fairly low carb, so we served this in a bowl topped with cheese, sour cream, tomatoes and avo. But you could serve it in in wraps, tacos, on nachos or however else you usually eat Mexican meat. To reduce the carb content even further, omit the kidney beans and canned tomatoes.

Camp Oven Veggies

Camp Oven Veggies

We aren’t going to pretend to be camp oven experts … in fact, this is only the third ever recipe we’ve made in our brand new cooking appliance! The first was damper made with the help of a qualified baker (!) and the second was a super simple Mexican Chili con Carne.  We just kinda wing it and hope for the best. We didn’t have a trivet (until today … after the veggies) but personally, we liked the way they crisped up on the bottom and were soft and fluffy on the inside. We’ve made it a few times like this and have just purchased a trivet from BCF today. So that will be our next experiment! For now … this is how we made our roast veggies in the camp oven. Feel free to tweak it and add your own flavours etc. Please comment below and share how you do yours!

Ingredients

  • Veggies of choice peeled (if you like) and cut into similar sized pieces
    • Pumpkin sliced into wedges
    • Potatoes in quarters
    • Carrot in halves
    • Sweet potato (cut in a similar size to the potatoes)
    • Zucchini in halves
  • 30ml olive oil
  • 2 tsp dried rosemary
  • 2 tsp. dried thyme
  • 1 tsp. garlic granules
  • Salt and Pepper

Method

  1. Preheat camp oven in the coals of your campfire.
  2. Pre-cook root vegetables in boiling water for about 10 minutes to soften (this makes them fluffy on the inside and reduces cooking time. You can skip this step if you like and just cook for longer in the camp oven).
  3. Drain water and pour into a large bowl.
  4. Add oil, herbs and seasonings. Toss to combine.
  5. Remove camp oven from the fire, take the lid off and tip your veggies in.
  6. Replace the lid and pop the camp oven back onto the coals.
  7. Add some coals to the lid of the camp oven.
  8. Leave to cook until veggies are done to you liking. Ours took about 25 minutes having been par-boiled. If skipping this step, allow up to an hour depending on how many veggies you have.

Tips

I forgot to add the zucchini once, and added it half way through – this was fine as it takes less time to cook. Same with the pumpkin. So if you can be bothered, add the veggies that cook a little faster a bit later. If not, just throw them all in and embrace the deliciousness that comes out!

Air Fryer Pancakes

Air Fryer Pancakes

This morning I woke up and felt like pancakes, but I couldn’t be bothered with frying pans or flipping them, so I had an idea. An idea that turned out to be genius! Why not make them in the air fryer? Here is the result. An easy way to make pancakes. Happy days!

Ingredients

One lot of pancake mix (any is fine)


Method

  1. Make your pancake mix according to instructions
  2. Grease your air fryer safe dish/es with butter or your choice of oil
  3. Pour enough batter in to cover the base of the dish
  4. Set temp to 180C and cook for 5 minutes, checking progress as it cooks
  5. Once cooked (there is no need to flip the pancakes) remove and put on a plate
  6. Re-grease the dish and pour another lot of batter in.
  7. Repeat until all are cooked.


Notes

Slow Cooked Lamb Shanks

Slow Cooked Lamb Shanks

Tender, fall apart lamb slowly cooked to perfection. Yes please!

Ingredients

  • 4 lamb shanks
  • 1/2 cup of homemade beef broth
  • 2 garlic cloves whole, minced or crushed
  • 1 onion chopped
  • 1 carrot sliced
  • ¼ cup mushrooms sliced
  • 2 Tbsp olive or avocado oil or Ghee
  • ¼ cup red wine (optional)
  •  1 heaped tsp dried rosemary
  • 1 heaped tsp dried thyme
  • 1 heaped tsp of dried oregano
  • salt
  • pepper


SLOW COOKER METHOD

  1. Heat the oil/ghee in your slow cooker to sauté/brown option (if you don’t have this function, use a fry pan)
  2. Brown lamb shanks, 2 at a time, sprinkling with salt and pepper, and set aside.
  3. Add onion, garlic, salt and pepper in the same pan or slow cooker for a 2-3 minutes. Remove and set aside.
  4. Place lamb shanks in the slow cooker and cover with the sautéed garlic and onion
  5. Add the carrots, broth, wine, mushrooms and herbs.
  6. Cook on low for 6+ hours.
  7. The broth is divine poured over the plated shanks and cauliflower mash.

THERMAL COOKER METHOD

  1. Heat the oil/ghee in the large internal pot.
  2. Brown lamb shanks, 2 at a time, sprinkling with salt and pepper, and set aside.
  3. Add onion, garlic, salt and pepper in the same pan for a 2-3 minutes. Remove and set aside.
  4. Place lamb shanks in the pot and cover with the sautéed garlic and onion
  5. Add the carrots, broth, wine, mushrooms and herbs.
  6. Place the lid on and bring to a gentle boil for at least 20 minutes.
  7. Remove from heat (keeping the lid on) and place into thermal cooker. Seal it up and let it cook for at least 6 hours. I do mine for 12 -24.
    I give it an extra burst of 20 minutes on the heat half way through to make sure it’s still cooking.
  8. The broth is divine poured over the plated shanks and cauliflower mash.


Notes


  • Use fresh herbs instead of dried
  • Use store bought broth if you don’t have homemade
  • Add 3 Tbsp tapioca flour to thicken gravy/broth/sauce
Healthy Brownies

Healthy Brownies

Could this be the best brownie recipe ever? I think so … and I mean out of all the brownie recipes, not just the healthy ones! Crunchy on the outside, soft and gooey in the middle. Oh yes please!


Ingredients

  • 250g unsalted grass fed butter or coconut oil
  • 1/2 cup dark choc chips (72% or more)
  • Stevia to taste
  • OPTIONAL 1/4 cup rice malt syrup (leave out for a lower carb count)
  • 2 heaped Tbsp. raw cacao powder
  • 1 tsp. vanilla extract or vanilla bean paste
  • A few shakes of Himalayan rock salt (pink salt)
  • 3 eggs, lightly beaten
  • 1 cup almond meal/flour
  • 1 tsp. baking powder
  • OPTIONAL About 15 macadamias ‘smashed’ (I put them in a ziplock and hit them (gently) with a rolling pin!)
  • Desiccated coconut for serving (optional)


Traditional Method

  1. Preheat oven or air fryer to a moderate 160C.
  2. Heat a medium sized saucepan over medium heat.
  3. Melt butter and chocolate in saucepan, and add rice malt syrup if using and stevia.
  4. Remove from the heat and stir in cacao and vanilla.
  5. Add eggs and stir well.
  6. Add almond meal and baking powder and mix well until all ingredients are incorporated.
  7. Gently fold macadamias through mixture.
  8. Pour into a baking tray lined with baking paper (the bigger it is, the thinner your brownies will be)
  9. Bake in oven or air fryer for about 25 minutes until done.
  10. Let sit before slicing (this is easier if left in the fridge overnight)

Thermomix Method

  1. Preheat oven or air fryer to a moderate 160C.
  2. In Thermomix bowl, add butter, chocolate chips and rice malt syrup (if using) and melt for about 4 minutes/60C/speed 2.
  3. Check, and melt for a little longer if necessary.
  4. Remove MC and add cacao and vanilla through the hole in the lid while stirring gently.
  5. Continue mixing gently while you add the eggs through the hole.
  6. Add almond meal and baking powder also through hole in lid.
  7. Increase slowly to speed 5 for about 4 seconds.
  8. Reduce to gentle/stir, add macadamias and stir until combined.
  9. Pour into a baking tray lined with baking paper (the bigger it is, the thinner your brownies will be). I use the baking tray accessory for the Philips XXL air fryer.
  10. Bake in oven or air fryer for about 25 minutes until done.
  11. Let sit before slicing (this is easier if left in the fridge overnight)