Healthy Pancakes

Healthy Pancakes

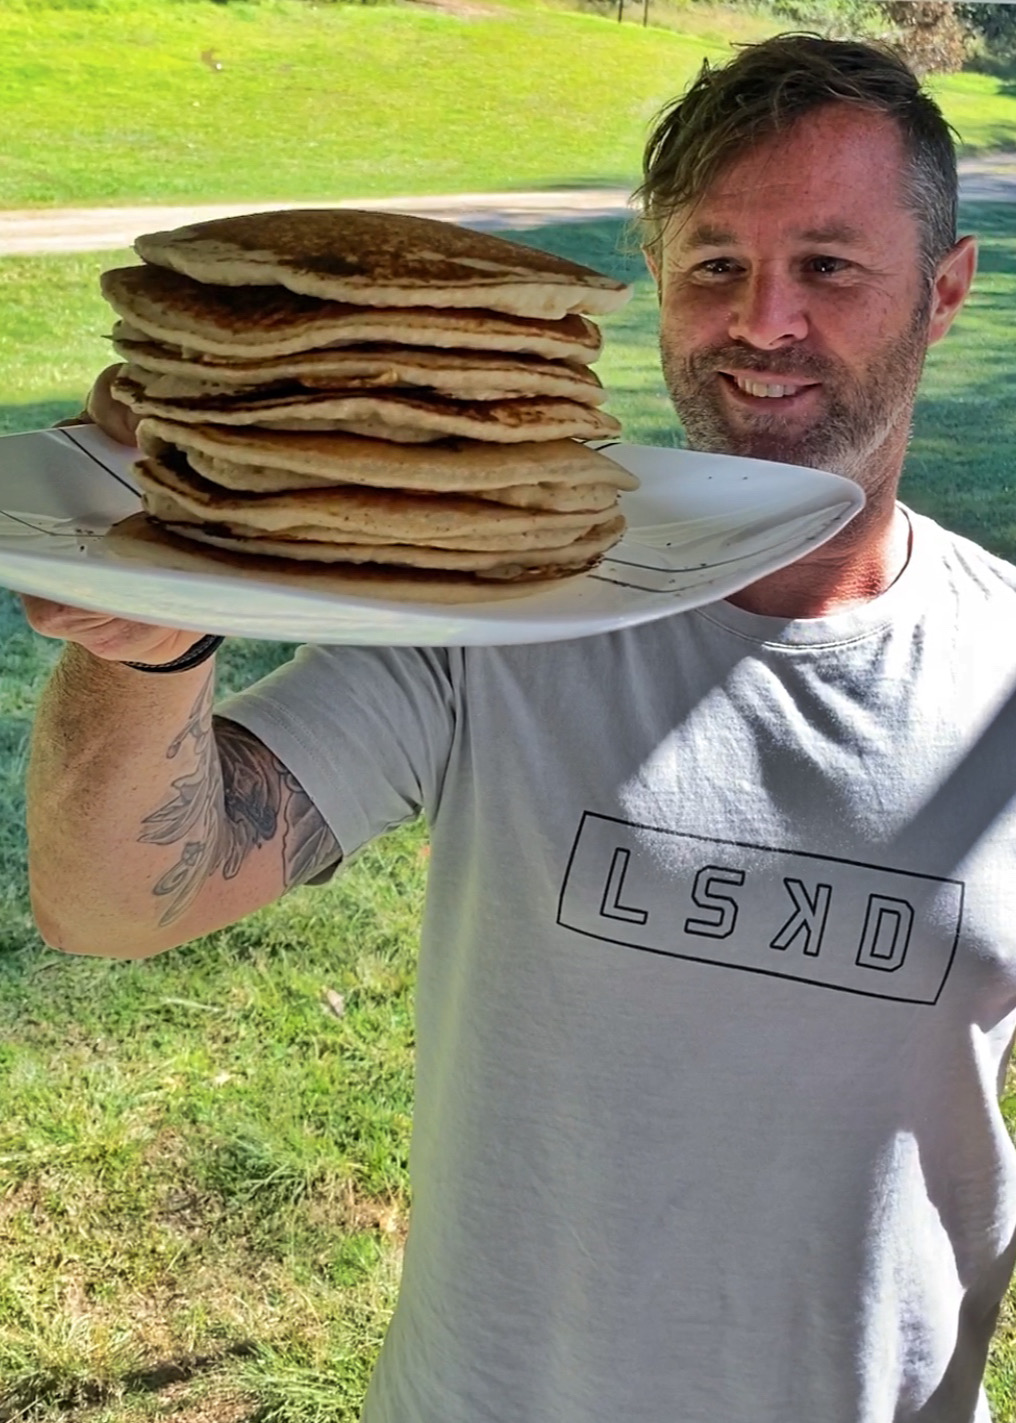
We we eat pancakes a lot, at least a couple of times a week. I’ve tried heaps of different recipes and while there are a few good ones, I find this to be the best! These are gluten free, dairy free, sugar free and lower in carbs than traditional pancakes, although not as ‘low carbs’ as some other of my recipes (that contain dairy).
They are fluffy and ‘flippable’ which I love … OK, I love watching Chris flip them! He’s pretty good at it, and I love his facial expressions before, during after. Lol.

RECIPE

  • 250g blanched almond flour (the lighter coloured one)
  • 250g tapioca flour (arrowroot flour)
  • 3/4 cup coconut flour
  • 2 tsp baking soda
  • 5 eggs
  • 500-700 g coconut milk (or milk of choice, or even water) Add more for thinner pancakes and less for thicker
  • Optional sweetener of choice (we don’t use one)

Method:

  1. Combine all ingredients really well (I use my thermomix and give it a really good blitz).
  2. Cook one side in a preheated pan over medium heat until bubbles form and then flip (give it a go!) to cook the other side.


Paleo Banana Cake

Paleo Banana Cake

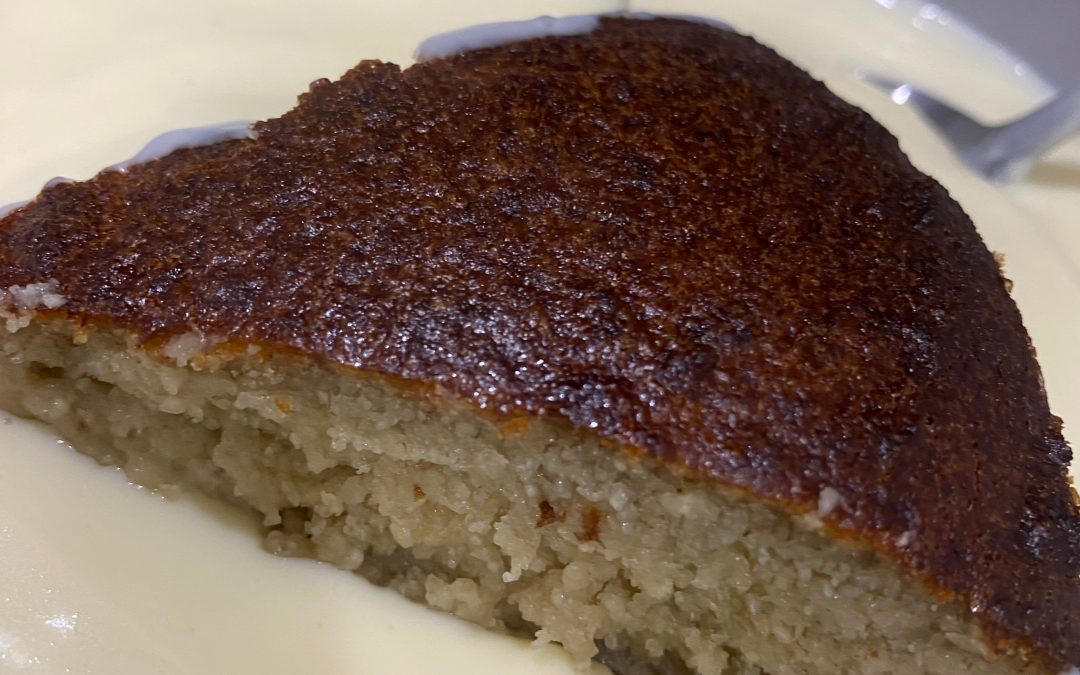
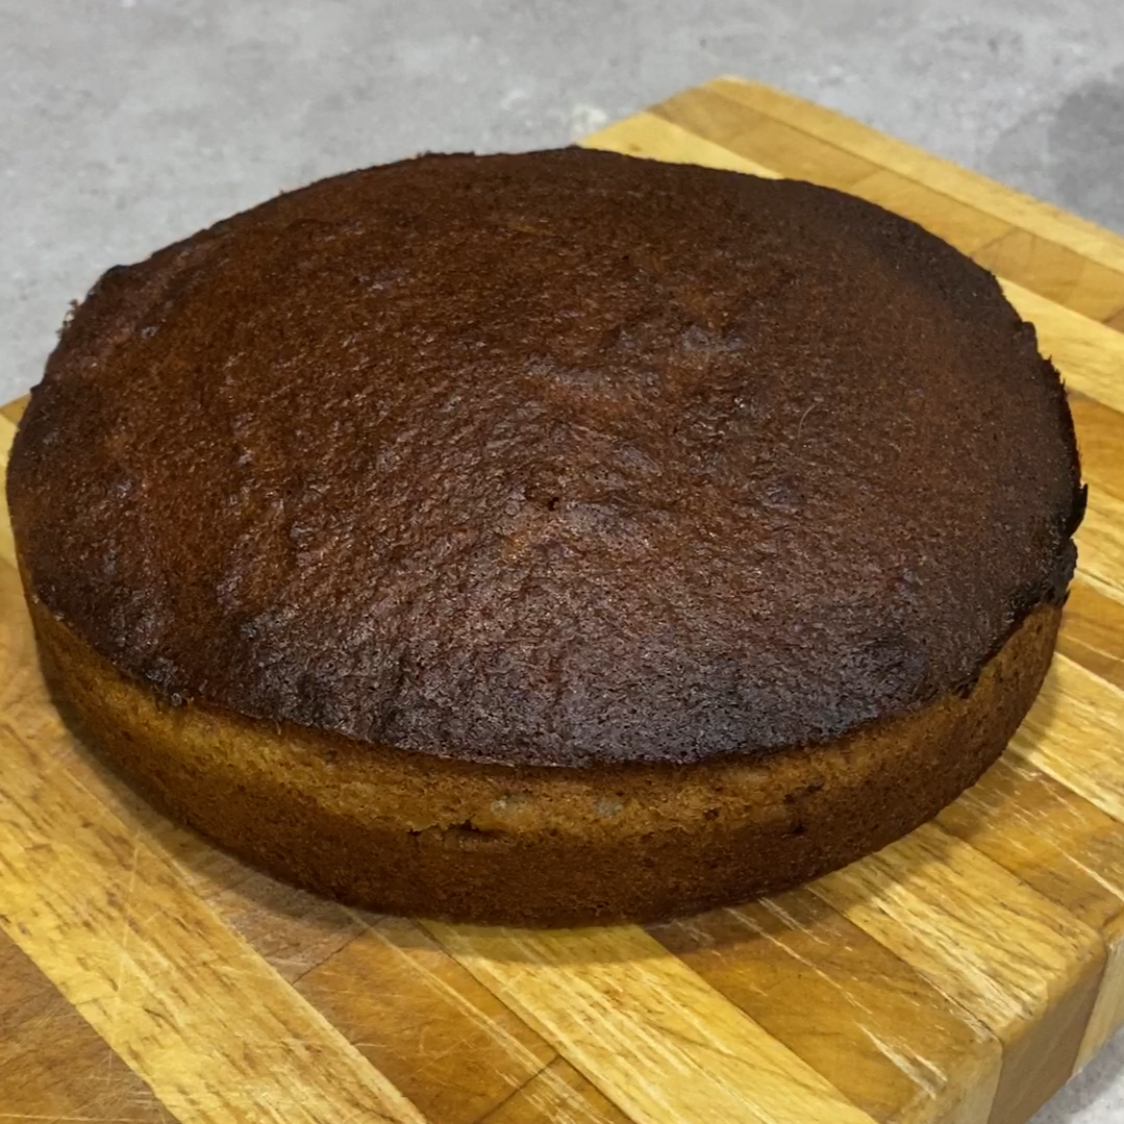
This cake is deliciously moist! It is definitely a banana cake, not a banana bread

Cake:

  • 3 large or 4 small ripe bananas
  • 100g natvia or sugar/sugar substitute
  • 150g grass fed butter, at room temperature
  • 2 large, free range organic eggs
  • 1 tsp vanilla extract
  • 240g gluten free flour
  • 1 tsp bicarb soda
  • 30g milk of choice (coconut/almond)


Method:

  1. Preheat oven to 160 degrees celsius. Skip this step if baking in air fryer.
  2. Grease and line a 20cm cake tin with baking paper (or use a silicone tin) and set aside.
  3. Mix the peeled bananas 5seconds/speed5. Set aside.
  4. Place the softened butter and sugar into the TM bowl and mix 30 seconds/speed5 (scraping down the bowl partway through).
  5. Reduce to Speed 2 and add the eggs one at a time mixing for as long as it takes to add the eggs.
  6. Increase to Speed 5 for 10 seconds.
  7. Add the mashed bananas and the vanilla extract and mix 5seconds/speed5.
  8. Add the flour, bi-carb soda and milk and mix on 10 seconds/speed4.
  9. Scrape down the sides of the bowl and mix for 10 seconds or until completely combined.
  10. Pour the mixture into the prepared tin and bake in the oven or air fryer for 1 hour or until golden on top and a skewer inserted into the middle comes out clean.
  11. If the cake is browing too quickly, place foil over the top and continue to cook. Make sure to press the foil into the sides of the cake tin if using an air fryer (the foil will get sucked up otherwise!)
  12. Leave in tin for about 15 minutes before turning out onto a wire rack.
  13. Allow to cool completely if using frosting. If serving with custard, go for it and eat it warm!

Notes:

 This recipe works perfectly fine with self raising flour, cows milk and sugar if you aren’t into the Paleo way of eating 🙂

Egg Free Bread

Egg Free Bread

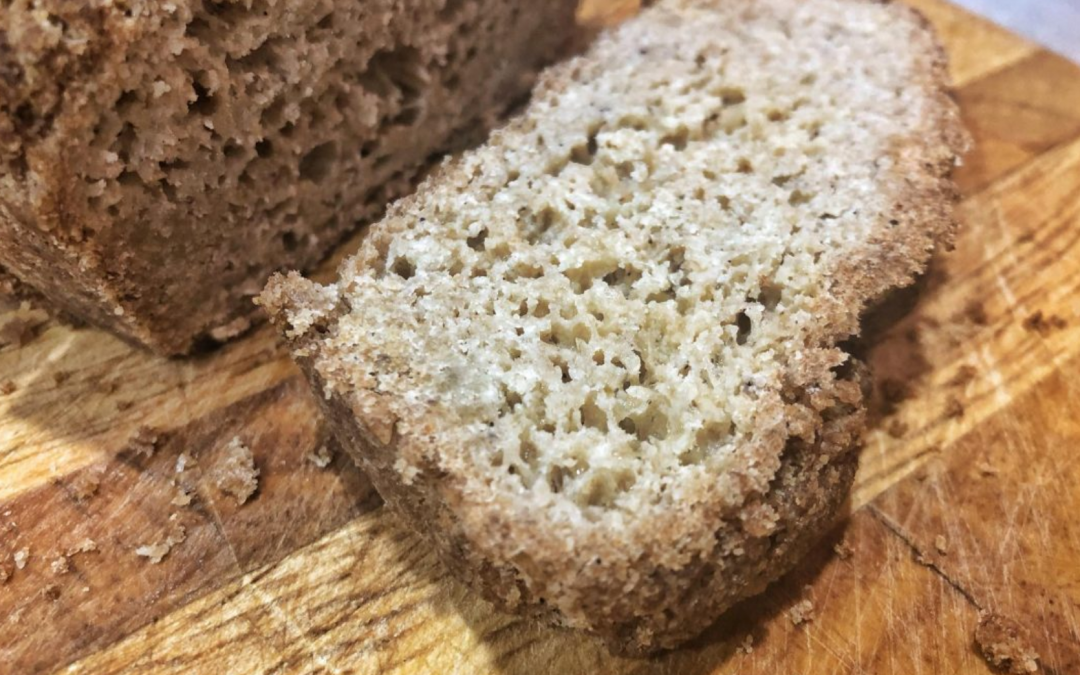
Having been diagnosed with an egg intolerance certainly makes finding a good bread recipe hard! Thankfully, this now exists and is a regular for me. I have made it a few ways; once I accidentally left out the ACV and it turned out fine. I have also made it once using a store bought egg replacer (1 Tbps.) and it turned out really well too. Have a play and see what works best for you in your kitchen 🙂 PS. Over time my egg intolerance has reduced so I am able to eat them, just not overdo it!


Ingredients:

  • 1/2c (65g) pysllium husk powder
  • 2/3c (85g) almond meal/flour (the blanched/lighter coloured one)
  • 1/3c (30g) coconut flour
  • 1 tsp. cream of tartar
  • 1 tsp. baking soda
  • 1 tsp. pink salt
  • 1c boiling water
  • 1 Tbsp. apple cider vinegar
  • 1/3 cup melted butter
  • 3 Tbsp. coconut oil melted

Method:

I used my thermomix, but you could easily use a normal food processor or bowl.


  1. Place pysllium husk powder, almond meal, coconut flour, baking soda, cream of tartar and salt into bowl/thermi/food processor and mix until everything is incorporated.
  2. Pour boiling water in while mixing gently.
  3. Add acv, butter and coconut oil.
  4. Continue mixing until a dough is formed.
  5. Spread dough into a greased bread/baking tin. (I use a silicone one).
  6. Bake at 180C for about 45 minutes or until top is brown and it is cooked through.
  7. Cool in baking tin for about 20 minutes before removing and letting cool completely on rack (I fast track this by popping it straight into the fridge in the baking tin!).
  8. Store in refrigerator or freezer. It should last a few days on the bench if the weather isn’t too hot. I choose to slice and then refrigerate.

Tips:

  • Add some garlic and onion powder
  • Add some mixed herbs
  • Add whatever you like and see how it turns out! lol


The ‘dough’ looks a bit odd until you press it down

Press it down using your hands or the back of a spoon

It slices up easily after being refrigerated

What a beautiful loaf of bread!

Exactly what I felt like


Loaded Broccoli & Cauliflower Soup

Loaded Broccoli & Cauliflower Soup

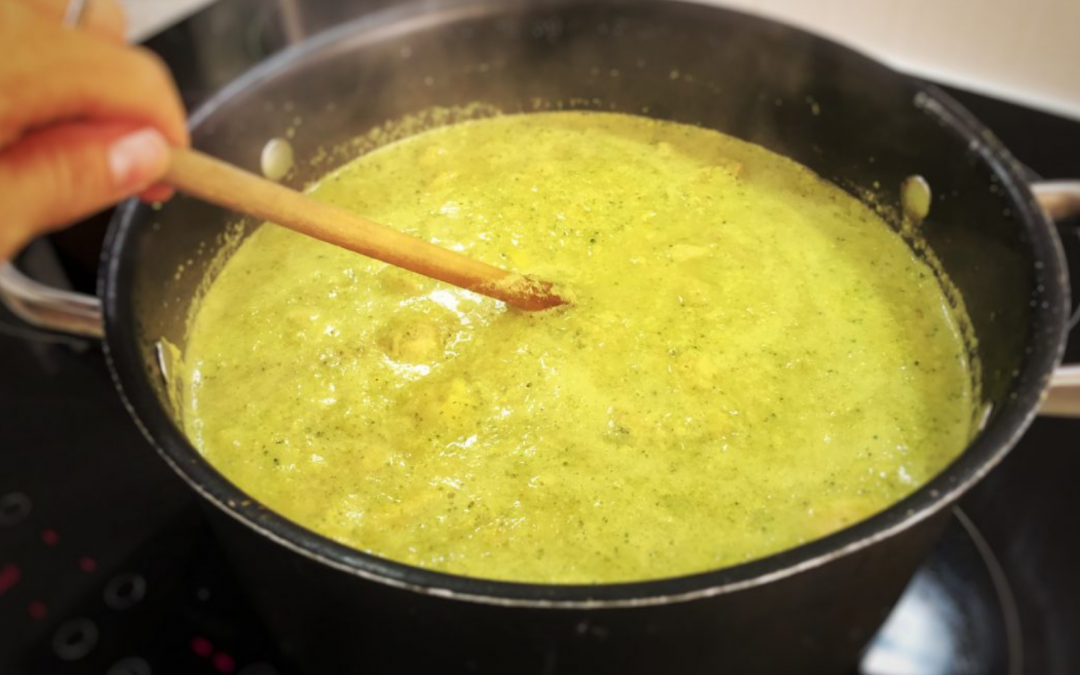
There are 2 ways to prepare this recipe, well, there are probably far more! But these are the two I will share here. The first way gives you a chunky soup, and the second gives you a semi-chunky soup. In the second method, all ingredients are pureed except the chicken, bacon and a few veggies. Both taste great; it just comes down to personal preference and if you can be bothered blending! You could most likely make this entirely in the thermomix, but I like to make a big batch, so that doesn’t suit me.

Feel free to play with the ingredients as I often do. The first time I made this, I included a turnip. Charli and I loved it, but  Chris & Cooper thought it tasted ‘weird’. Cooper had never tasted turnip before, so that may have been part of the problem! He refused to finish his bowl and Chris loaded it up with cheese and sour cream and was a good sport about it.

As with all recipes, you must tweak it to suit your tolerances, tastes and macros. Have fun playing around and let me know what you come up with. I’m sure if Chris had his way, some extra hot-sauce or chilli would be added in there somewhere 😉

Ingredients

  • 1 head (500g) of cauliflower (or 1 500g bag frozen)
  • 350g of broccoli fresh or frozen
  • 50g butter
  • 5 Cloves of garlic, chopped/smashed
  • 1- 2 brown onions, diced
  • 3 cups of bone broth or stock
  • 350g of diced chicken thighs (omit for vegetarian)
  • 250g streaky bacon (use more if you love bacon and omit for vegetarian)
  • 400g coconut milk
  • 1/4 tsp. nutmeg
  • 1 Tbsp. Turmeric
  • Pink salt to taste
  • 2 Tbsp. nutritional/savoury yeast flakes (optional)
  • Ground black pepper to taste
  • 2 Tbsp. coconut flour

Method 1

  1. Melt butter in a large saucepan over medium high heat.
  2. Add onion and garlic and sauté until transluscent.
  3. Add nutmeg, turmeric and flour and stir until well combined.
  4. Add other other ingredients and reduce heat to low and cook for about 45 minutes.
  5. Top with fresh chives and a dollop of sour cream (omit for dairy-free).

Method 2

  1. Melt butter in a large saucepan over medium high heat.
  2. Add onion and garlic and sauté until transluscent.
  3. Add nutmeg, turmeric and flour and stir until well combined.
  4. Add stock, coconut milk, brococli and cauliflower and stir to combine.
  5. Transfer the majority of the veggies and part of the liquid to a food processer and blend until as smooth as you would like it.
  6. Return to the pot and add chicken, bacon and savoury yeast.
  7. Reduce heat to low, cover and cook for about 45 minutes.
  8. Top with fresh chives, some grated cheese and a dollop of sour cream (omit for dairy-free).

Tips:

  • I usually make this with frozen cauliflower (1 500g bag), frozen broccoli (however much I feel like adding), frozen chicken thighs and frozen bone broth
  • Partially defrost the frozen chicken thighs to make dicing easier
  • Add some sweet potato if your macros allow
  • Omit meat for a delicious vegetarian soup
  • Use regular cream instead of coconut cream if you prefer


(Visited 37 times, 1 visits today)
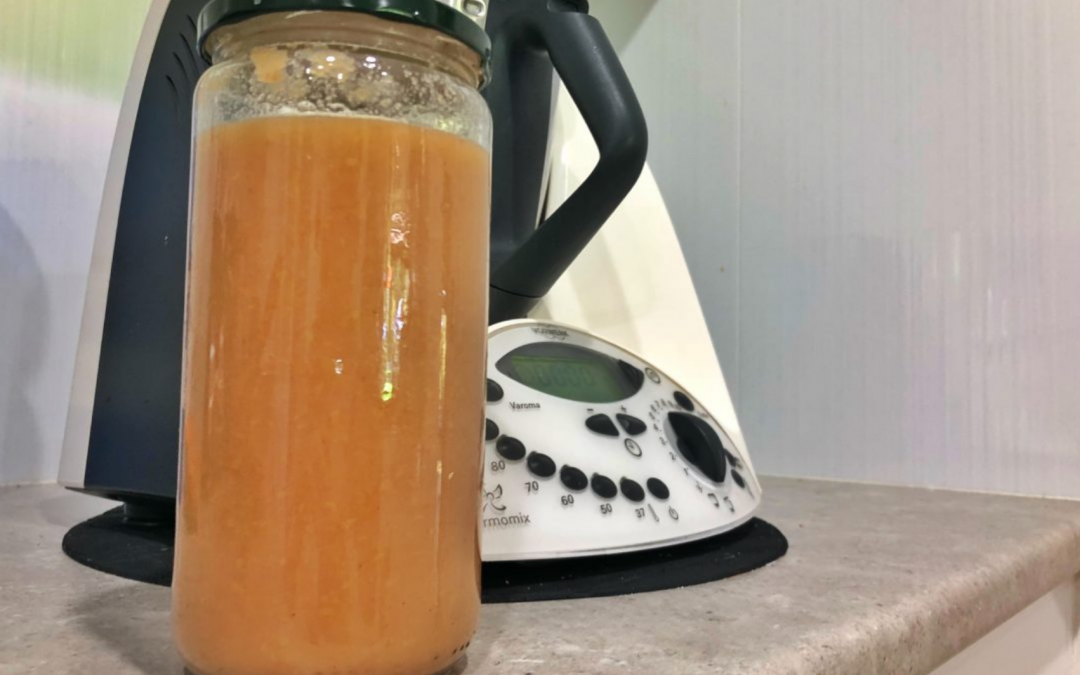
Apple Sauce (thermomix)

Apple Sauce (thermomix)

This recipe contains about 5g of carbs per 50g serve when made with xylitol only (no honey or rice malt syrup).

It is definitely more Paleo than LCHF, so please take this into account.


Serves 12

  • 600g apples UNPEELED (depending on size) preferably organic (or at least soaked/rinsed well)
  • 80 g  water
  • 2 Tbsp. Xylitol (or stevia) optional (omit if adding honey or rice malt syrup)
  • ½ tsp. citric acid or lemon juice

Method:

  • Core and quarter the apples, leaving the peel on. (feel free to remove peel if apples aren’t organic)
  • Put apples and water into TM bowl and chop for 30 seconds on speed 4.
  • Open lid, scrape down the sides of the bowl with spatula (add citric acid and sweetener if using)
  • Cook at 90C for 9 minutes on speed 4.
  • For a smoother consistency, blend for about 30 seconds gradually increasing to speed 8.

Optional Flavour Additions:

  • 1 tsp. vanilla extract, 1 tsp. cinnamon
  • 1 tsp. maple extract, 1 tsp. cinnamon
  • 1 tsp. mixed spice, 1-2 Tbsp. Raw honey
  • 1 tsp. mixed spice, 1-2 Tbsp. Rice malt syrup

Tips:

  • If the applesauce is too thick, add more water to thin it out.
  • Add more or less sweetener to suit your preference.
  • If too sweet, add more lemon juice or citric acid.
  • Serve hot or cold.
  • Freezes well and will last at least a year when frozen. When freezing, make sure you use jars specifically labeled for freezing and only fill ¾ full to allow for expansion.
  • I usually make a triple batch and it will last 12 months as we eat it so infrequently.

Serve with:

  •  Pork chops and savoury dishes
  •  Cottage cheese as a snack or light lunch
  • Vanilla ice cream (low carb) or yogurt
    • custard recipe here: http://www.mimfit.net/almost-dairy-free-custard/
  • Use in recipes to add a sweeter apple flavour (can be used in place of oil)


(Visited 17 times, 1 visits today)
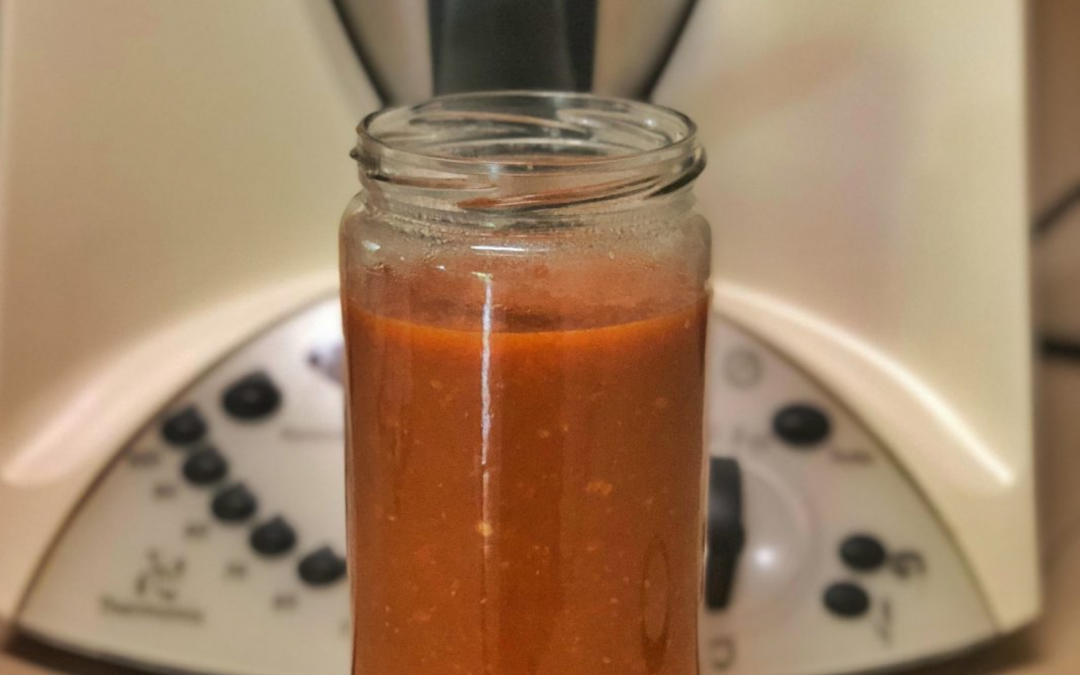
Chilli Sauce (Thermomix)

Chilli Sauce (Thermomix)

This is an old favourite (as you can see it was first made in the TM31!)

Ingredients:

  • 300g chillies (your choice!), halved and deseeded (wear gloves If using hot ones)
  • 1 medium red capsicum, seeds removed and quartered
  • 1 onion, peeled and halved
  • 6 cloves garlic, peeled or 1 Tbsp. Garlic powder
  • 30 g fresh ginger, peeled
  • Pink salt to taste
  • 4 Tbsp. olive oil
  • 1 Tbsp. rice malt syrup
  • 1 Tbsp. honey

Method:

  1. Place chillies, capsicum, onion, garlic and ginger into TM bowl and blitz for 10 sec on speed 8.
  2. Scrape down sides of bowl (be careful of fumes – they made me cough!).
  3. Add olive oil, rice malt syrup, honey and salt and cook for 40 min at 90ºC on speed 1.
  4. Let cook slightly before storing in glass jars in the fridge.

Tips:

  • Makes about 4 cups
  • Will keep in fridge about 4 weeks
  • Freeze in ice cube trays and drop into dishes when cooking
  • Use stevia in place of rms and honey for a lower carb option
  • Make a hot chocolate after washing the bowl not too well and you will get a chilli hot chocolate! (yep – did this accidentally and it was great) haha!


(Visited 17 times, 1 visits today)