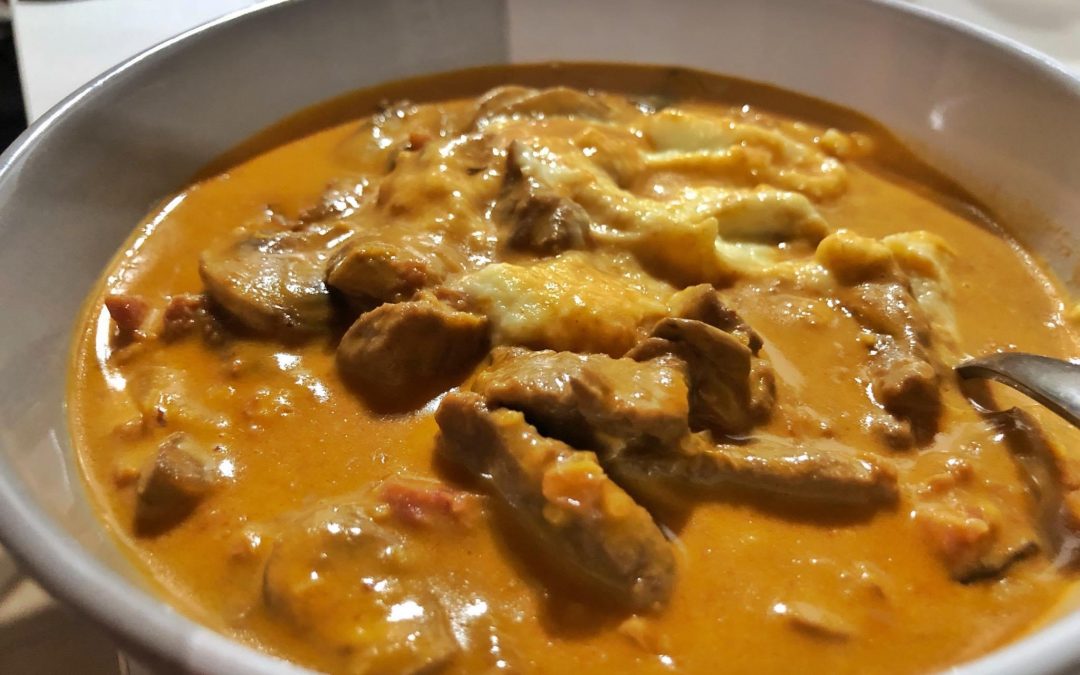

There are 2 ways to prepare this recipe, well, there are probably far more! But these are the two I will share here. The first way gives you a chunky soup, and the second gives you a semi-chunky soup. In the second method, all ingredients are pureed except the chicken, bacon and a few veggies. Both taste great; it just comes down to personal preference and if you can be bothered blending! You could most likely make this entirely in the thermomix, but I like to make a big batch, so that doesn’t suit me.
Feel free to play with the ingredients as I often do. The first time I made this, I included a turnip. Charli and I loved it, but Chris & Cooper thought it tasted ‘weird’. Cooper had never tasted turnip before, so that may have been part of the problem! He refused to finish his bowl and Chris loaded it up with cheese and sour cream and was a good sport about it.
As with all recipes, you must tweak it to suit your tolerances, tastes and macros. Have fun playing around and let me know what you come up with. I’m sure if Chris had his way, some extra hot-sauce or chilli would be added in there somewhere 

Ingredients
- 1 head (500g) of cauliflower (or 1 500g bag frozen)
- 350g of broccoli fresh or frozen
- 50g butter
- 5 Cloves of garlic, chopped/smashed
- 1- 2 brown onions, diced
- 3 cups of bone broth or stock
- 350g of diced chicken thighs (omit for vegetarian)
- 250g streaky bacon (use more if you love bacon and omit for vegetarian)
- 400g coconut milk
- 1/4 tsp. nutmeg
- 1 Tbsp. Turmeric
- Pink salt to taste
- 2 Tbsp. nutritional/savoury yeast flakes (optional)
- Ground black pepper to taste
- 2 Tbsp. coconut flour
Method 1
- Melt butter in a large saucepan over medium high heat.
- Add onion and garlic and sauté until transluscent.
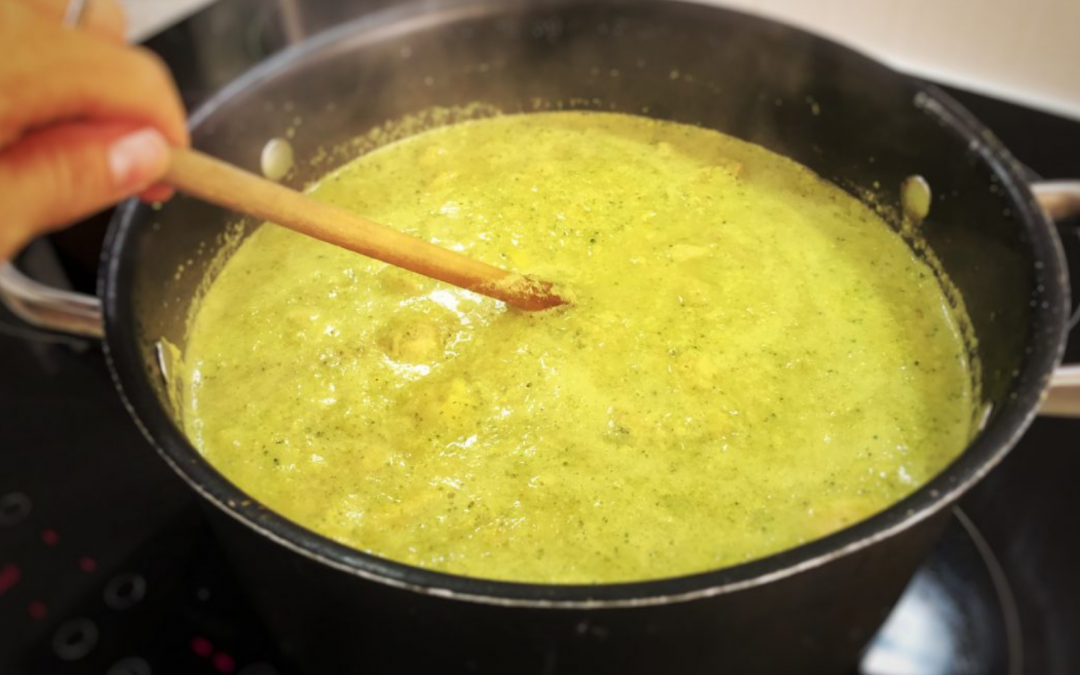
- Add nutmeg, turmeric and flour and stir until well combined.
- Add other other ingredients and reduce heat to low and cook for about 45 minutes.
- Top with fresh chives and a dollop of sour cream (omit for dairy-free).
Method 2
- Melt butter in a large saucepan over medium high heat.
- Add onion and garlic and sauté until transluscent.
- Add nutmeg, turmeric and flour and stir until well combined.
- Add stock, coconut milk, brococli and cauliflower and stir to combine.
- Transfer the majority of the veggies and part of the liquid to a food processer and blend until as smooth as you would like it.
- Return to the pot and add chicken, bacon and savoury yeast.
- Reduce heat to low, cover and cook for about 45 minutes.
- Top with fresh chives, some grated cheese and a dollop of sour cream (omit for dairy-free).
Tips:
- I usually make this with frozen cauliflower (1 500g bag), frozen broccoli (however much I feel like adding), frozen chicken thighs and frozen bone broth
- Partially defrost the frozen chicken thighs to make dicing easier
- Add some sweet potato if your macros allow
- Omit meat for a delicious vegetarian soup
- Use regular cream instead of coconut cream if you prefer


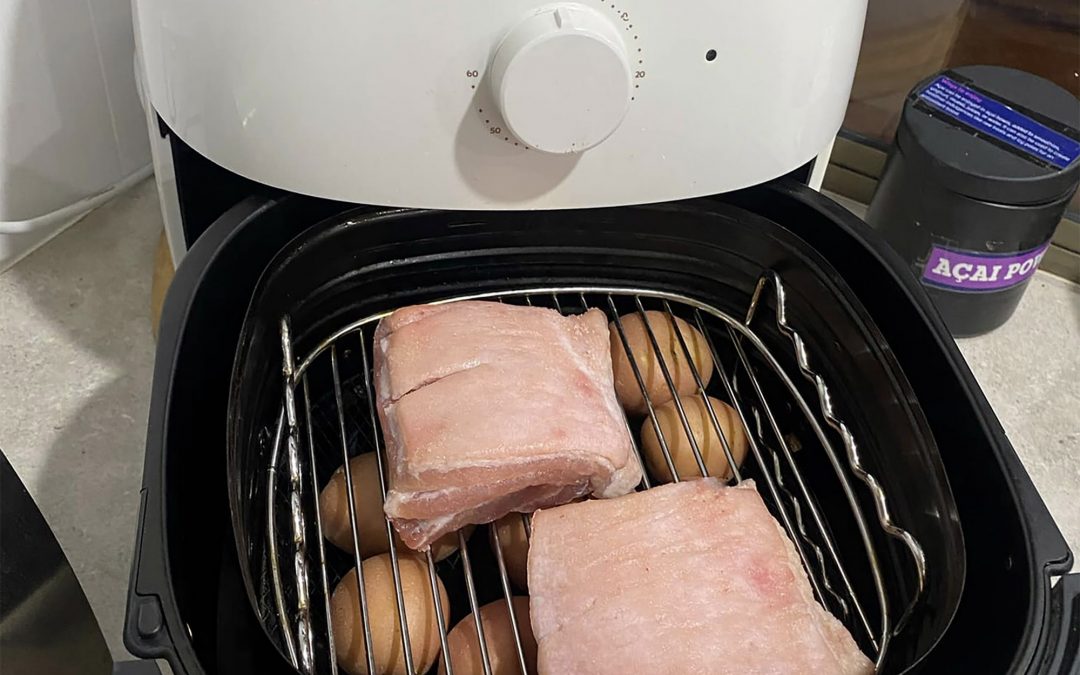
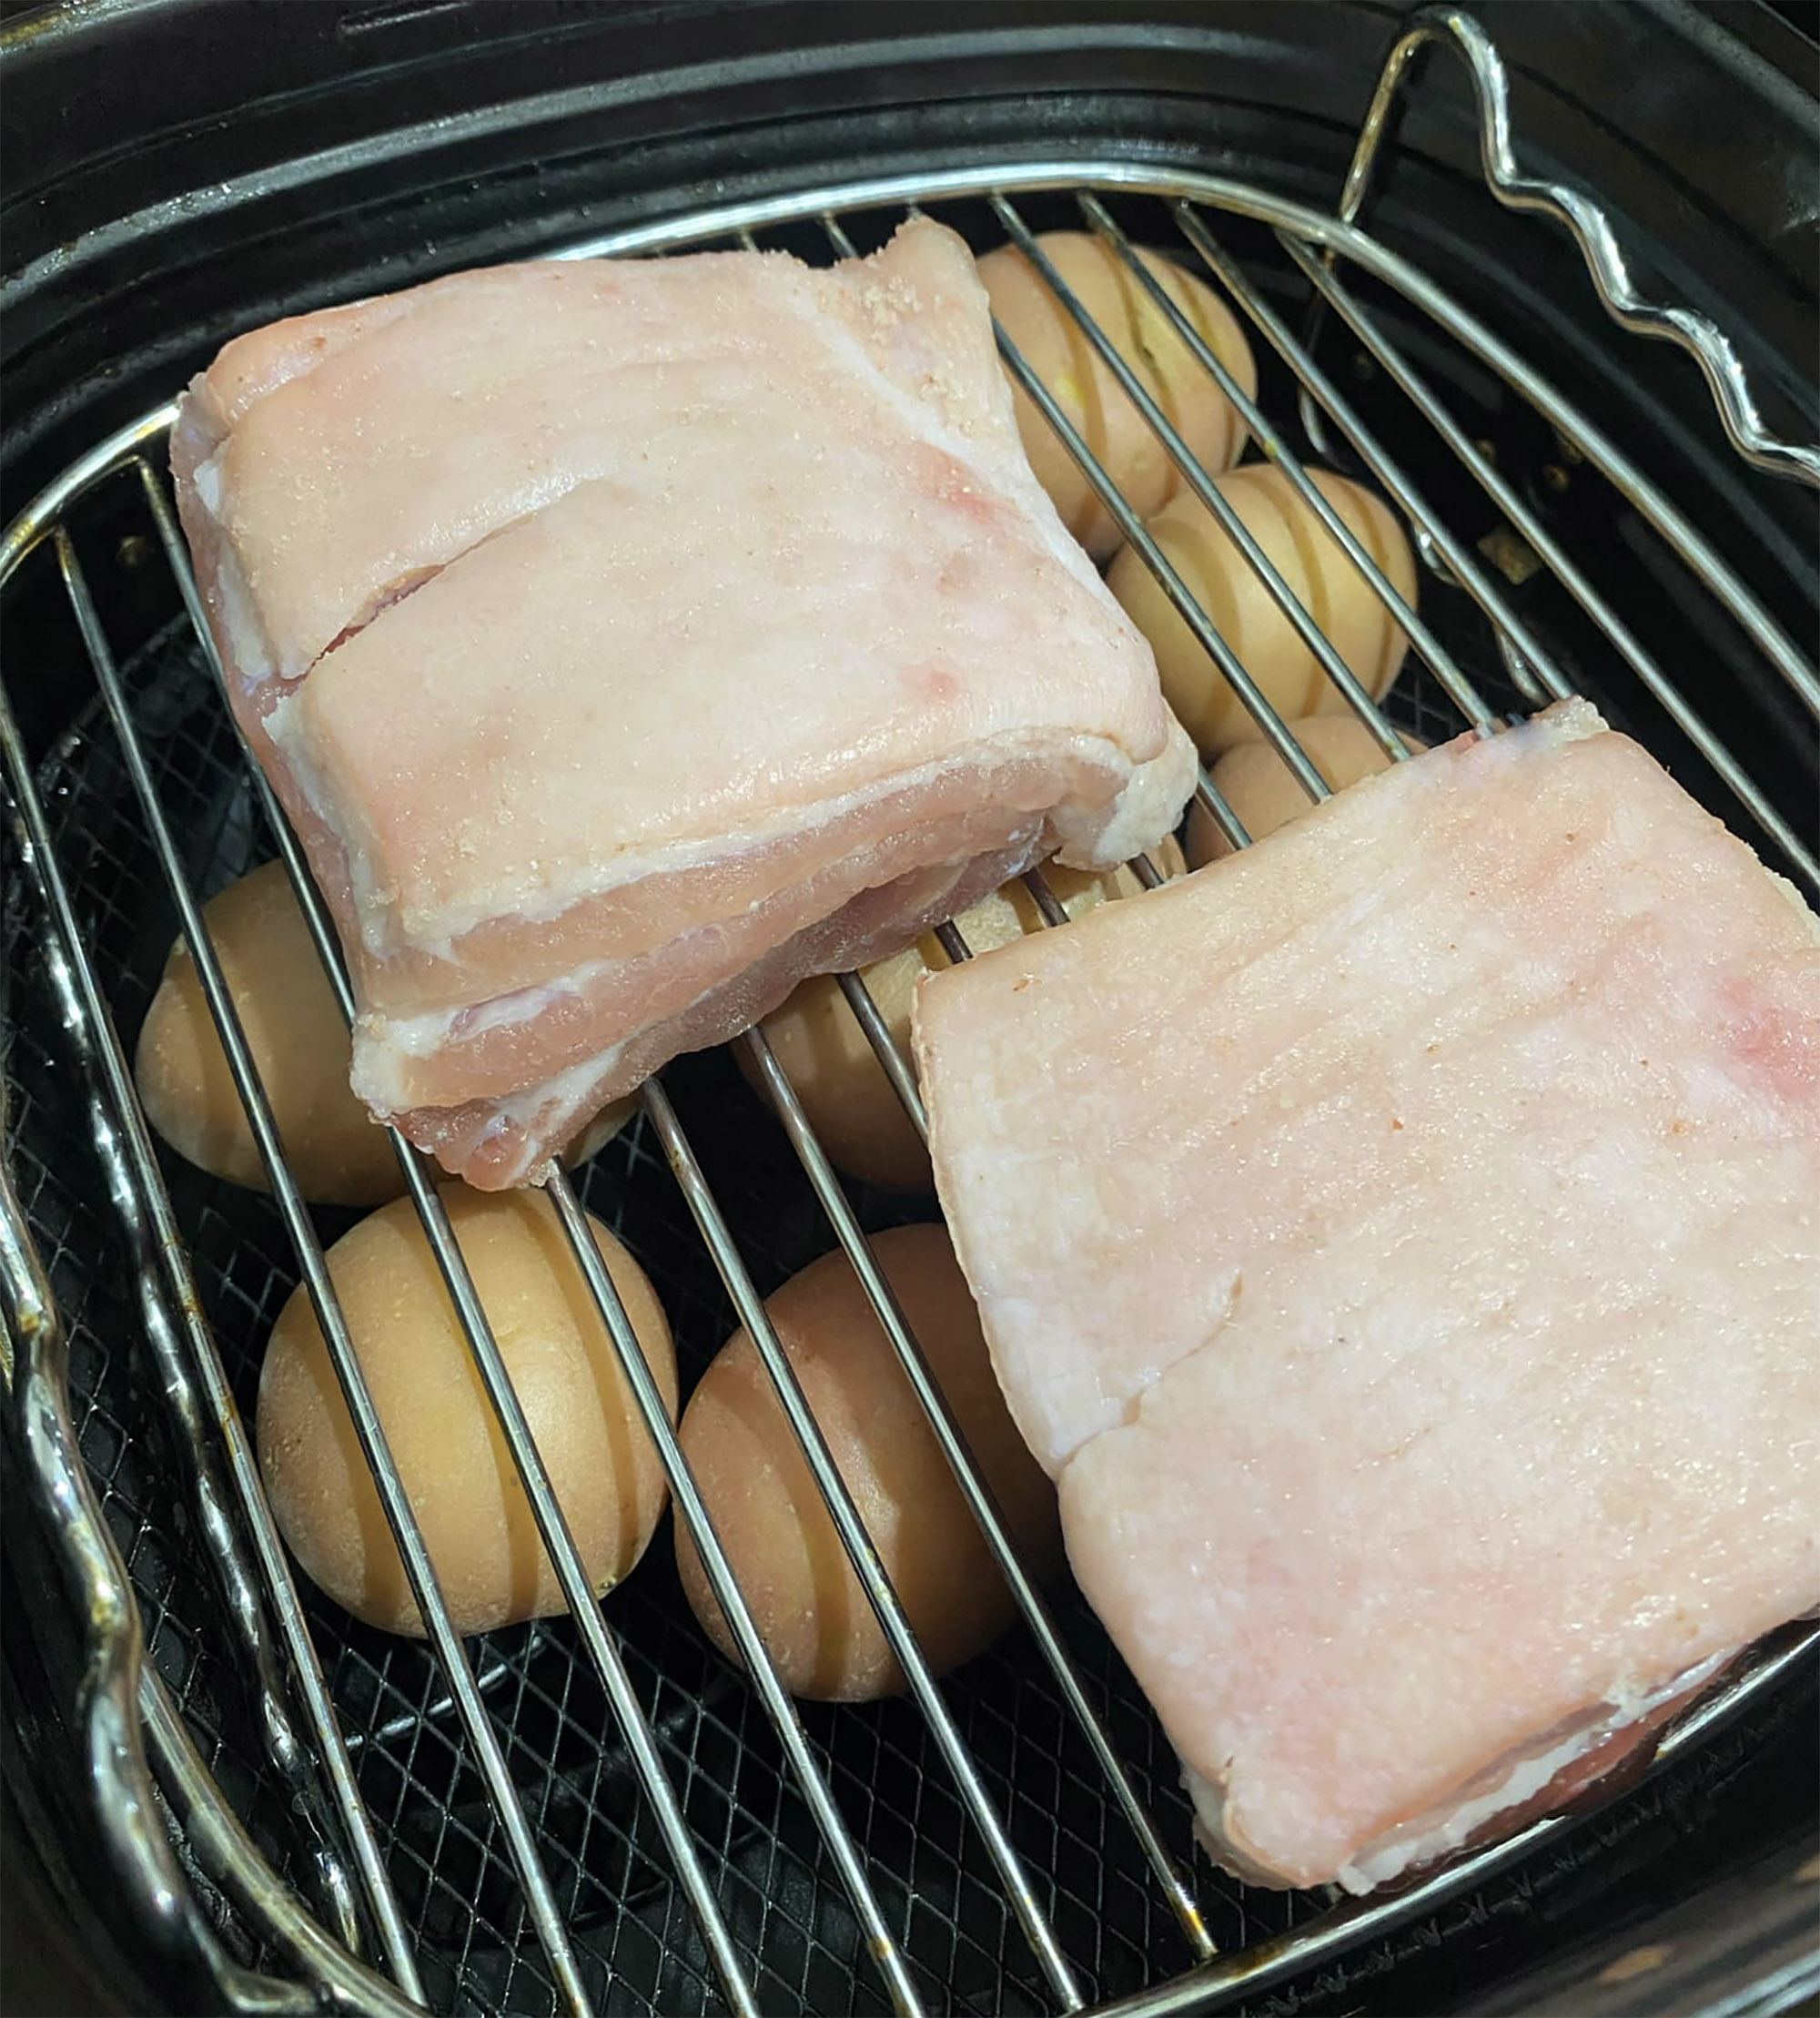


 I have the Philips XXL Air fyer with the Pizza accessory. It’s not cheap, but it’s the best(!) and I highly recommend it if cooking piiza in your air fryer is going to become a regular thing.